BackOffice Setup for Food Trucks
After setting up your BackOffice, check out part 2: Retail POS (S-Series) for Food Trucks.
BackOffice is where you set up your business in Lightspeed Retail. Create the food truck’s menu, enable ticket printing, customize receipt settings, add staff members, and set up commonly used discounts before moving on to the register.
Build Your Menu
Set up all of the truck’s dishes, add customization options, and organize the menu in BackOffice or from the Retail POS (S-Series) app (employees with the relevant BackOffice permissions only) so it’s easy for the cashier to navigate.
If you have any questions about adding or managing menu items, visit our Inventory FAQ.
Add Menu Items
Add the items the food truck offers so the cashier can quickly ring in customer orders at the register.
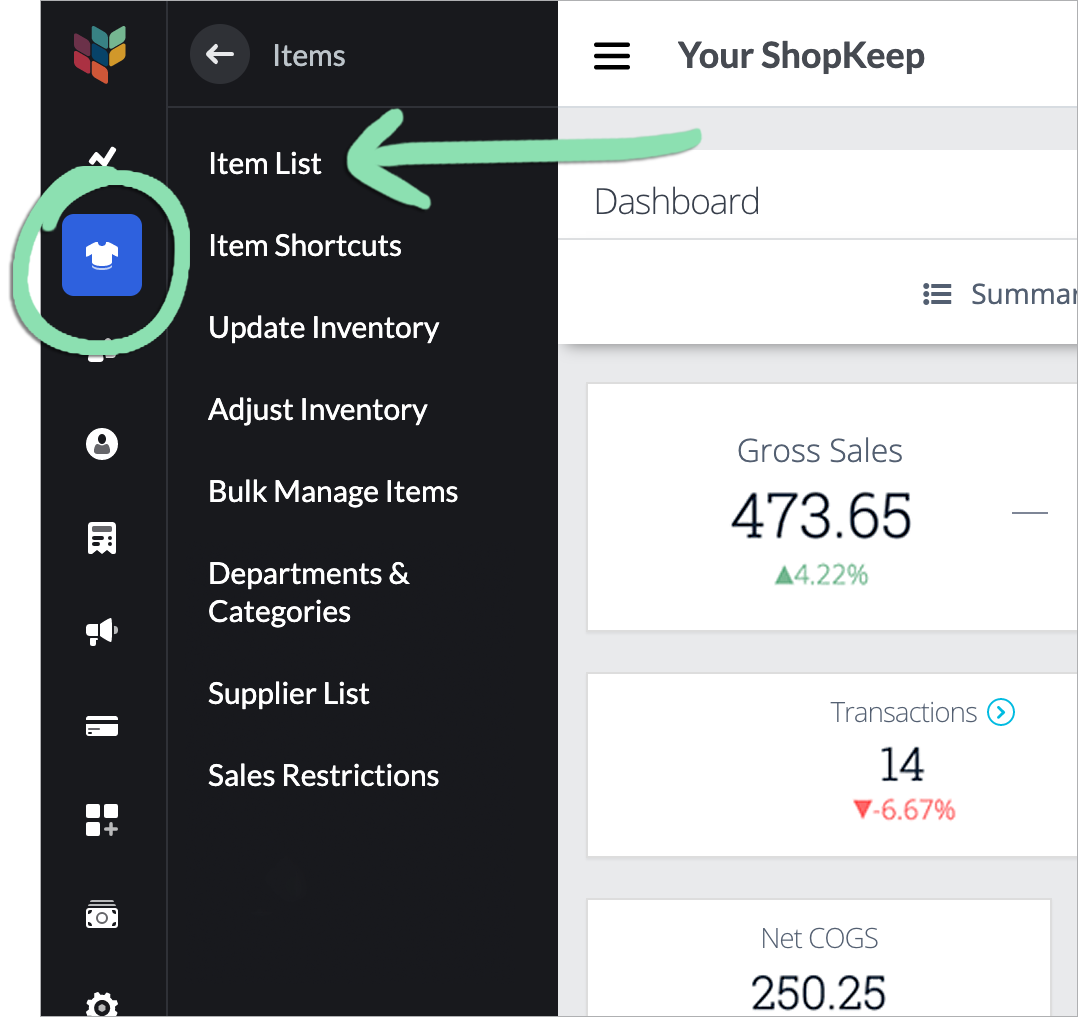
- Visit the Item List in BackOffice or from the Retail POS (S-Series) app (employees with BackOffice permissions only).
- In BackOffice, click ‘Items’ and select ‘Item List’.
- In the Retail POS (S-Series) app for iOS, tap ‘Manage Items’ on the Main Menu. For the Retail POS (S-Series) app for Android, tap ‘Setup’ on the register menu, then select ‘Manage Items’.
Retail POS (S-Series) app for iOS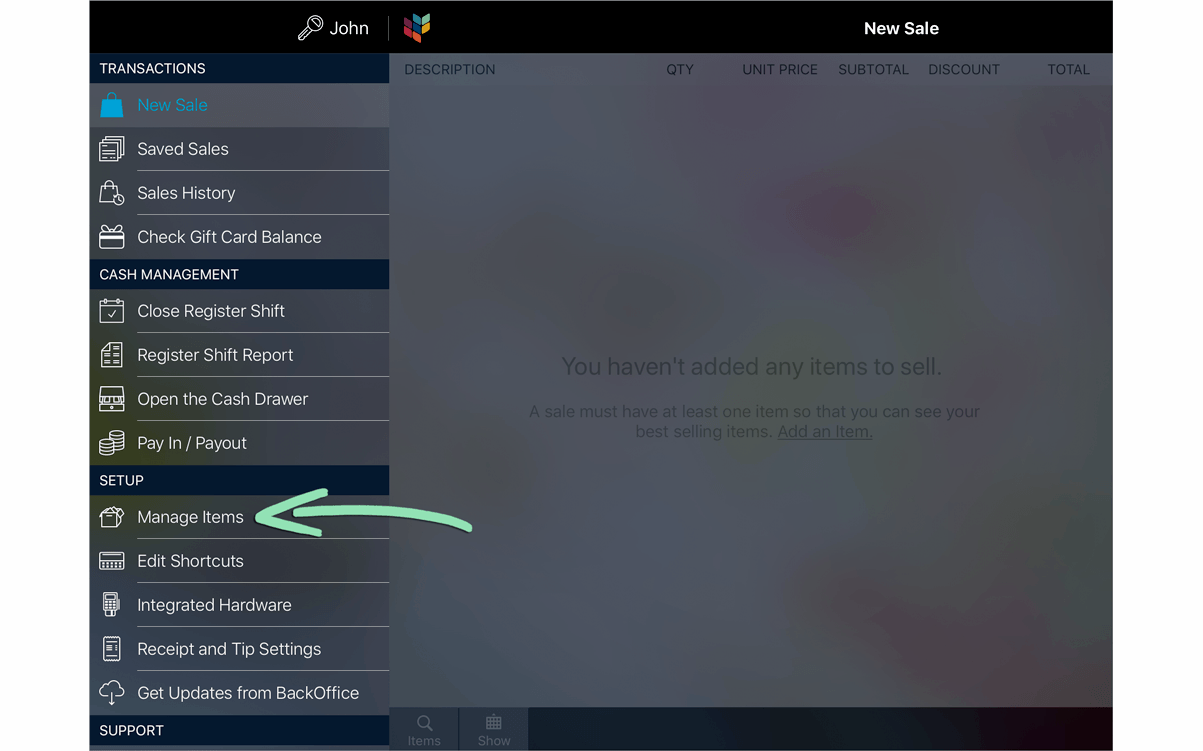 Retail POS (S-Series) app for Android
- Click 'Add New'.

- Select 'Create' under 'Basic Item'.

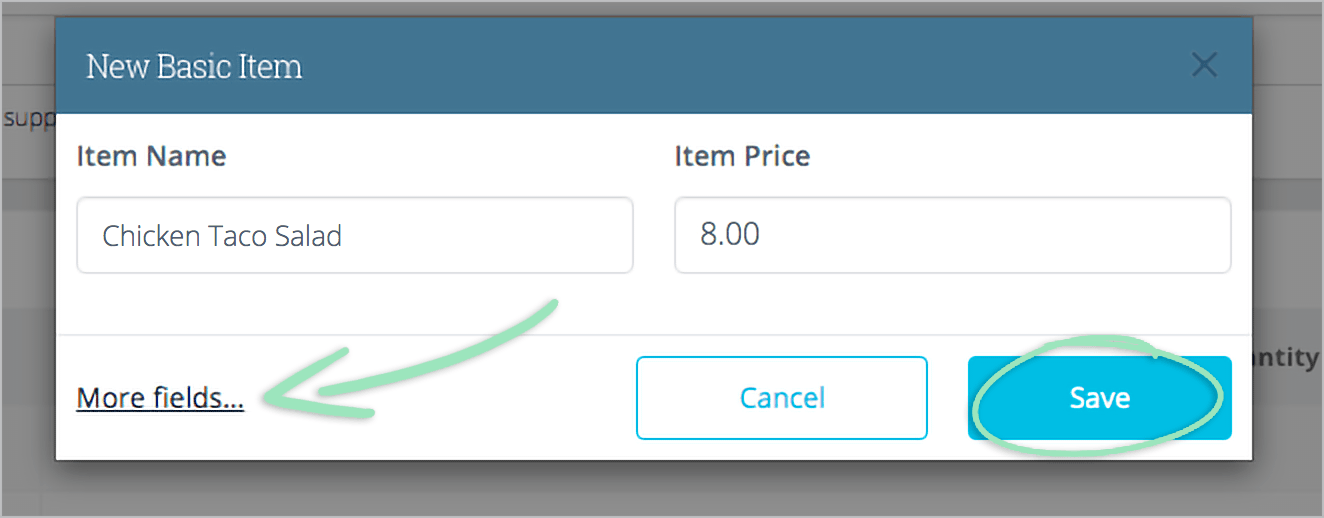
- Enter an ‘Item Name’ and ‘Item Price’, then click ‘More fields....’ to enter additional details (steps 5 - 6), or click ‘Save’ to quickly add the item.
- If entering additional details, fill in the menu item's fields.
Name | What the menu item is called. This appears on the item’s shortcut, receipts, & reporting.

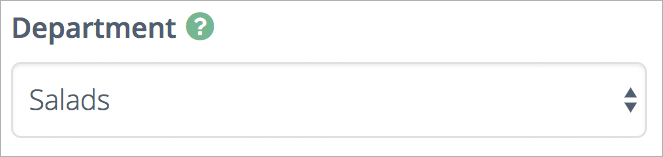
Department | General grouping used for item organization, reporting, and ticket printing.
Category | A subset of Department that is also used for organization, reporting, and ticket printing.

Sales Price | The amount customers pay.

Track Quantity on Hand | Determines whether the menu item’s quantity is tracked.
Leave this toggled off for made-to-order items or those without a quantity.
Toggle this on for countable items, such as retail goods or bottled drinks.
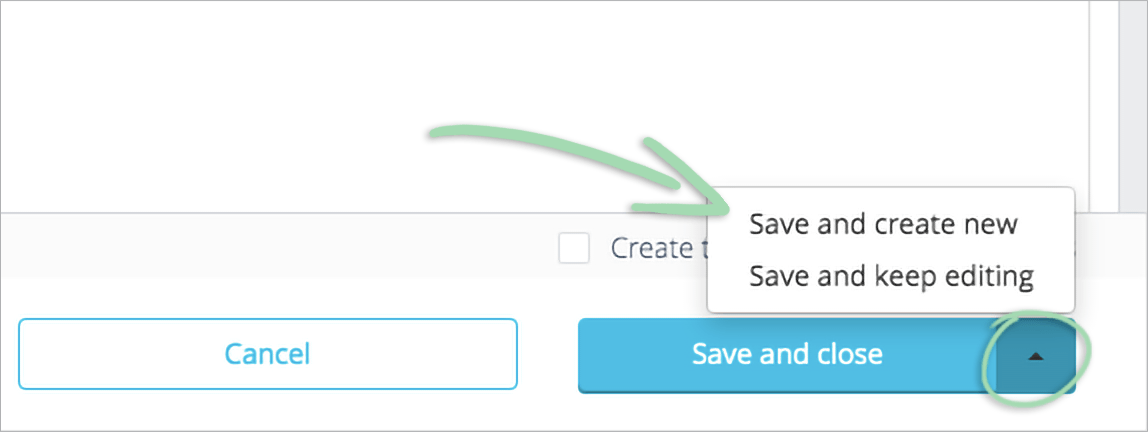
- Click the default save option or click the arrow to select another save option to finish creating the item.
Save and create new | Save the current item and create a new item.
Save and keep editing | Save the current item and remain on the details page to make adjustments.
Save and close | Save the current item and return to the Item List.The last used selection will be remembered as the default save option.
Visit our Add Basic Items article for help with any settings not covered above.
Modifiers
Add modifiers to menu items to allow customers to personalize their order. Modifiers represent the different options a customer has when they order, such as the kind of cheese on a burger.
- Click the 'Modifiers' tab.

Single Choice Modifiers
These are for either/or choices you give the customer. For example, a burger can be cooked medium or medium-rare but not both ways at the same time.
- Click 'Add a Group' and enter a group name.
- Enter the group’s default selection.
- Click 'Add another option' to add more choices.

Add to price | Amount to add to the sales price if the option is selected.
Green Check | Default option that is automatically selected when the item is rung up.
Trash Can | Deletes the group or option. - Click 'OK' to save changes.
Multiple Choice Modifiers
Multiple choice modifiers allow customers to select as many options as they want but no more than one of any particular option. There are two types of multiple choice modifiers:
- Click ‘Add an option’ under Add-ons or "NO" Options.
- Enter a name and an optional amount.
Add-ons: enter an ‘Add to price’ that raises the item’s price when the modifier is selected.
“NO” Options: enter a ‘Discount when OFF’ that lowers the price when the modifier is deselected. - (Optional) Click ‘Add another option’ to enter additional Add-ons or "NO" Options.


- Click 'OK' to save changes.
For more on modifiers, including how to copy them from one item to another, visit our Modifiers article.
Item Shortcuts
A well-organized item shortcuts layout allows cashiers to quickly navigate the menu to ring up orders.
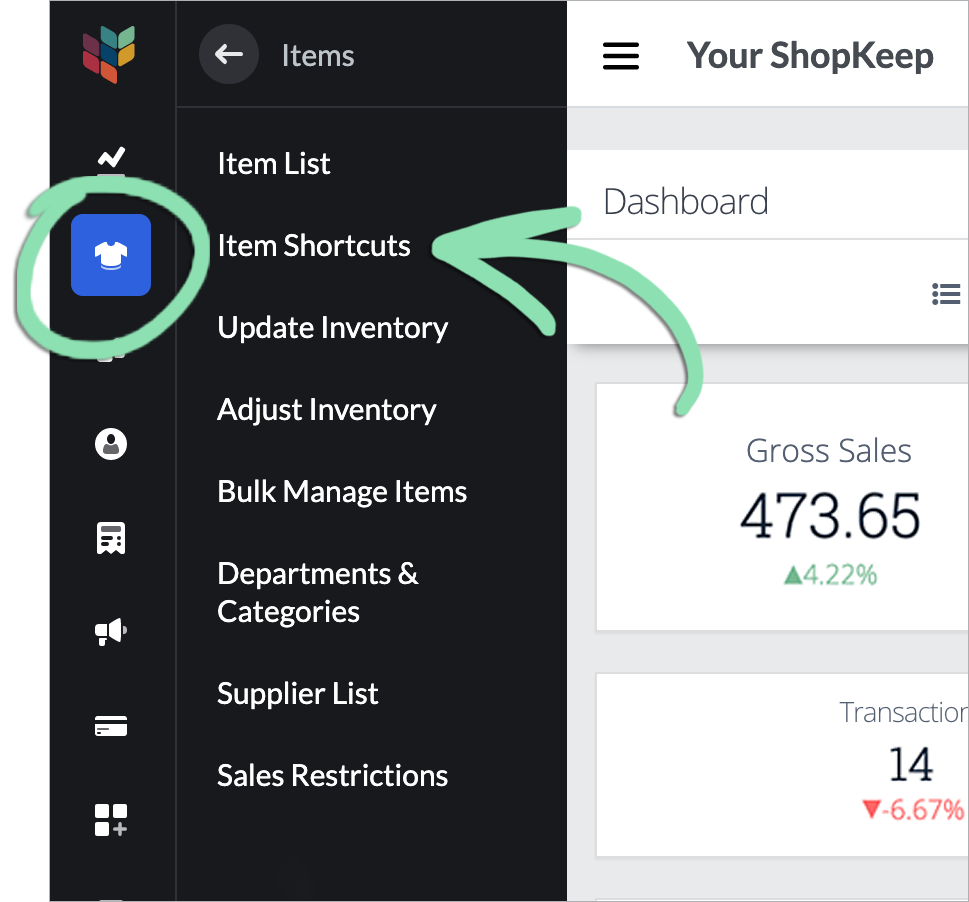
- Visit the item shortcuts setup page in BackOffice or from Retail POS (S-Series) app (employees with BackOffice permissions only).
- In BackOffice, click ‘Items’ and select ‘Item Shortcuts’.
- In the Retail POS (S-Series) app for iOS, tap ‘Edit Shortcuts’ on the Main Menu. For the Retail POS (S-Series) app for Android, tap ‘Setup’ on the register menu, then select ‘Edit Shortcuts’.
Retail POS (S-Series) app for iOS Retail POS (S-Series) app for Android
- Type the name of an item to find it on the list.

- Drag the item into a position on the layout below.

Visit our Item Shortcuts article to learn how to create additional pages and change shortcut colors.
Ticket Printing
Kitchen tickets contain details a cook needs to prepare an order, including selected modifiers and cashier notes. Tickets print whenever a cashier tenders or saves a sale with items assigned to a printer group.
If you have questions about your ticket printer, visit our Hardware FAQ.
- Set up your ticket printer and connect it to the Retail POS (S-Series) app.
Visit our Epson Ticket Printer Setup article for help completing this step.
- In BackOffice, click 'Settings' and select 'Printers'.

- Click ‘Add New’ and select ‘Printer Group’.

- Enter a 'Name' and select departments and/or categories of items to assign to the printer group.

- Select the printer(s) you want to print tickets for the group's items and click 'Save'.

To learn how to manage ticket printing for individual items, visit our Ticket Printer Setup article.
Receipt and Gratuity Settings
Enter the business details that will print on customer receipts and decide how customers will sign and tip for credit card transactions in BackOffice or from the Retail POS (S-Series) app (Business Owners only).
- Sign into BackOffice as an employee with the relevant permission or the Retail POS (S-Series) app as the Business Owner and open receipt settings.
- In BackOffice, click ‘Settings’ and select ‘Receipts and Tips’.

- In the Retail POS (S-Series) app for iOS, select ‘Receipt and Tip Settings’ from the Main Menu. For the Retail POS (S-Series) app for Android, tap ‘Setup’ on the register menu, then select ‘Receipt and Tip Settings’.
Retail POS (S-Series) app for iOS Retail POS (S-Series) app for Android
Business Info
The receipt is a record of the customer’s order and payment and can also include useful information, such as a Twitter handle customers can use to locate your truck.
Most food trucks prefer to print receipts. If you want to set up email receipts, see our Receipt Setup article.
- Click the 'Business Info' tab.

- Fill in as much ‘Business Info’ as desired for receipts.

- Click ‘Save’ to save changes.
Gratuity Settings
To finish up, set how customers will sign and tip for credit card sales.
- Click the ‘Tips and Signature’ tab.

- Click the drop-down for 'Signature' and select an option, then enable the ‘Tips’ setting.
- Most food trucks choose ‘On screen’. This is quicker than printing a credit card signature slip.
- Note: The ‘Combine tip options and signature on the same screen’ setting is only available on the Retail POS (S-Series) app for iOS when EMV payments are not enabled.

- (Optional) Customize each suggested tip value and type (‘$’ or ‘%’).
Suggestions appear on the register’s gratuity screen with tips enabled on screen (see step 2). Visit our Tips and Gratuity article to learn how to enable tip suggestions for paper receipts.

- Click 'Save'.
Visit the Receipt Setup article for more details on each part of the receipt.
Add Staff
“Staff” is Lightspeed Retail’s term for anyone who works on your food truck. The cashier needs the register to handle orders, and the cook needs register access to clock in and out.
If you have any questions about adding staff, visit our BackOffice FAQ.
This feature is only available for Lightspeed Retail merchants on select pricing packages.
- In BackOffice, click 'Staff' and select 'Staff List'.

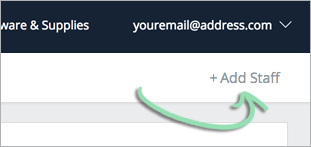
- Click 'Add Staff'.
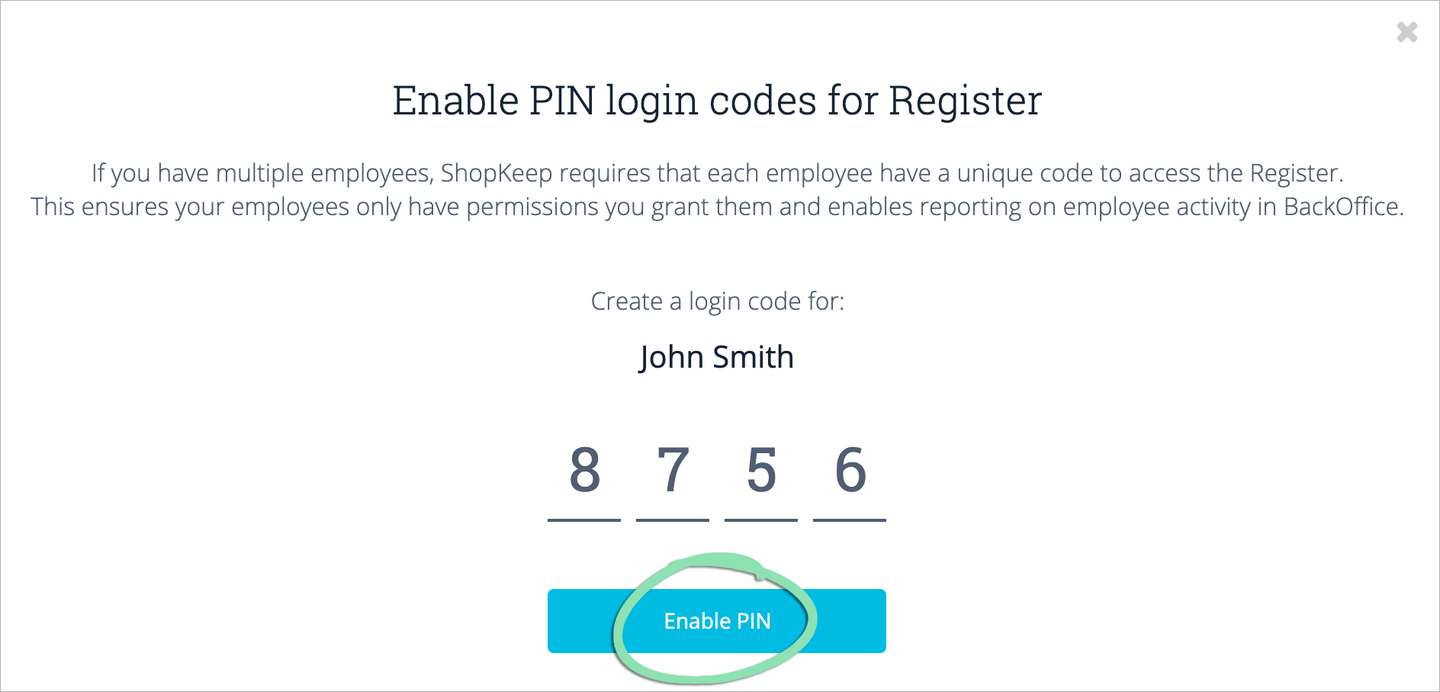
- If prompted, set a new register code for the Business Owner and tap 'Enable PIN'.
- Enter at least a first name, last name, register code, select a role, and click 'Save'.

Register Code | 4-digit code that allows an employee to clock in and out and sign into the register.
Role | Select ‘Cashier’ or ‘Manager’. Cashiers can run sales, returns, and perform other cashier functions at the register. Managers can perform cashier and manager functions, such as opening the register shift and cash drawer.
BackOffice Access | Select a level of BackOffice access to give to an employee. Visit our Manage Staff article to learn about the different types of BackOffice permissions.
Don’t see ‘BackOffice Access’? Visit our Staff Troubleshooting guide for help.
Visit our Manage Staff article to learn how to edit and delete employees and change employee settings.
Named Discounts
Do you run promotions or offer a meal discount to employees? Set up custom preset discounts to speed up transactions where a discount is needed and to view reporting on what discounts are used at the register.
- In BackOffice, click 'Settings' and select 'Discounts'.

- Click 'Add Discount'.

- Fill in the details and click 'Save'.

Name | Name of the discount as it appears on the register and in BackOffice reporting.
Receipt Description | Name of the discount as it appears on receipts. Leave blank to use the Name entered above. View a sample receipt with receipt description here.
Type | Select whether the discount is a dollar amount or a percent.
Amount/Percent | Depending on the Type chosen, enter the discount’s dollar amount or percent.
Open | Check this box to allow cashiers to enter an amount/percent at the register when applying the discount to a sale. If checked, the Amount/Percent field will be disabled.
Applies to | Decide if the discount can be applied to individual items, to entire transactions, or to both.
Requires manager | Check this box to require a manager code before a cashier can apply the discount.
Visit our Discounts article to learn about discount settings and how to apply discounts at the register.