BackOffice
for Quick-Service Restaurants
After setting up BackOffice, check out part 2: Retail POS (S-Series) for Quick-Service Restaurants.
BackOffice is your first step in running a smarter quick-service restaurant, such as a café or fast food business, with Lightspeed Retail. Set up your menu, assign register access to employees, and design your receipts, all from one central hub.
Build Your Menu
Before you can sell your world-famous coffee, you need to set up your menu in BackOffice or from the Retail POS (S-Series) app (employees with the relevant BackOffice permissions only). Check out the sections below to learn how to add a menu item, tweak its options, and create item shortcuts for the register.
If you have questions about adding or managing menu items, visit our Inventory FAQ.
Add Menu Items
To get started building your menu, add each menu item one at a time.
- Visit the Item List in BackOffice or from the Retail POS (S-Series) app (employees with BackOffice permissions only).
- In BackOffice, click ‘Items’ and select ‘Item List’.

- In the Retail POS (S-Series) app for iOS, tap ‘Manage Items’ on the Main Menu. For the Retail POS (S-Series) app for Android, tap ‘Setup’ on the register menu, then select ‘Manage Items’.
Retail POS (S-Series) app for iOS Retail POS (S-Series) app for Android
- Click 'Add New'.

- Select 'Create' under 'Basic Item'.

- Quickly add a basic item by entering an ‘Item Name’ and ‘Item Price’, then clicking ‘Save’. If more details such as a UPC code, Department, or Supplier are required, tap ‘More fields…’ and follow the steps below.

- Fill in the details of the menu item.
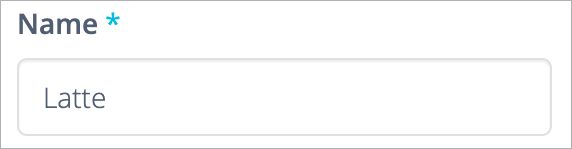
Name | What the menu item is called. This appears on the item shortcuts panel, receipts, & reporting.
Department | General grouping used for item organization, reporting, and ticket printing.

Category | Subgroup within a Department that is also used for organization, reporting, and ticket printing.

Sales Price | Amount customers pay.

Track Quantity on Hand | Controls whether the quantity on hand of the item will be updated after sales and returns.
Enable for countable items such as retail goods or bottled drinks.
Disable for made-to-order items or those without a quantity.
- Click the default save option or click the arrow to select another save option to finish creating the item.
-
Save and create new | Save the current item and create a new basic item.
Save and keep editing | Save the current item and remain on the details page to make adjustments.
Save and close | Save the current item and return to the Item List.The last used selection will be remembered as the default save option.

For more information on adding items, such as details on other fields and how to track costs, visit our Add Basic Items article.
Set Up Modifiers
Add modifiers to an item to allow customers to customize their order. Modifiers represent the different options a customer has when they order an item, such as the size of a drink, and print on receipts and kitchen tickets to let prep staff know how to prepare the item.
- Click the 'Modifiers' tab.
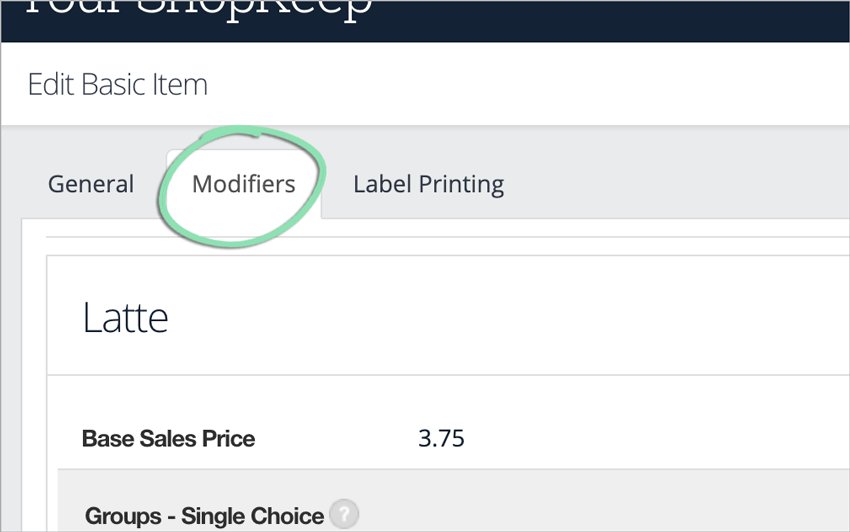
Groups – Single Choice
Single choice modifiers are for either/or choices you give the customer. For example, a cup of coffee can be small or medium, but not both at the same time.
- Click 'Add a group' and enter a 'Group name'.
- Enter the default selection for the group.
- Use 'Add another option' to create more choices.

Add to Price | Amount added to the sales price if selected.
Green Check | Base or default choice the item starts with.
Trash Can | Deletes the group or option. - Click 'OK' to save changes.
Add-Ons
Add-ons include toppings, customizations, and other extras that can be added to an item. Customers can select as many of these multiple choice modifiers as they want but no more than one of each.
- Click 'Add an option' under 'Add-ons'.
- Enter a name and optional 'Add to price'.
- Use 'Add another option' to create more add-ons.

- Click 'OK' to save changes.
“NO” Options
“NO” options allow customers to exclude ingredients that normally come standard with an item.
- Click 'Add an option' under '"NO" options'.
- Enter a name and optional 'Discount when OFF' price.
Discount when OFF | Amount subtracted from the price if the customer does not want the ingredient.
- Click 'Add another option' to set up more "NO" options.

- Click 'OK' to save changes.
For more information on modifiers, such as how to copy them from one item to another, visit our Modifiers article.
Item Shortcuts
An organized item shortcuts panel makes it easy for cashiers to find menu items and quickly add them to an order. Employees with the relevant BackOffice permissions also have the ability to create item shortcuts from the Retail POS (S-Series) app.
- Visit the item shortcuts setup page in BackOffice or from the Retail POS (S-Series) app (employees with BackOffice permissions only).
- In BackOffice, click ‘Items’ and select ‘Item Shortcuts’.
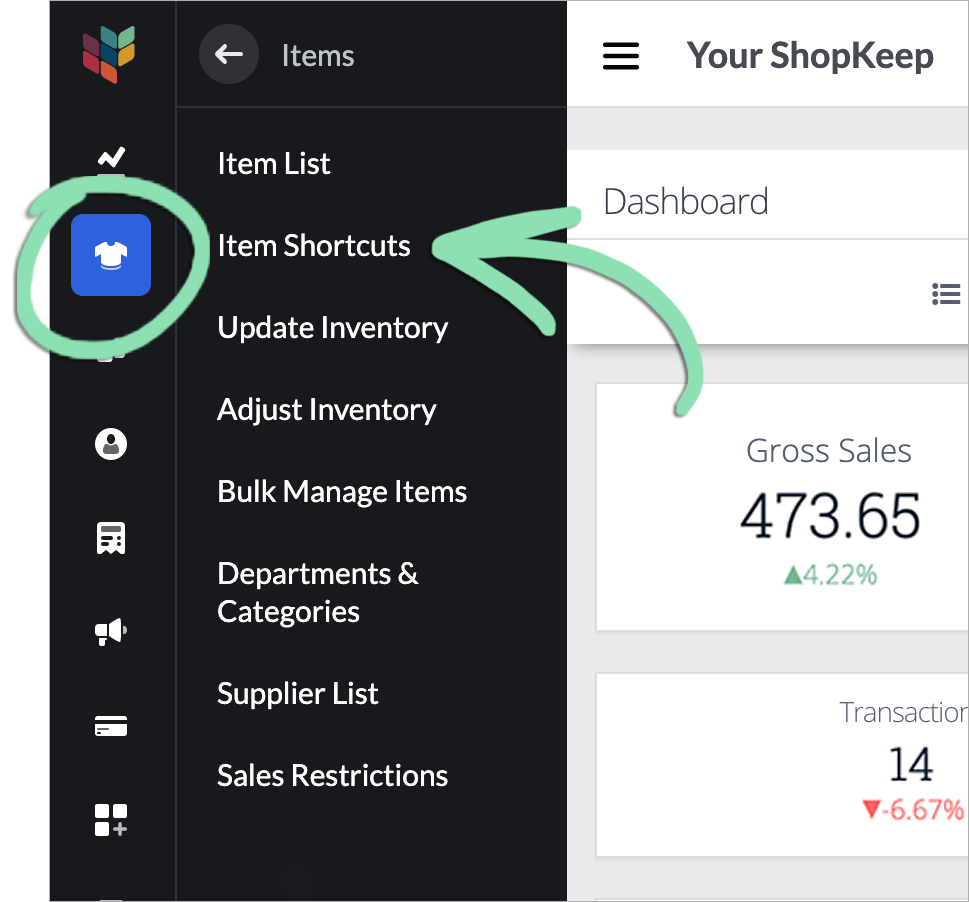
- In the Retail POS (S-Series) app for iOS, tap ‘Edit Shortcuts’ on the Main Menu. For the Retail POS (S-Series) app for Android, tap ‘Setup’ on the register menu, then select ‘Edit Shortcuts’.
Retail POS (S-Series) app for iOS Retail POS (S-Series) app for Android
- Type the name of an item to find it on the list.
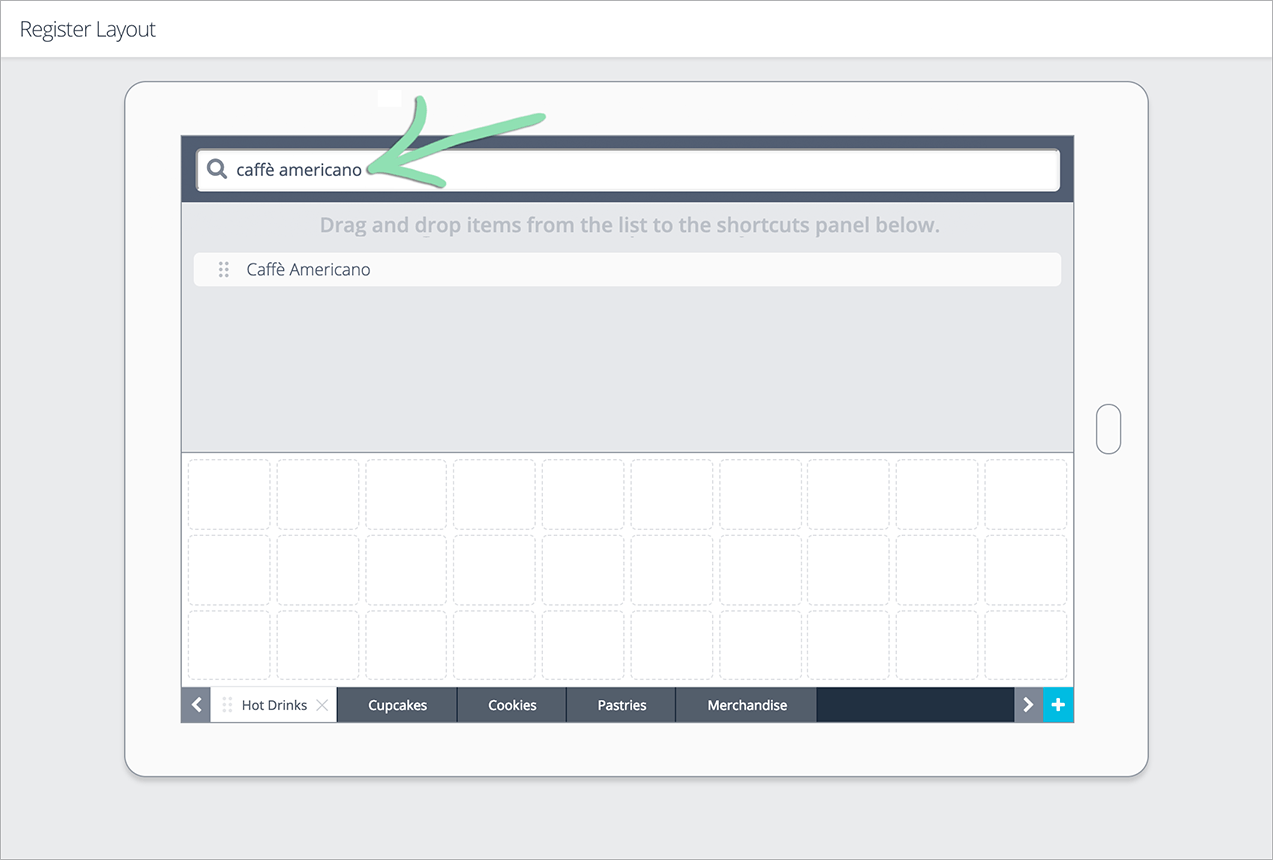
- Drag the item from the list to a position on the shortcuts layout panel below.

For more help with the item shortcuts, such as how to add pages to the layout, see our Item Shortcuts Layout article.
Staff & Privileges
Managers need to be able to open and close the shift, cashiers need to ring sales, and prep staff need to clock in and out. Set up each staff member in BackOffice so they can use the register.
If you have questions about adding staff, visit our BackOffice FAQ.
Add Staff
Add each staff member to give them register access and track their contact details.
- In BackOffice, click 'Staff' and select 'Staff List'.

- Click 'Add Staff'.

- If prompted, set a new register code for the Business Owner and tap 'Enable PIN'.

- Enter at least a first name, last name, register code, select a role, and click 'Save'.

Register Code | 4-digit code that allows an employee to clock in and out and sign into the register.
Role | Select ‘Cashier’ or ‘Manager’. Cashiers can run sales, returns, and perform other cashier functions at the register. Managers can perform cashier functions and manager functions, such as opening the register shift and cash drawer.
BackOffice Access | Select a level of BackOffice access to give to an employee. Visit our Manage Staff article to learn about the different types of BackOffice permissions.
Don’t see ‘BackOffice Access’? Visit our Staff Troubleshooting guide for help. - Click 'Save'.
To learn more about adding employees in BackOffice, visit our Manage Staff article.
Set Manager Privileges
Manager privileges allow you to restrict access to particular discounts so employees must have a manager enter their register code when applying the discount.
- In BackOffice, click 'Settings' and select 'Discounts'.
- Select any discount or 'Add Discount' to create a new one.

- Check 'Requires Manager' to enable permissions.

- Click 'OK' to confirm.
Check out our full Manage Staff article for more information on adding employees.
Receipt & Gratuity Settings
Enter the business details that will print on customer receipts and decide how customers will sign and tip for sales paid for with credit or gift cards in BackOffice or from the Retail POS (S-Series) app (Business Owner only).
Most quick-serve businesses prefer to print receipts since it’s quicker than emailing them. If you want to set up email receipts, see our Receipt Setup article.
- Sign into BackOffice as an employee with the relevant permissions or the Retail POS (S-Series) app as the Business Owner and open receipt settings.
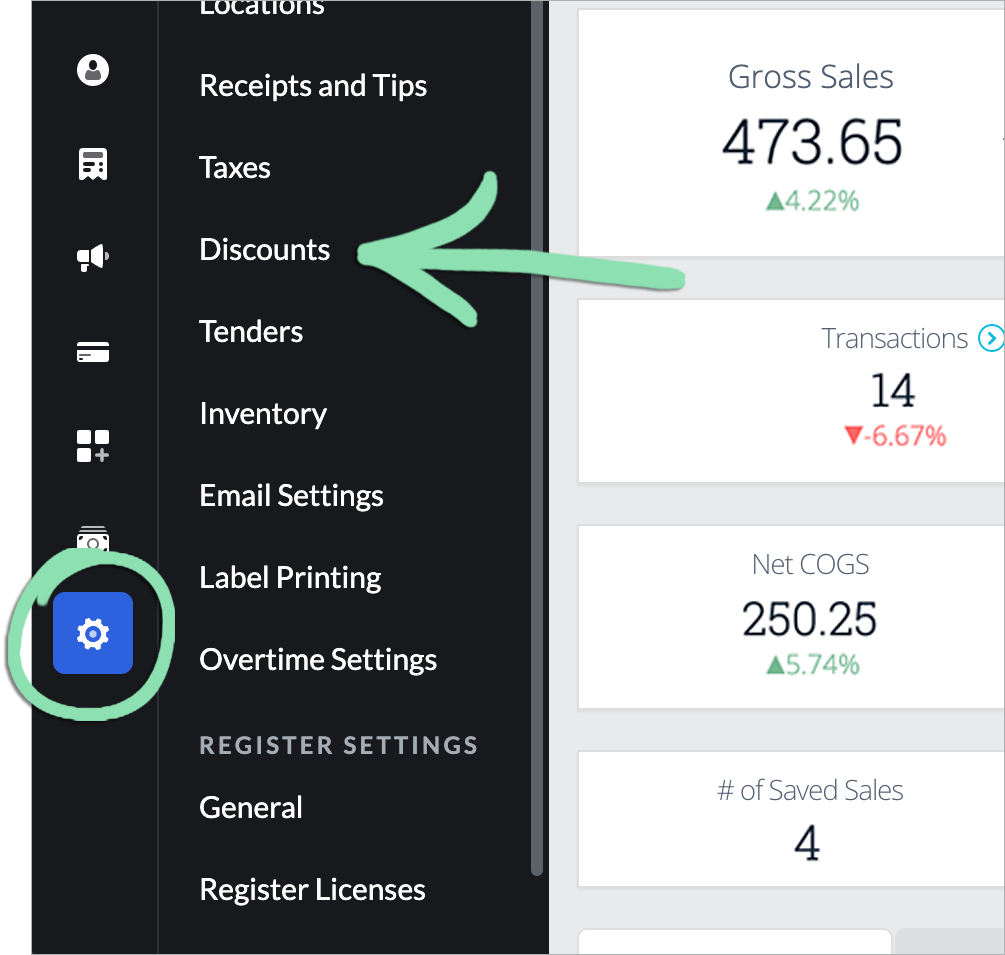
- In BackOffice, click ‘Settings’ and select ‘Receipts and Tips’.

- In the Retail POS (S-Series) app for iOS, tap ‘Receipt and Tip Settings’ on the Main Menu. For the Retail POS (S-Series) app for Android, tap ‘Setup’ on the register menu, then select ‘Receipt and Tip Settings’.
Retail POS (S-Series) app for iOS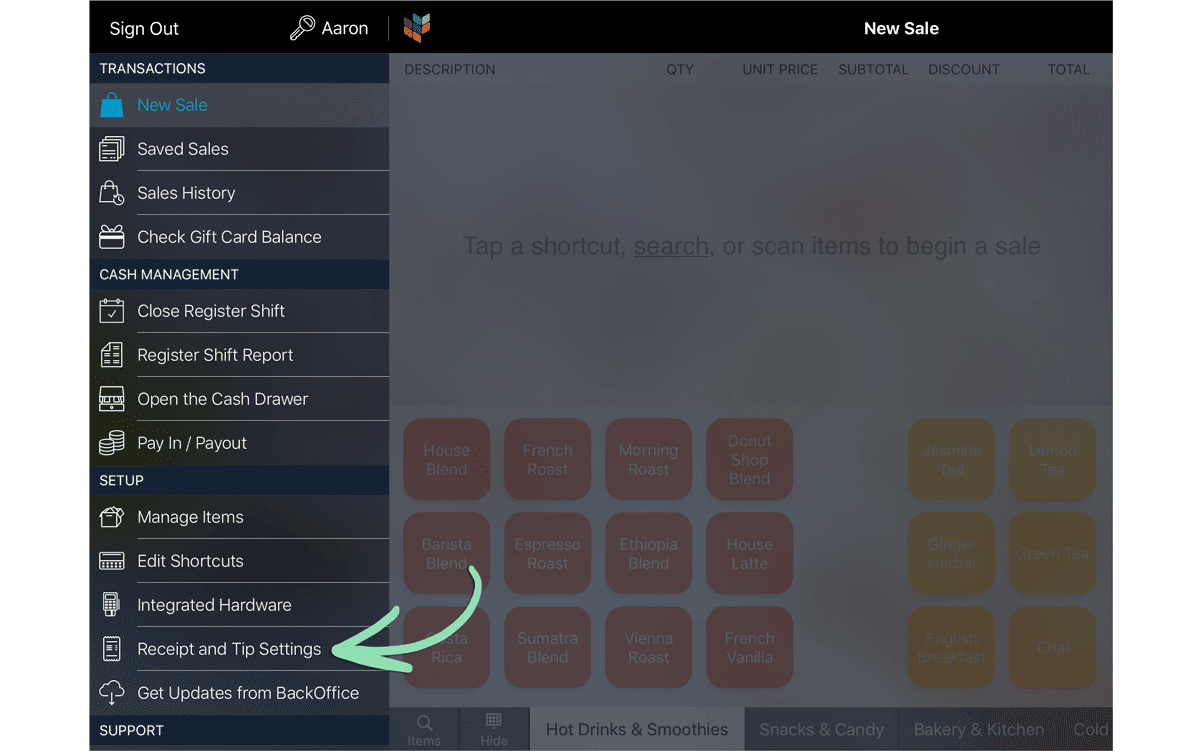 Retail POS (S-Series) app for Android
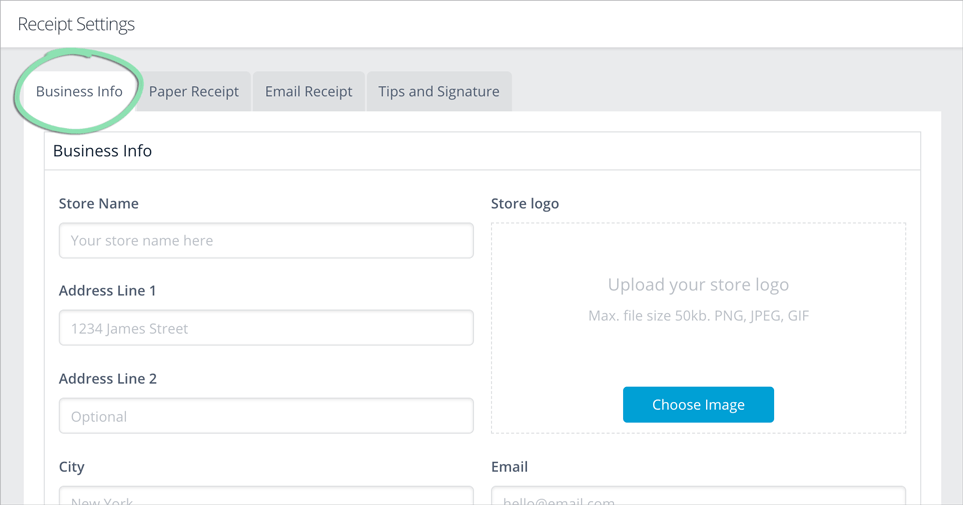
Business Info
The receipt is a reminder of a customer’s experience at your business. Enter your business information to give them a record of where they ordered that delicious meal last week.
- Click the ‘Business Info’ tab.
- Fill in as much ‘Business Info’ as desired for receipts.
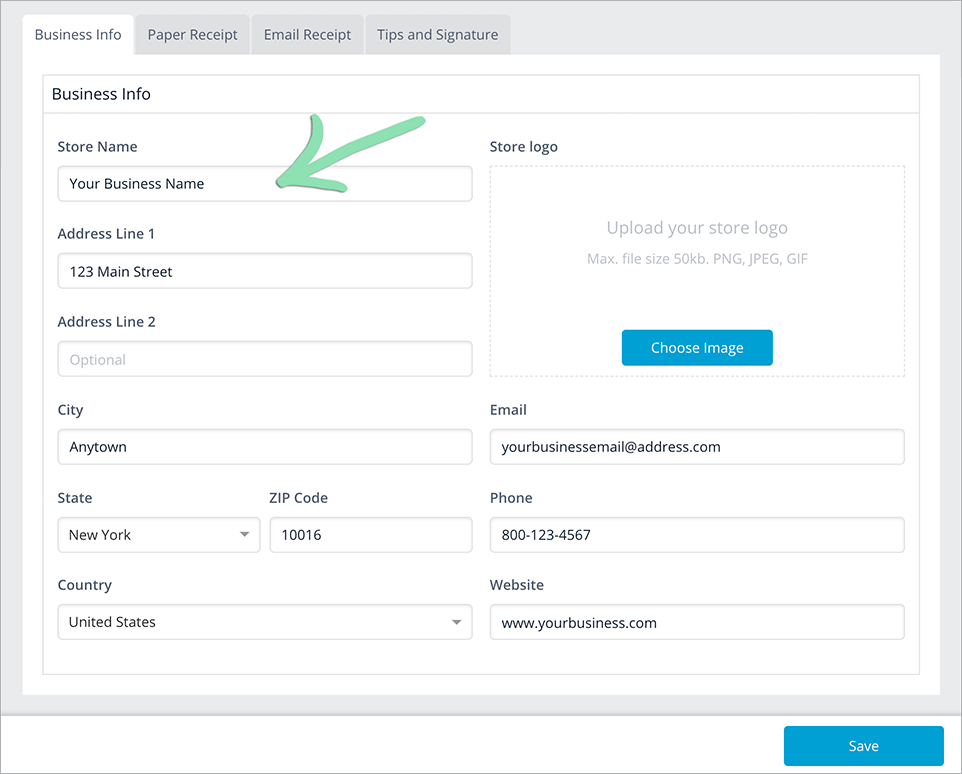
- Click ‘Save’ to save changes.
Gratuity Settings
Finish receipt setup by configuring the Tips and Signature settings for sales paid for with credit or gift cards.
- Click the ‘Tips and Signature’ tab.
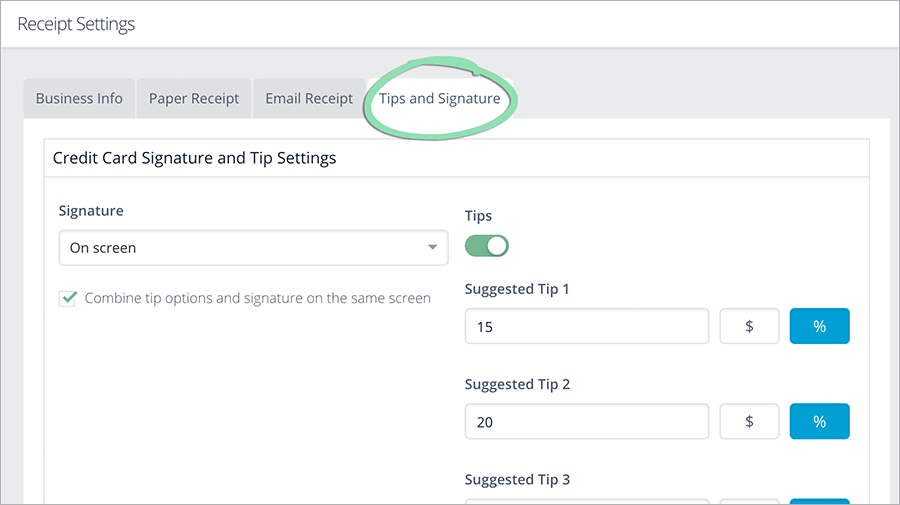
- Click the 'Signature' drop-down and select an option, then enable the ‘Tips’ setting.
- Many quick-serve eateries prefer ‘On screen’. It’s faster and saves paper.
- Note: The ‘Combine tip options and signature on the same screen’ setting is only available on the Retail POS (S-Series) app for iOS when EMV payments are not enabled.

- (Optional) Customize each suggested tip value and type (‘$’ or ‘%’).
Suggestions appear on the register’s gratuity screen with tips enabled on screen (see step 2). Visit our Tips and Gratuity article to learn how to enable tip suggestions for paper receipts.

- Click 'Save'.
To learn about the other tip and gratuity options, check out our Tips and Gratuity article.
Tax Settings
Maybe everything you sell is taxed the same or maybe you sell other goods (e.g. alcohol) that require a different rate. Enter the default tax rate that will be automatically applied to taxable items, then set up additional rates to override the default for specific items.
If you have questions about tax reporting, visit our Reporting FAQ.
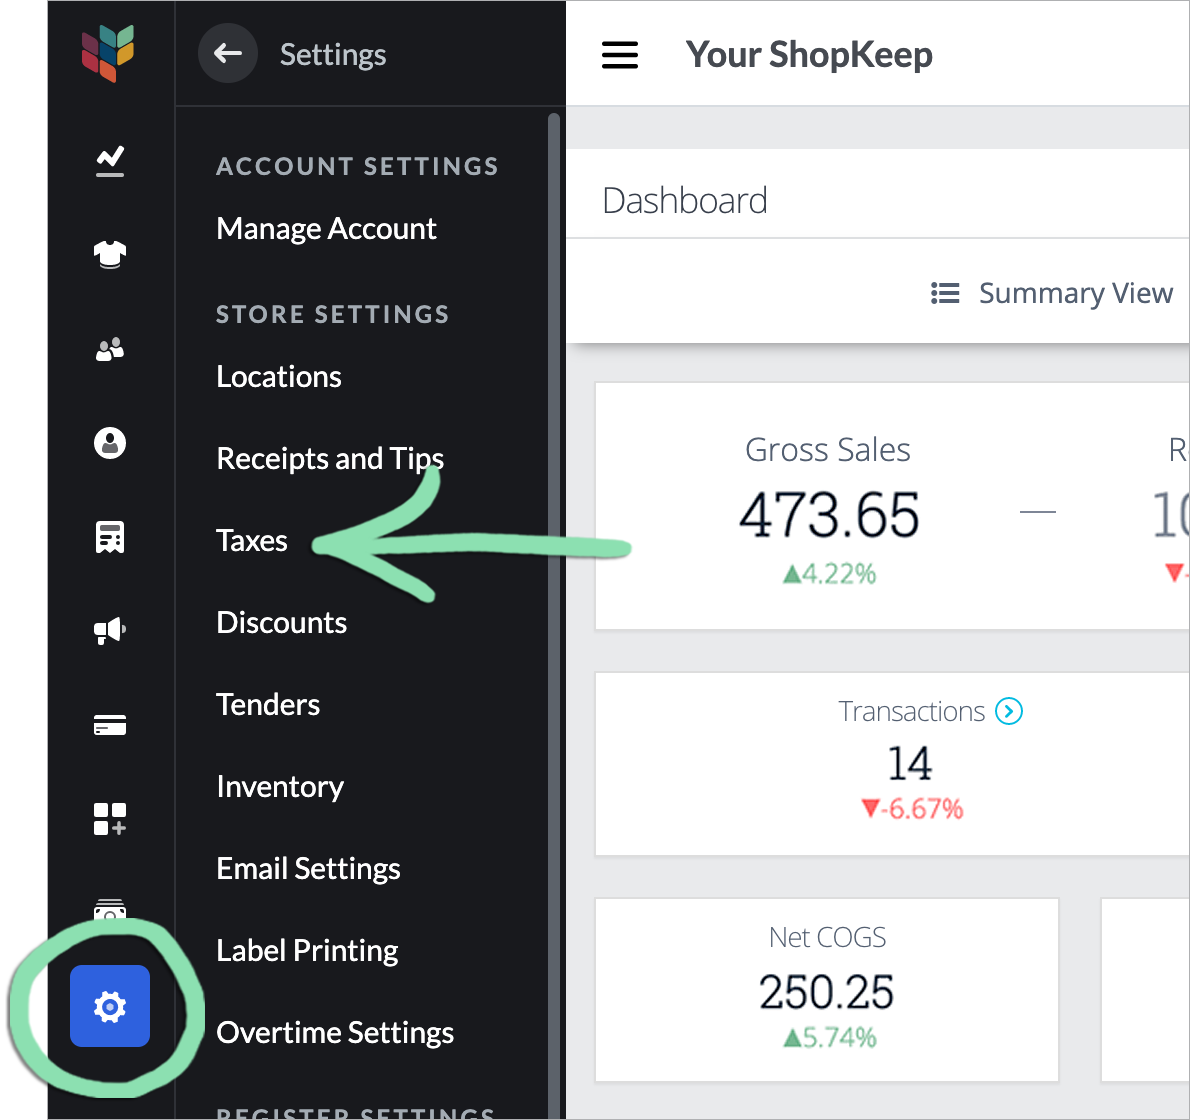
- Click 'Settings' and select 'Taxes'.
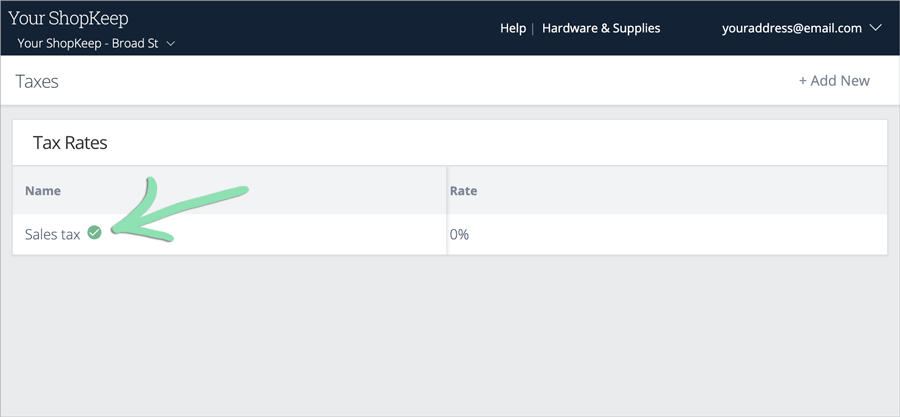
- Click the default tax rate indicated by the checkmark.
- Enter the tax rate details, then click ‘Update’.
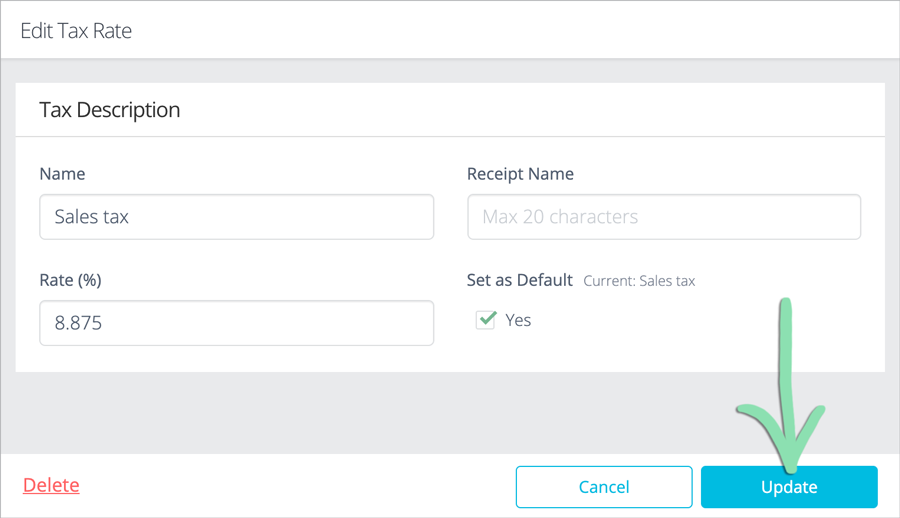
Name | Name of the tax rate as it appears in BackOffice reporting (e.g. “Prepared Food Tax”).
Receipt Name | Name that appears on receipts when the ‘Display tax rates on receipt’ setting is set to ‘Display each tax rate charged individually’ and multiple tax rates are charged on a transaction. If left blank, this will default to ‘Tax’.
Rate | Percentage of tax charged for this tax rate (e.g. 7%, 8.875%, etc.).
Set as Default | When checked, the tax rate becomes the default tax applied to all items not assigned to a tax rate. - (Optional) Follow the steps here to set up additional tax rates and assign items to taxes.