With BackOffice setup complete, staff can use the register to serve customers. Start an order, manage saved sales, manage guests and tables, and close an order out when the customer is ready to pay.
Table of Contents
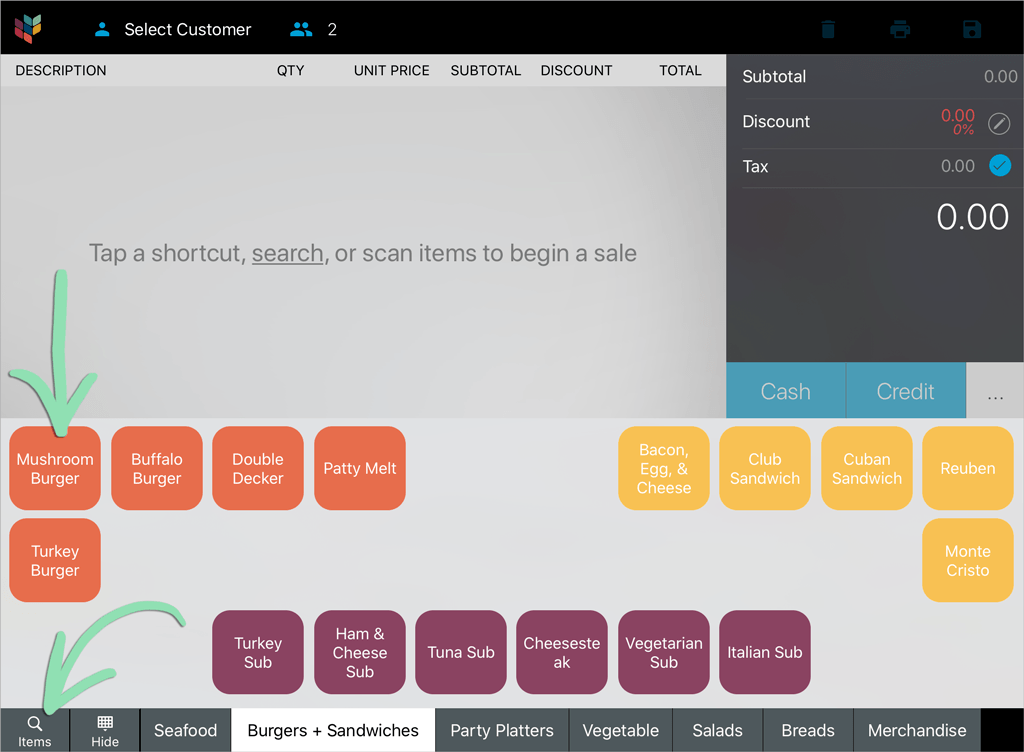
Begin an Order
Begin an order by starting a new sale. As the order progresses, void items if a customer changes their mind and apply discounts if needed.
If you have questions about managing orders or saved sales, visit our iPad Register FAQ.
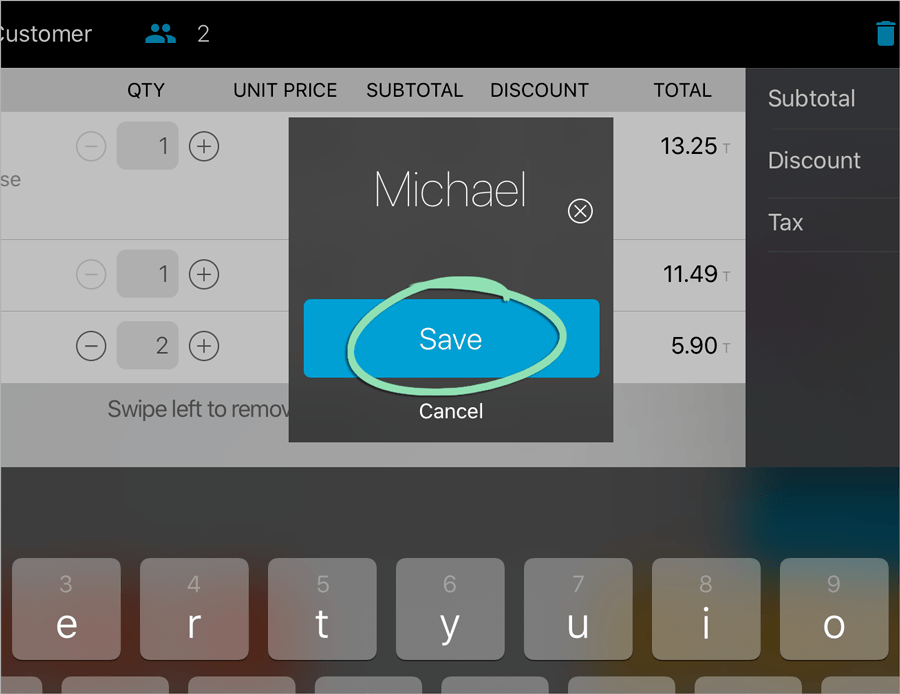
Open a Saved Sale
The Saved Sales feature allows a cashier to enter a customer’s order, save it, and return to process its payment at a later time. With Saved Sales Sync enabled, sales saved at one register can be viewed, modified, and finished on another, allowing flexibility to manage orders from any available device.
Check out our Table Layout article to learn how to create saved sales for sit-in diners at tables in your restaurant.
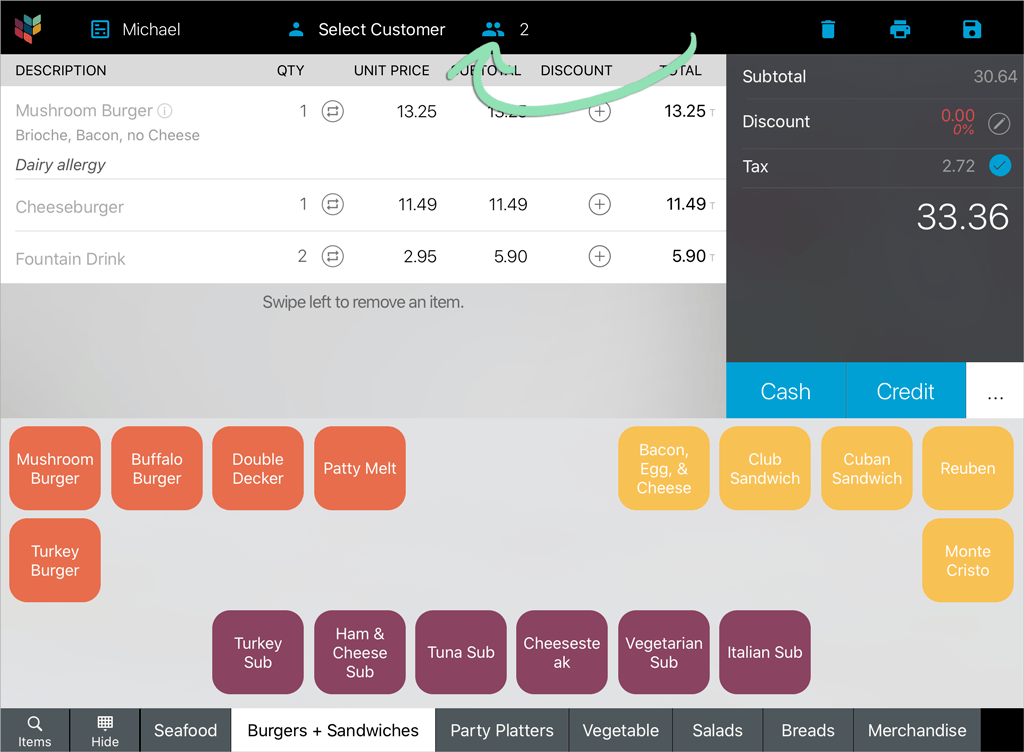
On the New Sale screen, enter the number of guests for the order.
aIf prompted with a keypad, enter the guest count and tap ‘Done’.
Use ‘None’ to record 0 guests when the exact count is unknown, such as with to-go or phone orders.
bIf not prompted, tap the Guests icon to enter the guest count.
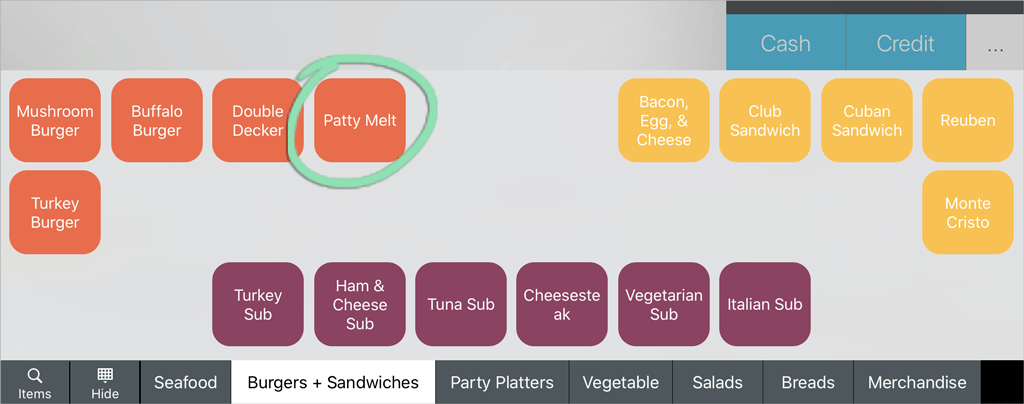
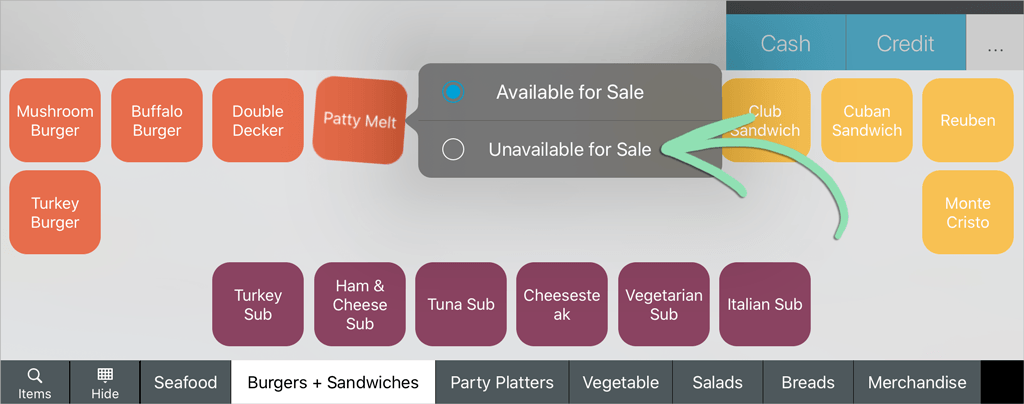
Manage item availability at the register to manually control if specific items can be rung up. When an item runs out, a Register Manager can 86 the item and make it unavailable to temporarily prevent it from being sold. When an unavailable item is ready to be sold again, make it available to allow it to be rung up.
This feature is available to select merchants using the Retail POS (S-Series) app for iOS. Stay tuned as we slowly roll out this feature for more merchants.
Select whether to make the item unavailable or available for sale on that register.
Unavailable items will be grayed out on the shortcuts layout and item search panel, preventing them from being rung up. If an unavailable item is physically present, it can still be rung up by scanning the item barcode.
Availability of individual item variants and modifiers cannot be changed.
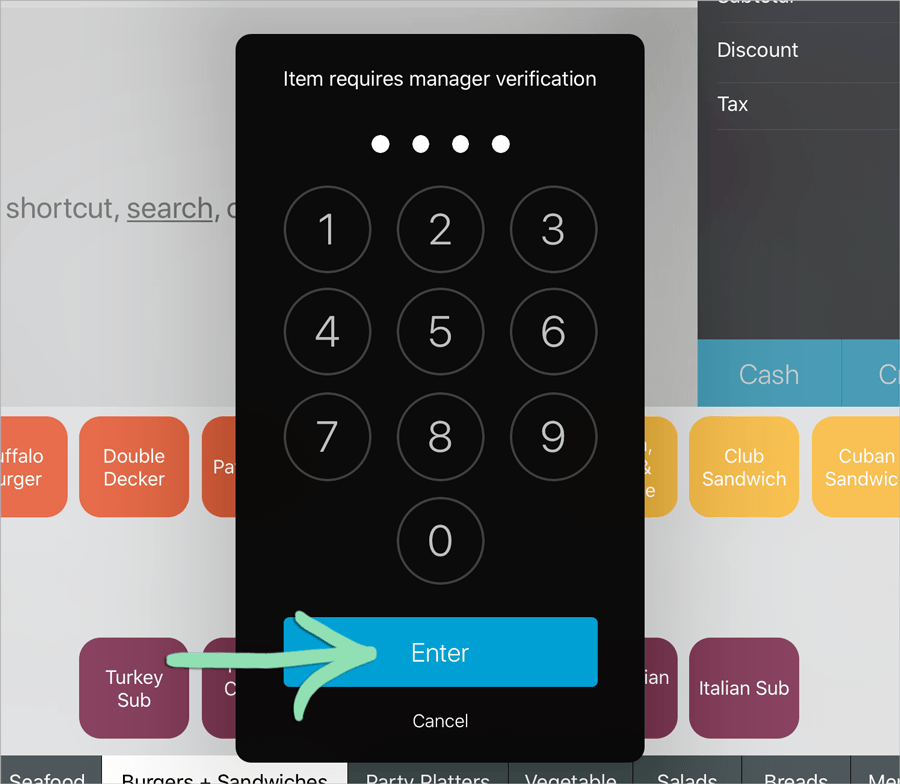
If prompted, enter a manager code and tap ‘Enter’ to authorize the change in availability.
Click to Enlarge
(Optional) Repeat steps 1 - 3 on each additional register to update item availability on those registers.
Item availability does not sync between registers, so items must be manually made unavailable or available on each individual register.
Manage Saved Sales
From splitting and merging to adding the number of guests per saved sale and quickly reordering menu items, there are multiple ways servers can manage their open saved sales.
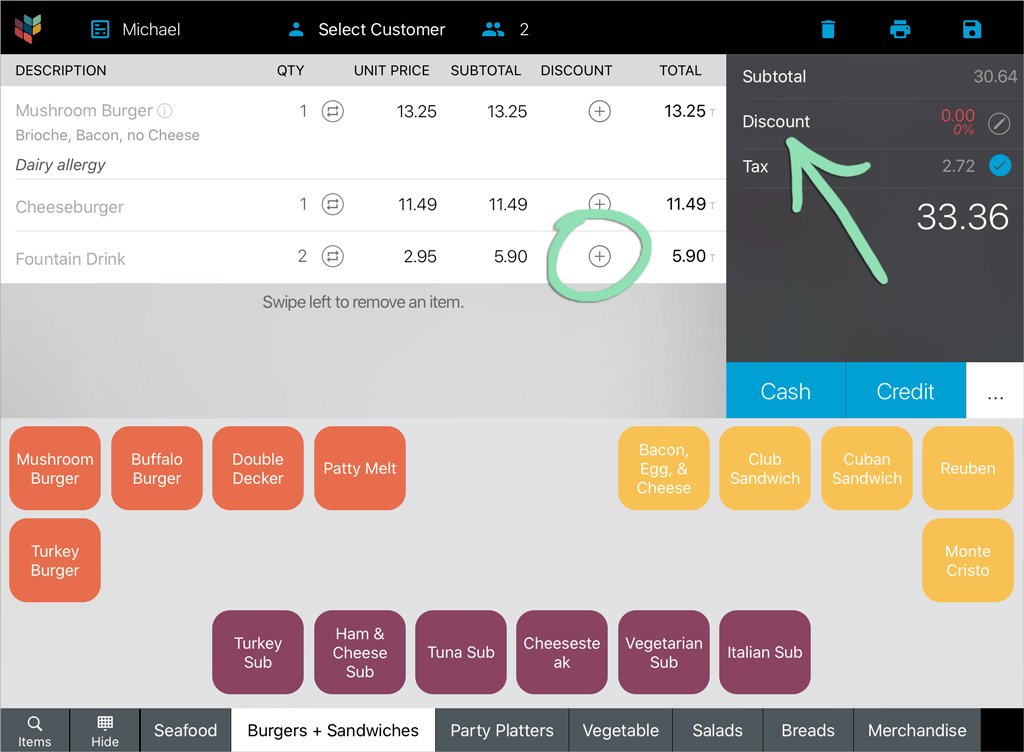
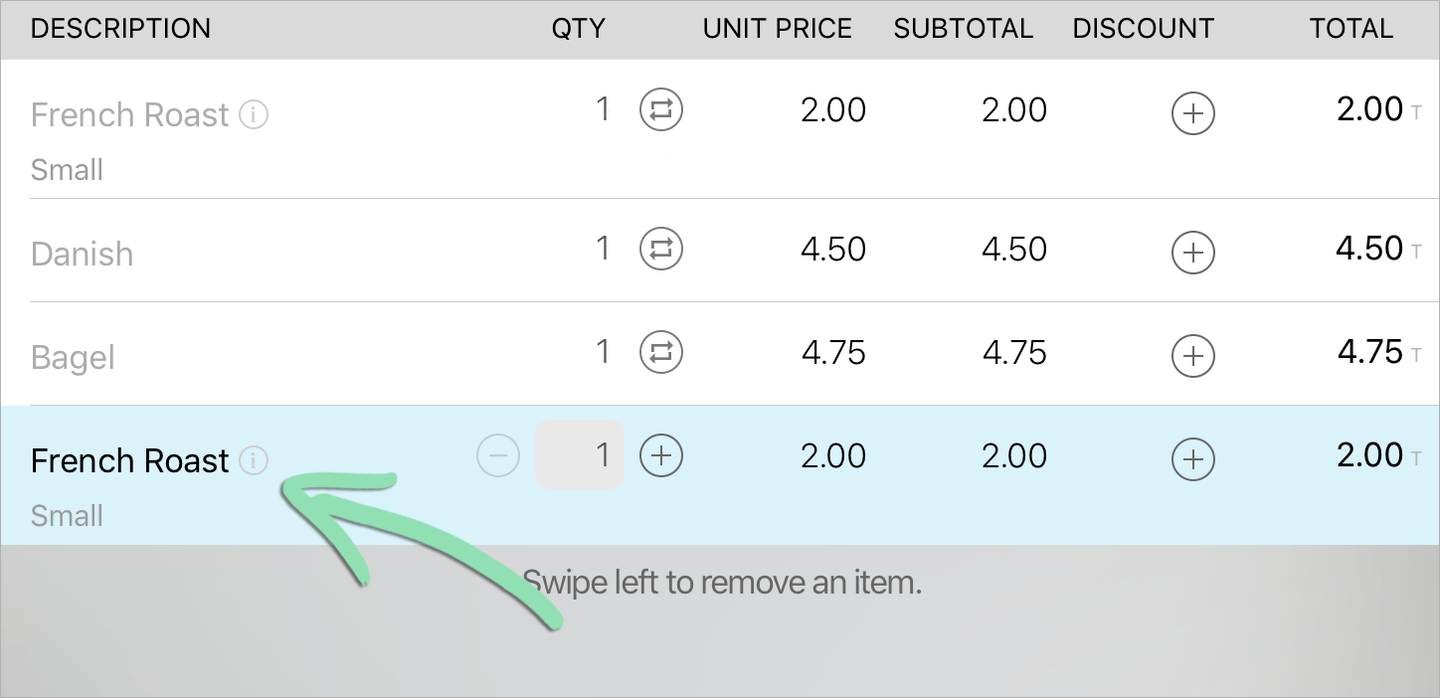
Tap the reorder icon to add a specific line item to the sale again.
By default, reordered items are given a quantity of 1 and have the same modifiers, variants, and/or kitchen ticket notes as the original item. Discounts applied to the original item will not be applied to the reordered item.
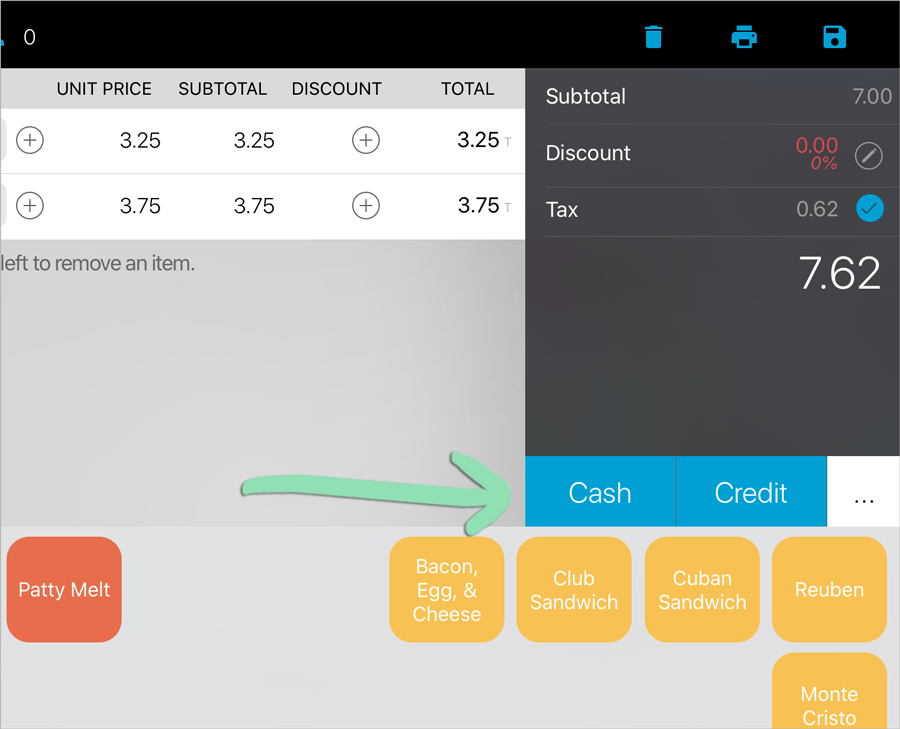
Close out an order when a party is finished with their meal. Learn about Tip Later and Split Tender, two common workflows restaurants use to accept payment.
Tip Later
With Tip Later, the server delivers a credit card signature slip to the table and puts the saved sale on hold until the customer signs. This option is only available when customers sign and tip on a paper receipt.
If you have any questions about leaving tips, visit our Advanced Topics FAQ.
Tap 'Credit' to tender the sale, then swipe, tap, or insert the customer's credit card.
Click to Enlarge
It is a manager’s duty to pay out non-cash gratuity to staff. Run a register shift report to see how much each employee accrued during their shift and perform a payout to remove this money from the drawer.
Register Shift Reports
While staff can run their own individual register shift report to see how much gratuity they earned, a manager can check any server’s total.
Select 'Register Shift Report' from the Main Menu.
Tap 'All Employees' and select an employee to view their individual report.
Click to Enlarge
Tap 'Print X Report' during an open shift or 'Print Z Report' after shifts have been closed to print the report to a connected receipt printer.
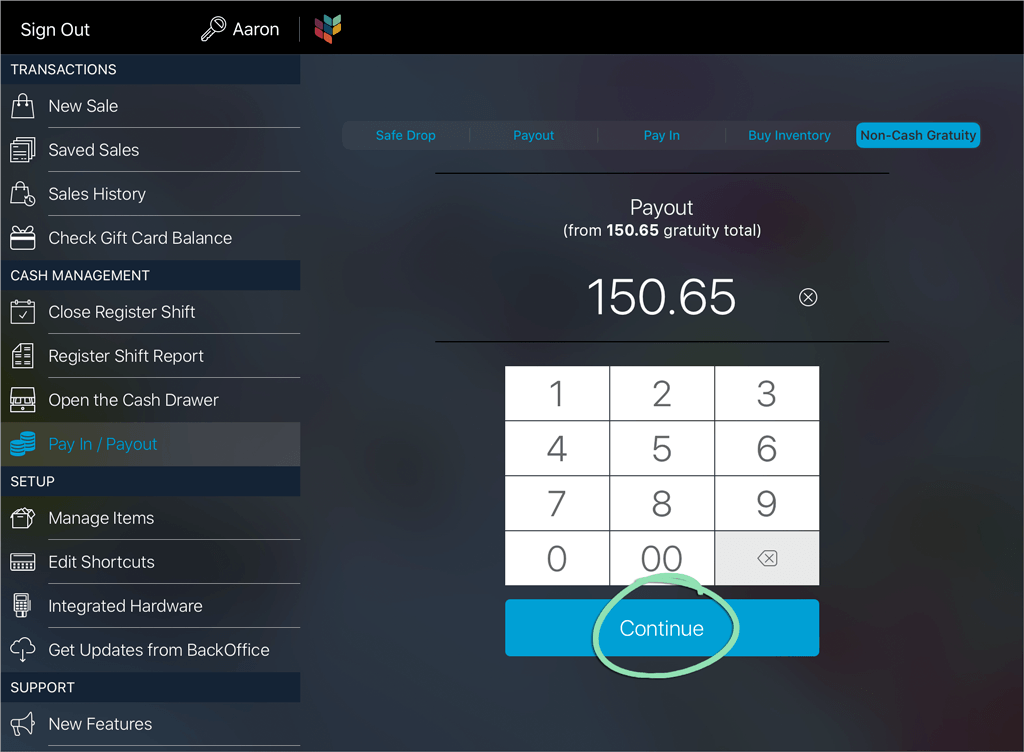
Perform a payout to record whenever you remove money from the till to pay employee tips. This balances the drawer so there is no cash variance when you close the shift.
If you have questions about gratuity payouts, visit our Advanced Topics FAQ.
 b If not prompted, tap the Guests icon to enter the guest count.Learn how to enable the Guest Count prompt here.