Zebra USB Barcode Scanner Setup
Set up the Zebra DS2208 or DS4608 USB Barcode Scanner and stand with the Lightspeed Retail POS for iOS or Android to ring up items by scanning 1D product barcodes and verify age-restricted items by scanning 2D barcodes from state-issued IDs and driver’s licenses or by scanning passports (DS4608 only). Use the included stand to enable hands-free scanning for quicker transactions. After setting up this device, add item UPC codes and set up sales restrictions in BackOffice.
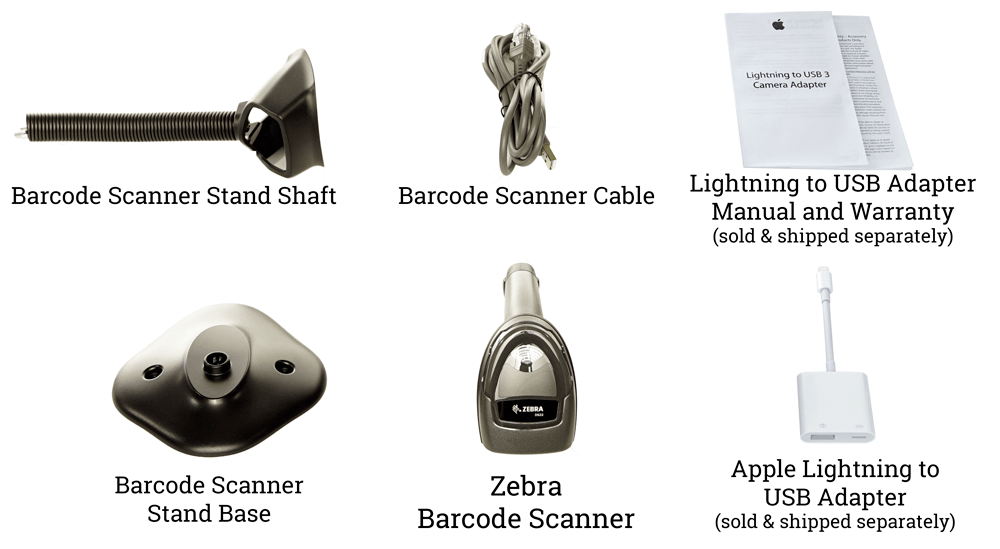
In the Box
Zebra USB Barcode Scanners ship with the parts listed below.
Scanner Setup
Set up the Zebra DS2208 or DS4608 USB Barcode Scanner by connecting it to a register to begin using it to ring up items and verify age-restricted products. The specific steps to connect the scanner will vary based on whether you use the iOS or Android version of the Retail POS (S-Series) app.
For iOS
For the Lightspeed Retail POS on iOS, follow the steps below to connect the barcode scanner to an iPad register.
- Plug a Lightning cable into the Lightning to USB Adapter.

- Plug the USB end of the Lightning cable into an iPad power adapter.
Be sure to use the power adapter that came with the iPad. Other adapters may not provide enough energy to charge the iPad and power the scanner.
- Plug the power adapter into a power outlet.
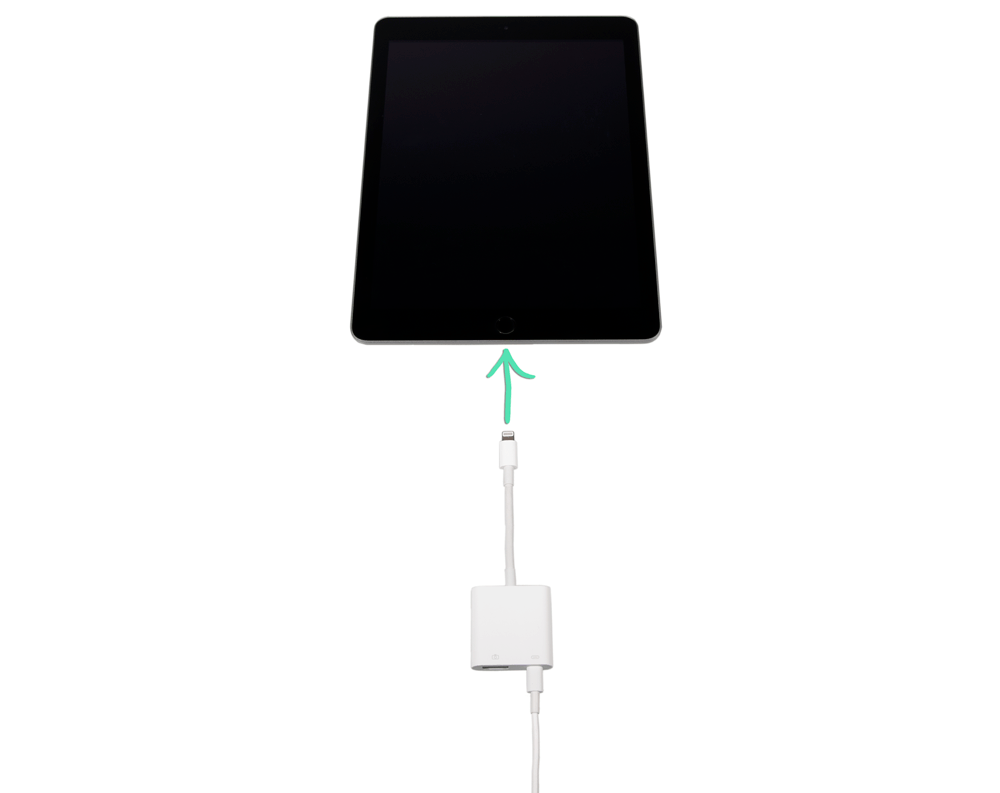
- Connect the Lightning to USB Adapter to the iPad’s charging port.
- Plug the non-USB end of the scanner cable into the barcode scanner.

- Plug the USB end of the scanner cable into the Lightning to USB adapter.

- If setting up a Zebra DS4608 barcode scanner, scan the barcode below to enable passport scanning for sales restrictions.
Passport scanning is only available with the Zebra DS4608 barcode scanner, not with the DS2208.

For Android
For the Lightspeed Retail POS on Android, follow the steps below to connect the barcode scanner to an Android tablet via a USB hub (sold separately).
- Plug the non-USB end of the scanner cable into the barcode scanner.
- Plug the USB end of the scanner cable into a USB hub (sold separately).
- Plug a charging cable into the USB hub, connect the other end to a power adapter, and plug the adapter into a power outlet.
- Plug the USB hub into the charging port on the tablet.
- Open the Retail POS (S-Series) app and sign in as a Register Manager.
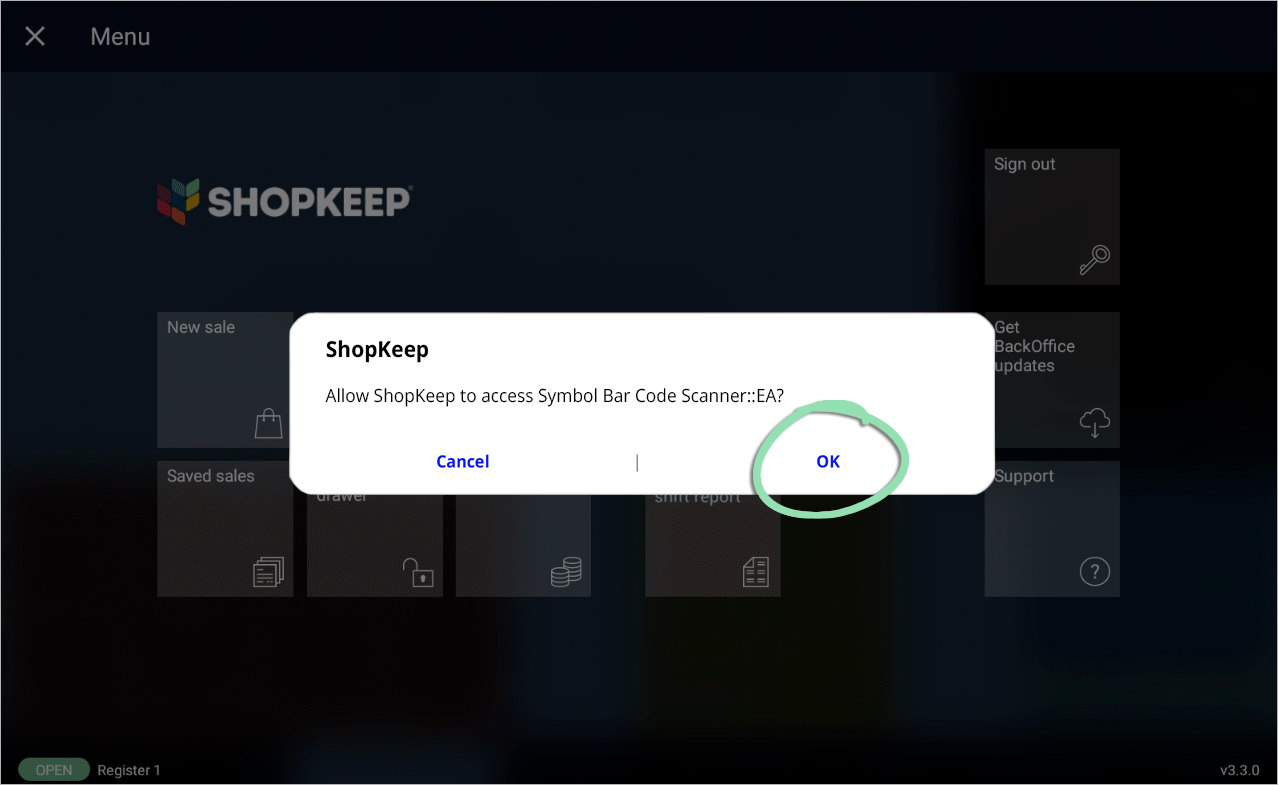
- In the Retail POS (S-Series) app, tap ‘OK’ if prompted.
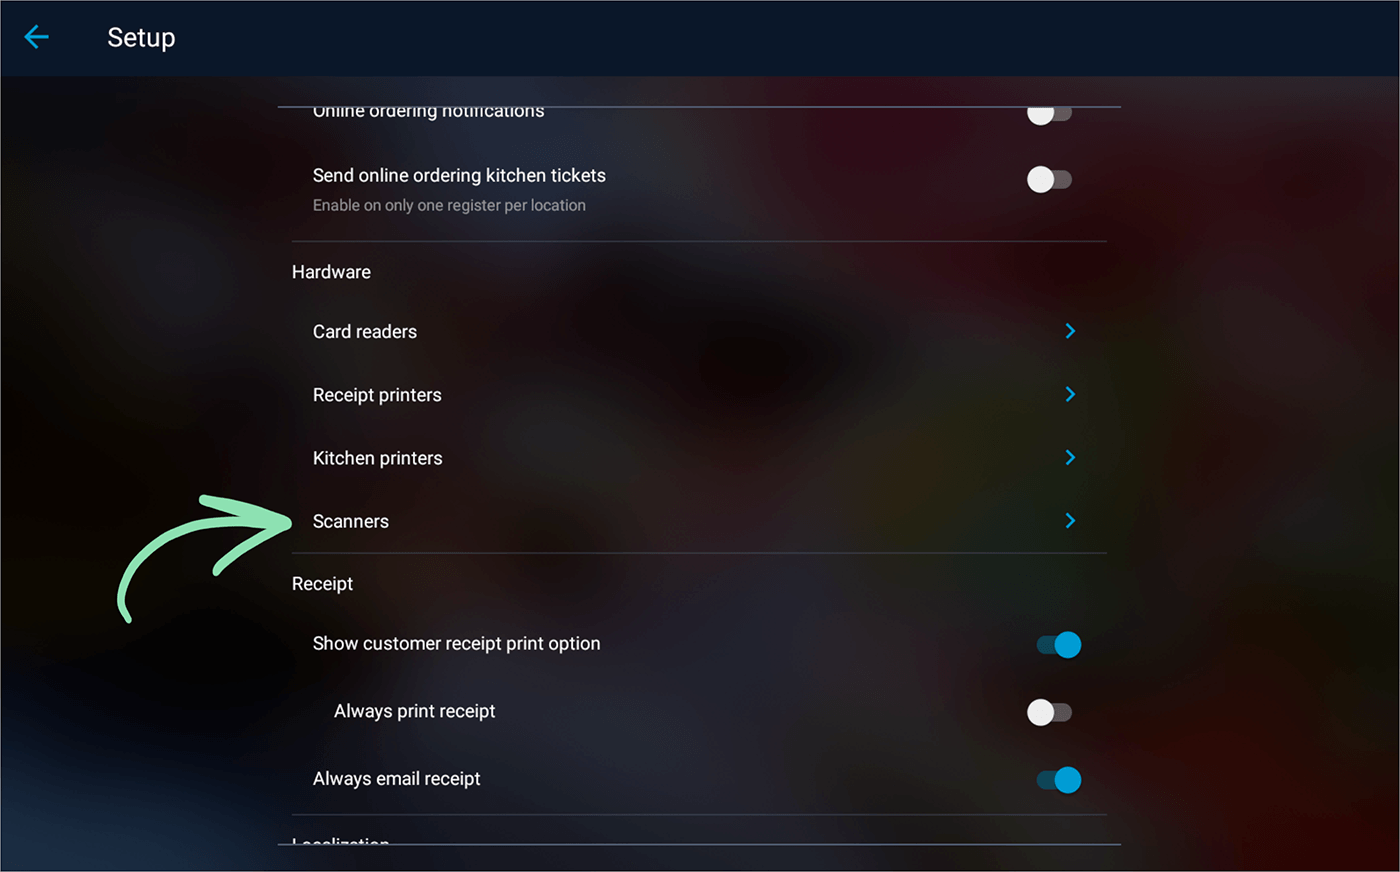
- Tap ‘Setup’ on the register menu.

- Select ‘Scanners’.
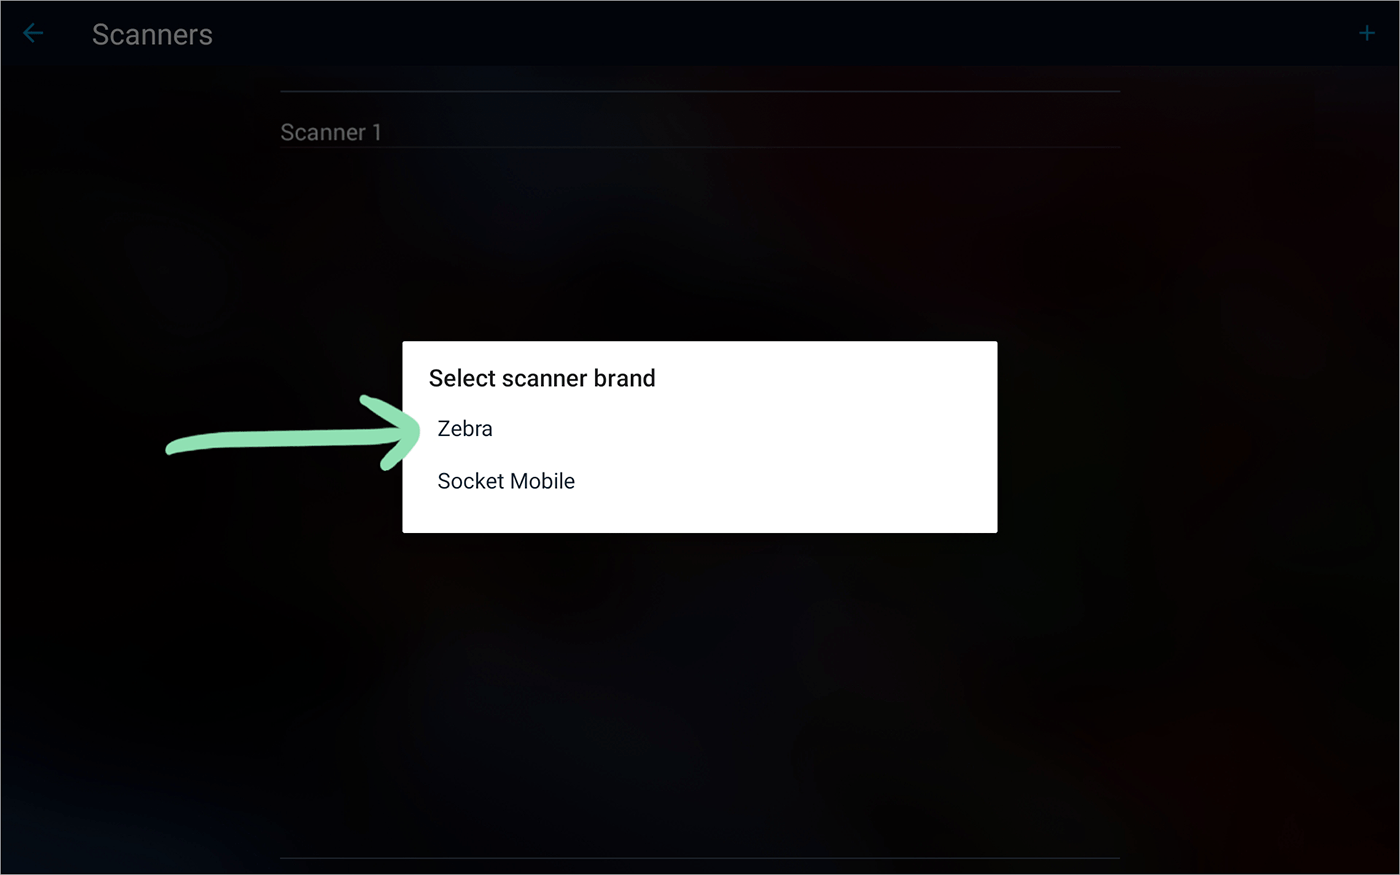
- Tap the + to set up a new scanner.

- Select ‘Zebra’.
- Scan the barcode displayed on screen to complete setup.
The barcode must be scanned from the screen of the register as the exact version shown will vary based on the specific Android tablet you are using. Failure to complete this step may prevent the scanner from working properly in the Retail POS (S-Series) app.

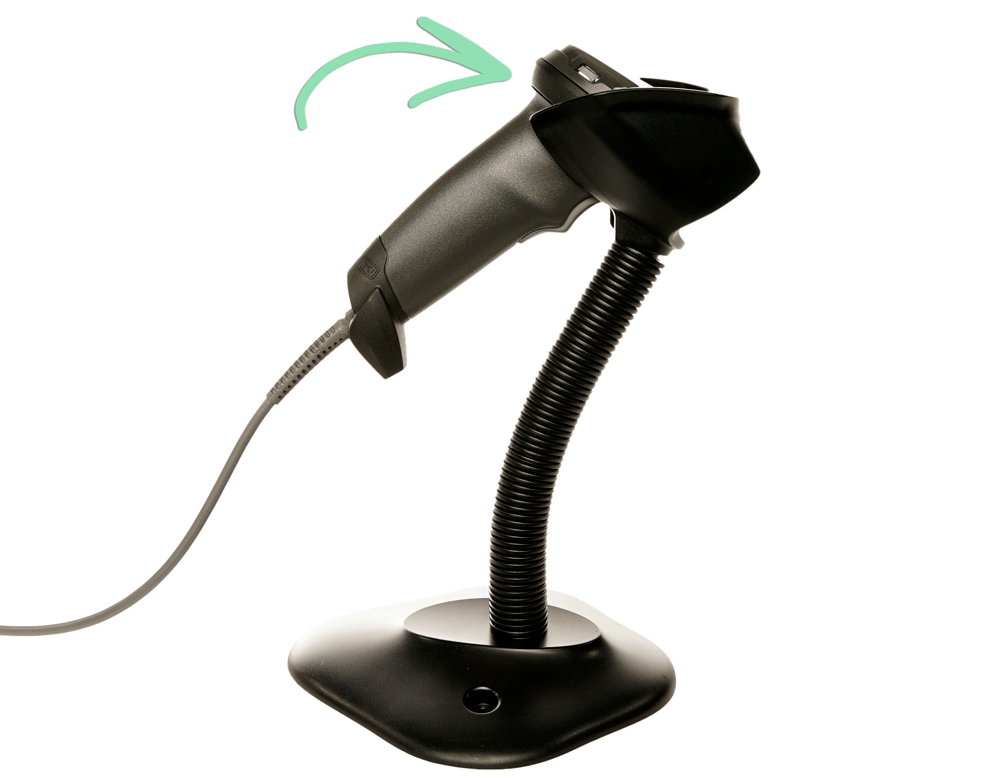
Stand Setup
Set up the stand included with the Zebra USB barcode scanner to enable hands-free scanning for easy access and quick transactions.
- Unscrew the wingnut from the stand shaft.

- Insert the shaft into the stand base and tighten the wingnut.

- Place the scanner in the stand.
Add UPC Codes
Add item UPC codes to BackOffice to be able to scan those items at the register. For large quantities of items, consider using Bulk Management to import UPC codes from a spreadsheet.
For items without UPC codes, use a DYMO LabelWriter 450 Label Printer to print barcode labels from BackOffice.
- Visit the Item List in BackOffice or from the Retail POS (S-Series) app (employees with BackOffice permissions only).
- In BackOffice, click ‘Items’ and select ‘Item List’.

- In the Retail POS (S-Series) app for iOS, tap ‘Manage Items’ on the Main Menu. For the Retail POS (S-Series) app for Android, tap ‘Setup’ on the register menu, then select ‘Manage Items’.
Retail POS (S-Series) app for iOS Retail POS (S-Series) app for Android
- Select an item to edit or add a new item.
- Click the 'UPC' field and scan (or manually type) the UPC code on the item.
UPC codes must be 2 – 55 digits long and cannot contain letters.

- Select a save option to finish editing or creating the item.
- If adding UPC codes in BackOffice, get updates on the iOS or Android register to sync the changes made to the register.
Have questions about barcode scanners? Visit our Hardware FAQ. If you run into problems scanning barcodes, check out our troubleshooting guide for help.
Set Up Sales Restrictions
In BackOffice, set up sales restrictions to set a minimum age and maximum purchase quantity for specific departments and categories of items. With age-restricted items, cashiers must scan the customer’s ID or driver’s license or scan their passport (DS4608 only) before the register will allow the item to be sold.
This feature is only available to merchants on select pricing packages.
- In BackOffice, click ‘Items’ and select ‘Sales Restrictions’.

- Click ‘Add New’.

- Fill in the ‘Details’ and ‘Settings’ fields.
For a complete explanation of each field, visit our Sales Restrictions article.

- Click ‘Save’.
- On each register, Get Updates from BackOffice to sync the changes.
The scanner is now ready to scan state-issued IDs, driver’s licenses, and passports (DS4608 only) to verify age-restricted items in Lightspeed Retail. To learn how to ring up restricted items at the register, visit our Sales Restrictions article.