Void Reporting
Void reporting provides an overview of items voided from saved sales, items deleted from unsaved sales, and items from discarded unsaved sales. At the register, run a Register Shift Report to view the total quantity and value of items voided or deleted on that specific register by all employees, by a particular employee, during the current open register shift, or in a previous shift.
In BackOffice, run the Void Report to view the individual line items voided or deleted at all registers, the employees who voided or deleted them, the manager who approved each void, and the value.
To learn how to perform voids at the register, visit our Saved Sales article.
Void Reporting at the Register
Run a Register Shift Report at the register to view the total quantity and value of items voided from saved sales, items deleted from unsaved sales, and items from discarded unsaved sales.
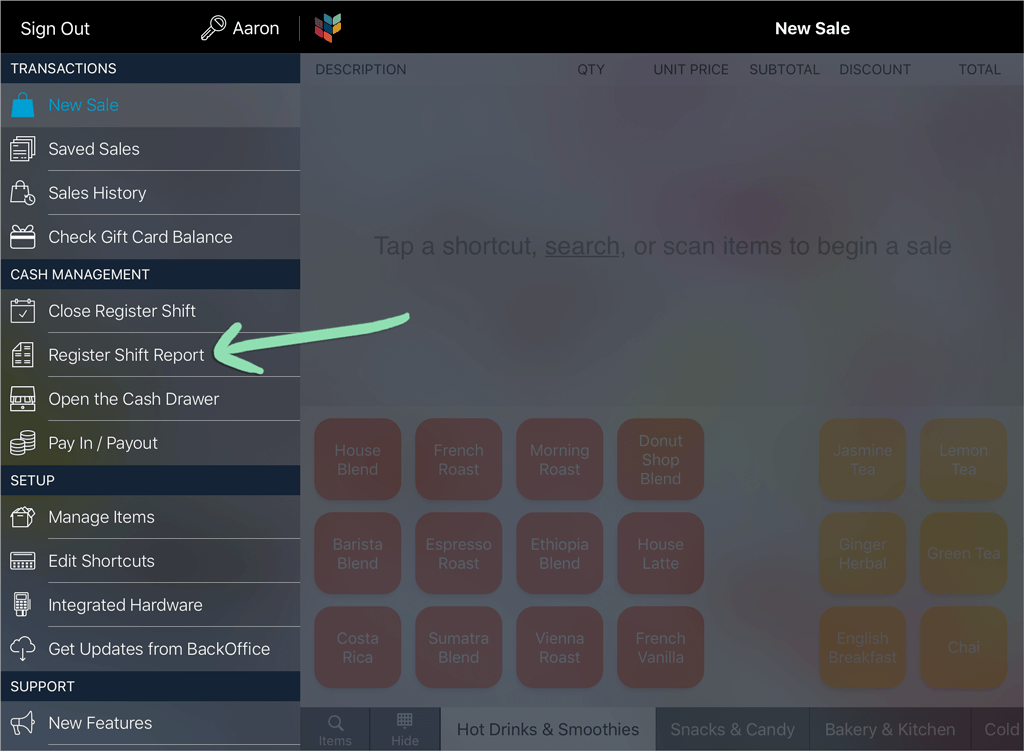
- At the register, open the Main Menu and tap ‘Register Shift Report’.
For the Retail POS (S-Series) app on non-iPad devices, open the register menu and run a Shift Report.
- Scroll down to view information about the items voided or deleted on that register.
- If a register shift is open, voids and discards performed so far during the shift are shown. If a register shift is not open, total voids and discards for the most recent shift are shown.
- Managers can view voids and discards performed by all employees, but cashiers can see only their own voids and discards.

Voided Items | Quantity of items voided from saved sales and items from voided saved sales. For example, two burgers voided from one saved sale and one drink voided from another would equal three voided items. Each unit priced line item voided counts as one void, regardless of its quantity.
Voided Total | Value of all voided items based on the price of each item. For example, if two voided burgers are priced at $9.95 each and a voided drink is $2.95, the voided total would be $22.85.
Discarded Items | Quantity of items deleted from unsaved sales. For example, a burger deleted during a sale and a discarded sale containing two drinks would equal three deleted items. Each unit priced line item deleted counts as one deletion, regardless of its quantity.
Discarded Total | Value of all deleted items based on the price of each item. For example, a discarded sale containing two burgers priced at $9.95 each and a deleted drink is priced at $2.95, the total would be $22.85. - (Optional) Managers can tap 'All Employees' and select an employee to see their individual report.

- (Optional) Tap the date and select a register shift to view the report for a previous shift.
A report can be retrieved for any register shift opened within the past 7 days.

- (Optional) Tap ‘Print X Report’ or ‘Print Z Report’ to print a copy to a connected receipt printer.
Receiving an error while printing? Visit one of our printer troubleshooting guides for help.

To learn about the other information on the Register Shift Report, visit our X and Z Reports article.
Void Reporting in BackOffice
The Void Report in BackOffice displays the details of individual items being voided, deleted, and discarded at the register. See the date and time of each void and deletion, the employee who performed it, the manager who approved it (if required), the quantity, and the total value.
This feature is only available for Lightspeed Retail merchants on select pricing packages.
Run the Report
Run the Void Report in BackOffice to view the details of individual line items voided from saved sales, items deleted from unsaved sales, and items from discarded unsaved sales for all registers.
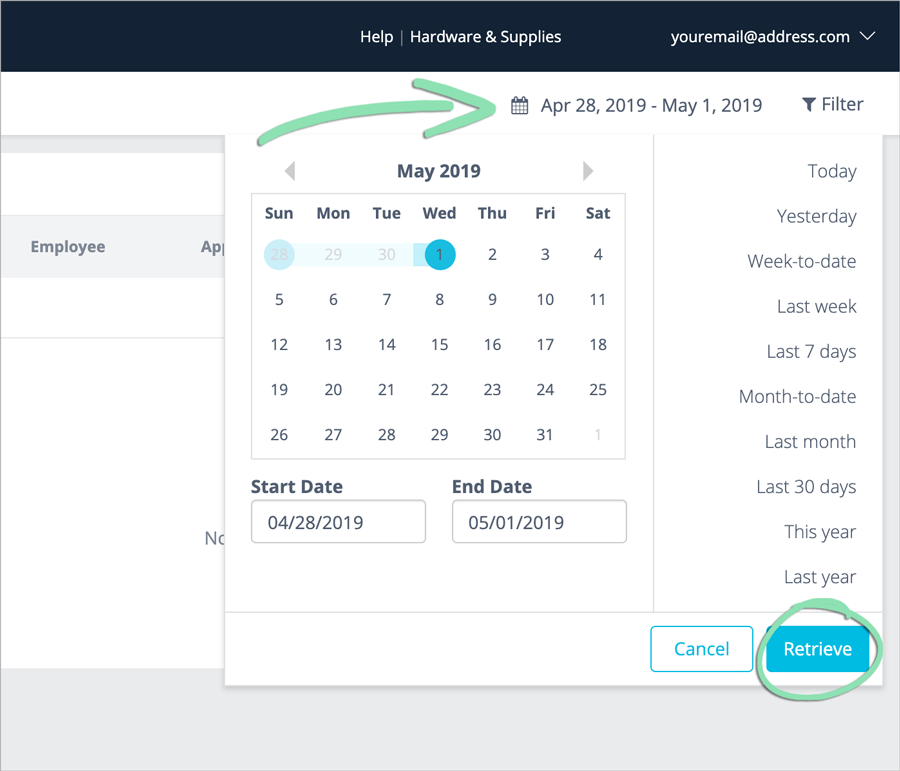
- In BackOffice, click ‘Reports’ and select ‘Void Report’.

- Click the date icon to choose a preset or custom range, then click ‘Retrieve’.
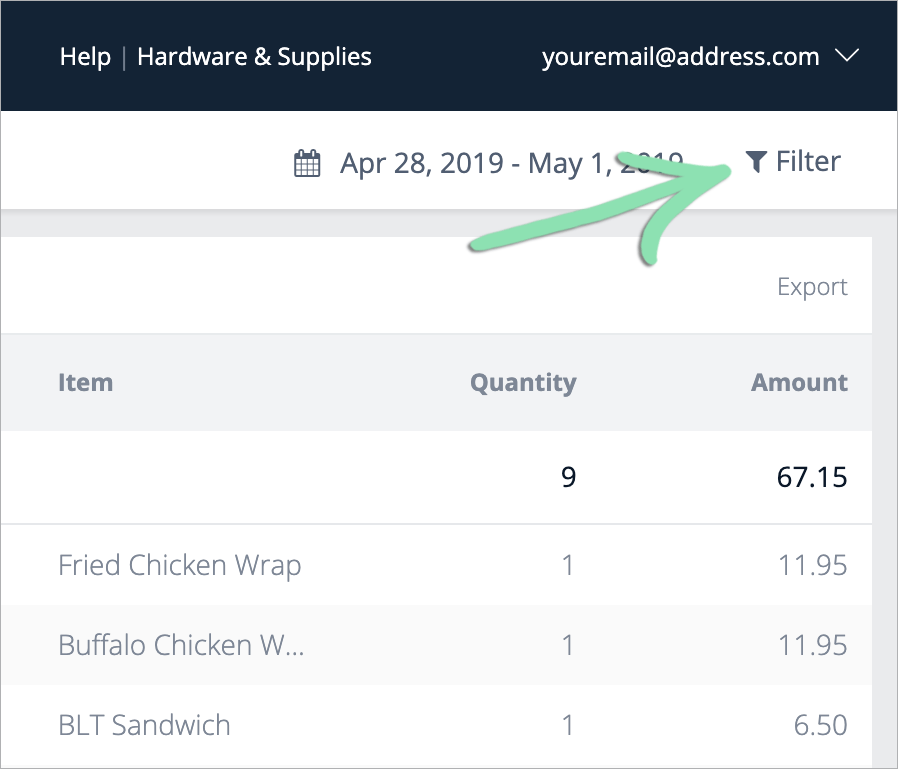
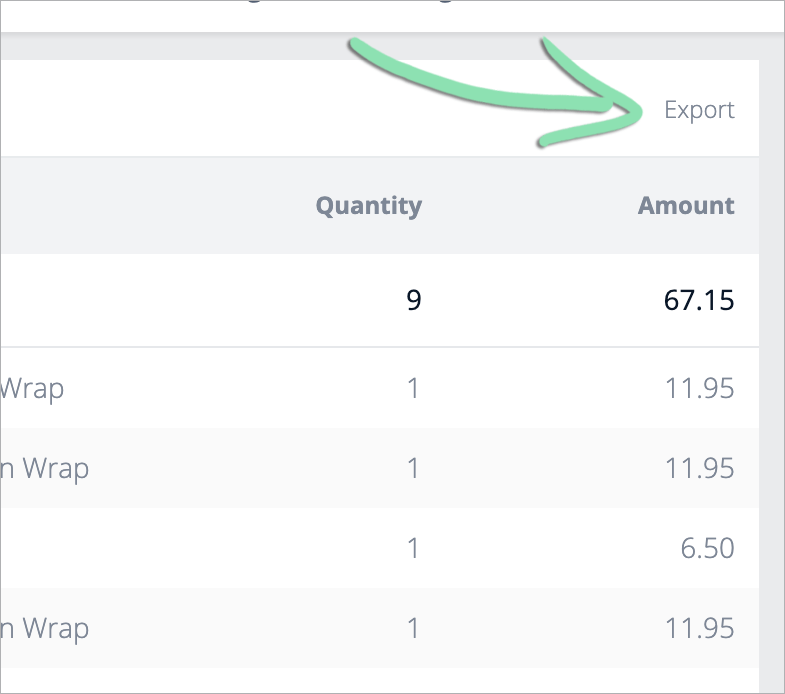
The Void Report shows all items voided and deleted over the selected range at the register, starting with the most recently voided or deleted.

Total (top row) | Total of the Quantity and Amount columns.
Type | Indicates whether the item was voided or deleted. ‘Voided’ items are items removed from a sale after it is saved. ‘Deleted’ items are items removed from unsaved sales.
Date/Time | Date and time the line item was voided or deleted.
Employee | Name of the employee who performed the void/deletion as currently entered in BackOffice.
Approved by | If a void required manager verification, name of the manager who approved it (as currently entered in BackOffice). If manager verification was not required, this will be blank.
Item | Name of the voided line item as it is currently entered in BackOffice.
Quantity | Quantity of the voided or deleted line item. Unit priced items are rounded to 2 decimal places.
Amount | Value of the voided or deleted line item based on its price and quantity. For example, if a burger line item priced at $9.95 with a quantity of 2 was voided, the ‘Amount’ would be $19.90.
Filter the Report
Filter by column to customize which table columns appear on the report. Filter by type or employee to hide or show specific groups of voided or deleted items.
- Click ‘Filter’.
- Select a filter option.
Show/Hide Columns | Show or hide columns from the report table.
Type | Show or hide all voided or all deleted items.
Employee | Show or hide all items voided and deleted by specific employees.
Approved By | Show or hide all voided items approved by specific employees.‘Column’ filters apply to the report as it appears on screen. ‘Type’, ‘Employee’, and ‘Approved By’ filters apply to the report and the export.
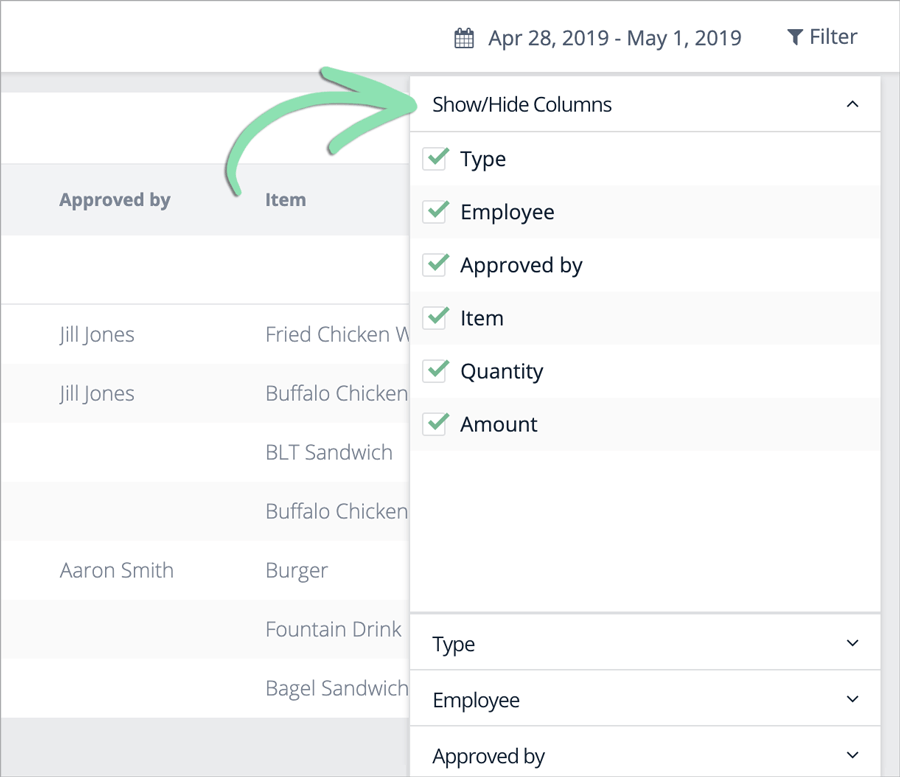
- Check (show) or uncheck (hide) boxes to filter the report.

Export the Report
View Void Report data outside of BackOffice by exporting it to analyze in spreadsheet software.
- Click 'Export'.
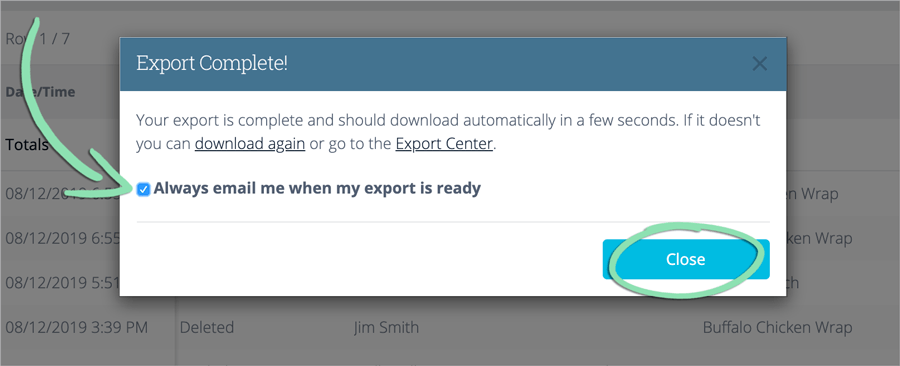
- Wait for the export to be generated. Check the box to be notified by email when exports are ready for download (optional).
Exports ready in a few seconds will automatically download. Click ‘Close’ to close the message box.
Exports that take more than a few seconds to generate are downloadable via the Export Center when ready. Click ‘OK’ to close the message box.

- After downloading, the export is ready to open in any spreadsheet software.
