This feature is only available for Lightspeed Retail merchants on select pricing packages.
Lightspeed Spotlight: Advanced Topics
Dive deeper into the Lightspeed Spotlight Dashboard in BackOffice. The Lightspeed Spotlight dashboard is where you control, update, and monitor your business listings and reviews across multiple platforms.
If you haven’t yet set up Lightspeed Spotlight, visit our Getting Started with Lightspeed Spotlight article to get started managing your business’ online presence from BackOffice.
For the best possible experience, use Google Chrome to access Lightspeed Spotlight. Users accessing Lightspeed Spotlight from other browsers, such as Safari, may be unable to use the feature effectively.
Knowledge Manager
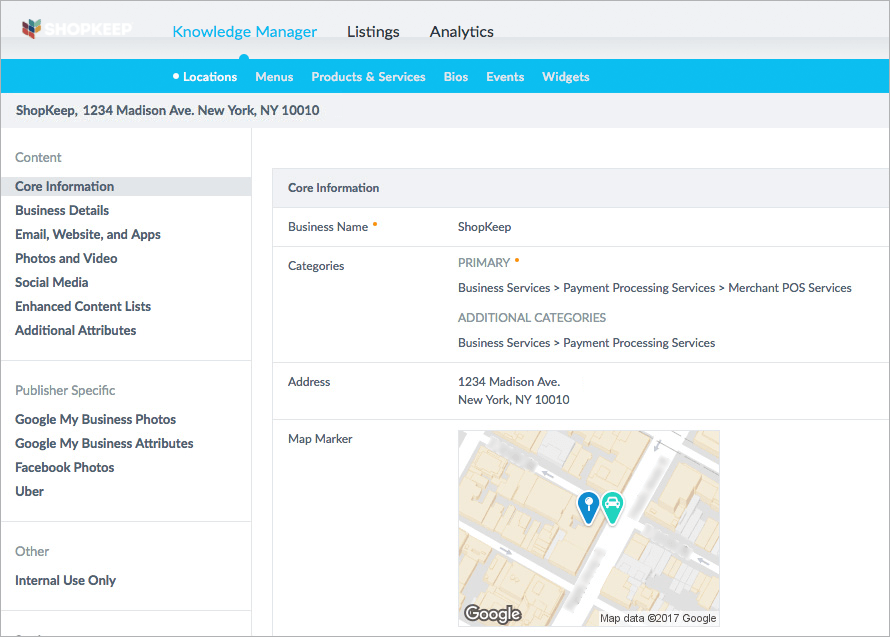
The Knowledge Manager is where you manage your business location profile, upload menus, list products/services, create employee bios, manage calendar events, and customize widgets.
We’ve discussed all the basic business information fields in our Getting Started with Lightspeed Spotlight article, so refer back to it if you need help setting up basic business information.
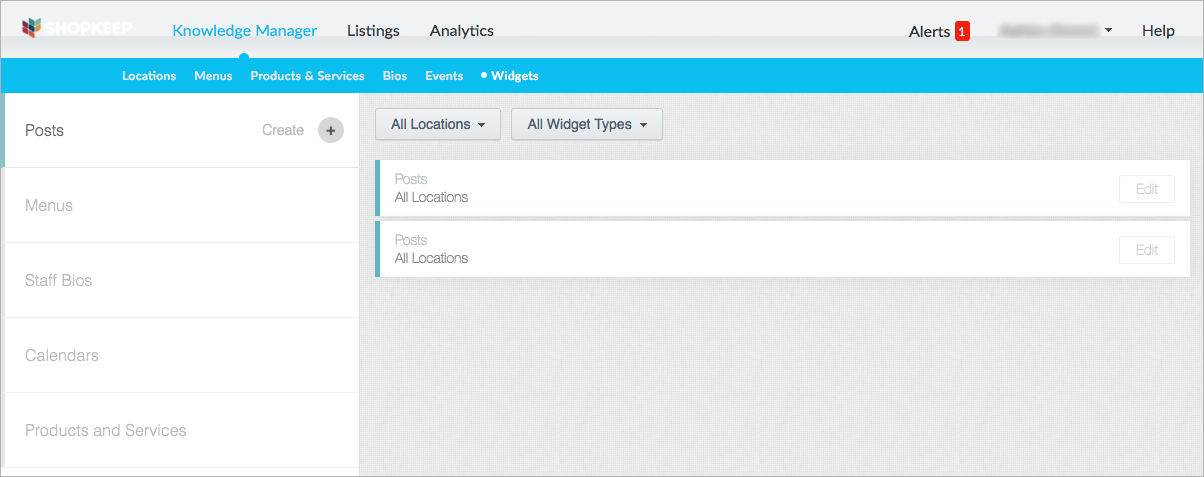
Knowledge Manager Menu
Use the dashboard navigation to quickly upload restaurant menus, products, and services, staff bios, create calendars and customize widgets.
- Click 'Knowledge Manager' to load the menu.

- Select from the options, described below, to continue setting up Lightspeed Spotlight.
-
Locations | The default dashboard view lists business information about your location.
-
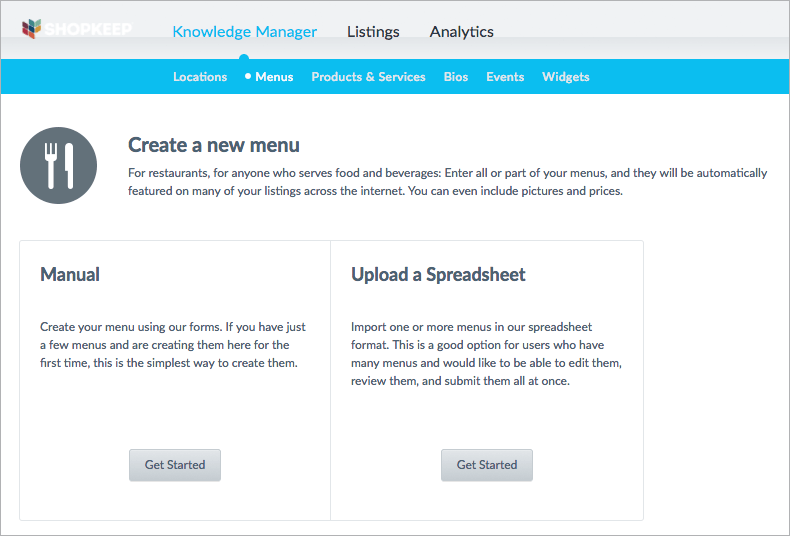
Menus | Create a menu using the available forms or upload your own.
-
Products & Services | Create or upload a list of your business’ offerings and prices.

-
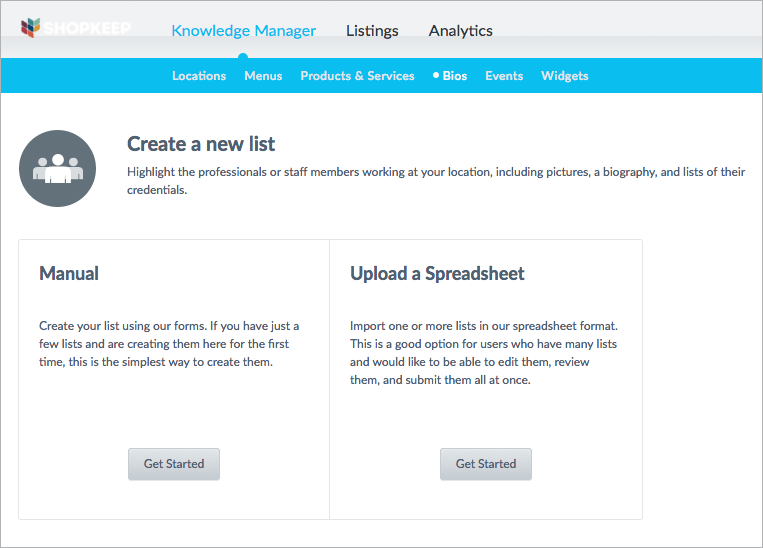
Bios | Create or upload employee bios to help make your business listings more personal.
-
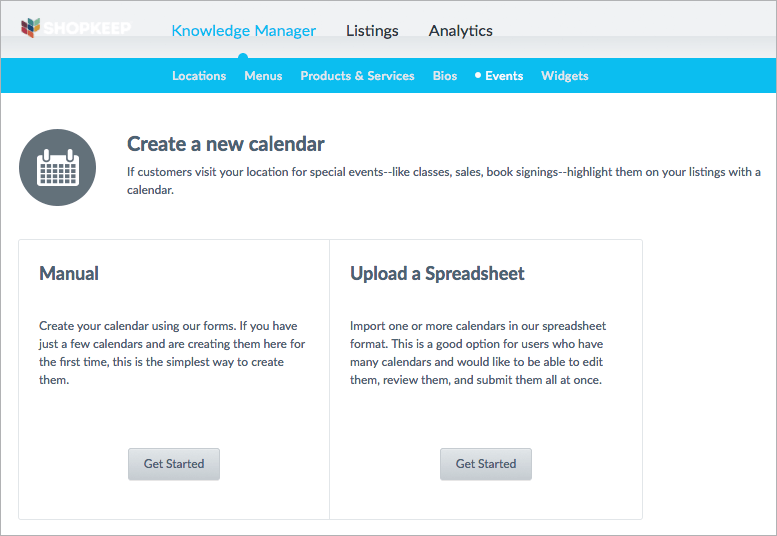
Events | Create a calendar highlighting special events at your location or upload your own spreadsheet to quickly get your calender set up.
-
Widgets | These enable you to post content from Lightspeed Spotlight directly to your website. Upload widget content such as staff bios, posts, event calendars, and more.
Publisher Specific Fields
Publishers are the online listing platforms like Facebook, Instagram, Google, that require information about your business in order to create a listing. Some publishers require more information than others, such as business category type, photographs, and business offerings. The fields below are specific to publishers and the information they require.
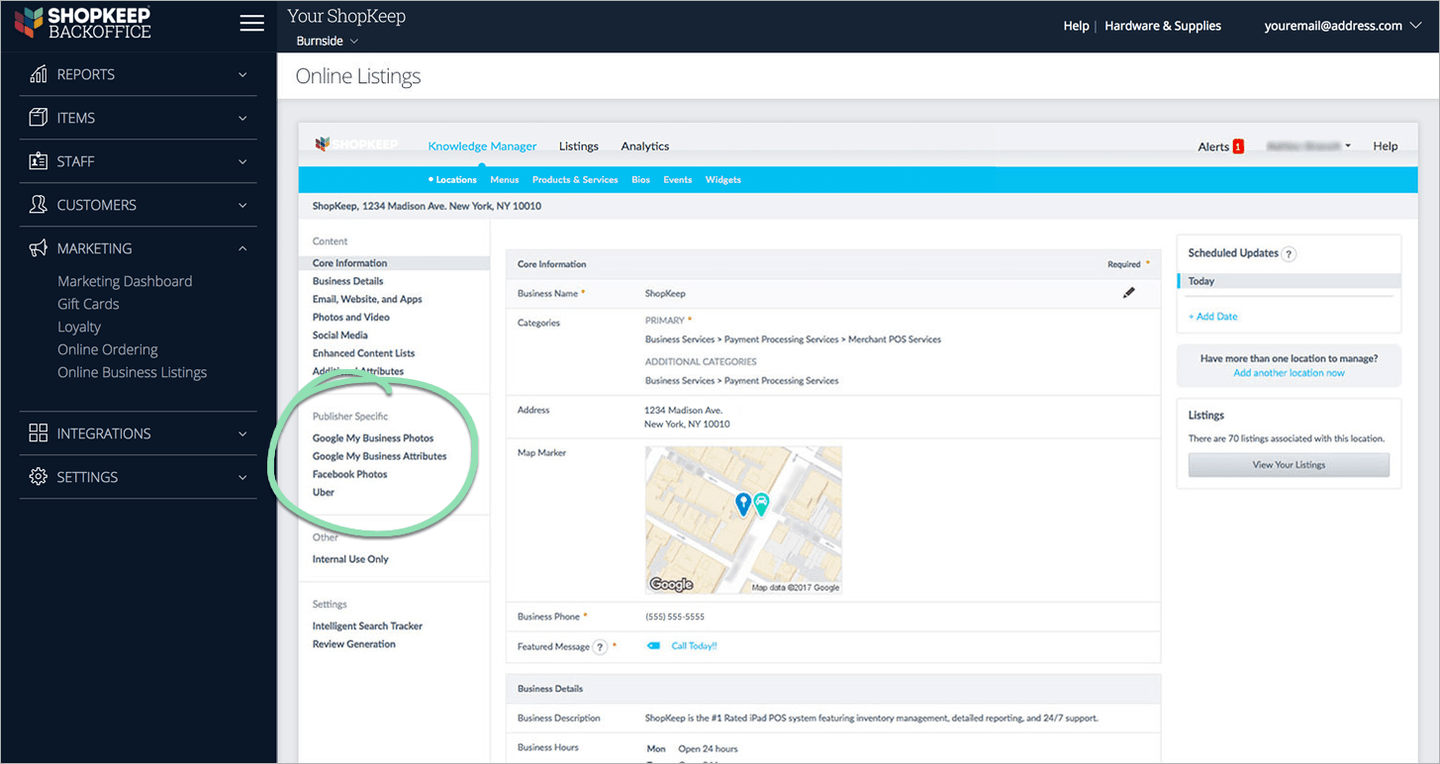
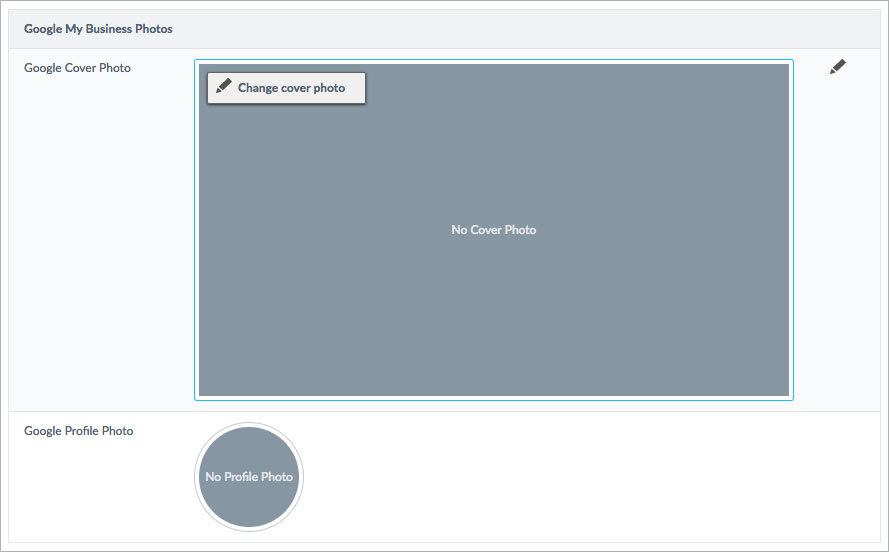
Google My Business Photos | Upload a Google cover photo and profile photo if you don’t already have them.
Facebook Photos | Upload a Facebook cover photo, profile picture, and exclusive, clickable call-to-action message. Use the call-to-action message to entice visitors to visit your website or engage them with a special deal. When they click the message, they’ll be redirected to the link you provide.
Uber | Create a Launch Uber link that helps make navigating to your business easy for customers. Promote your business within Uber’s platforms with trip branding or embed the link on your website.
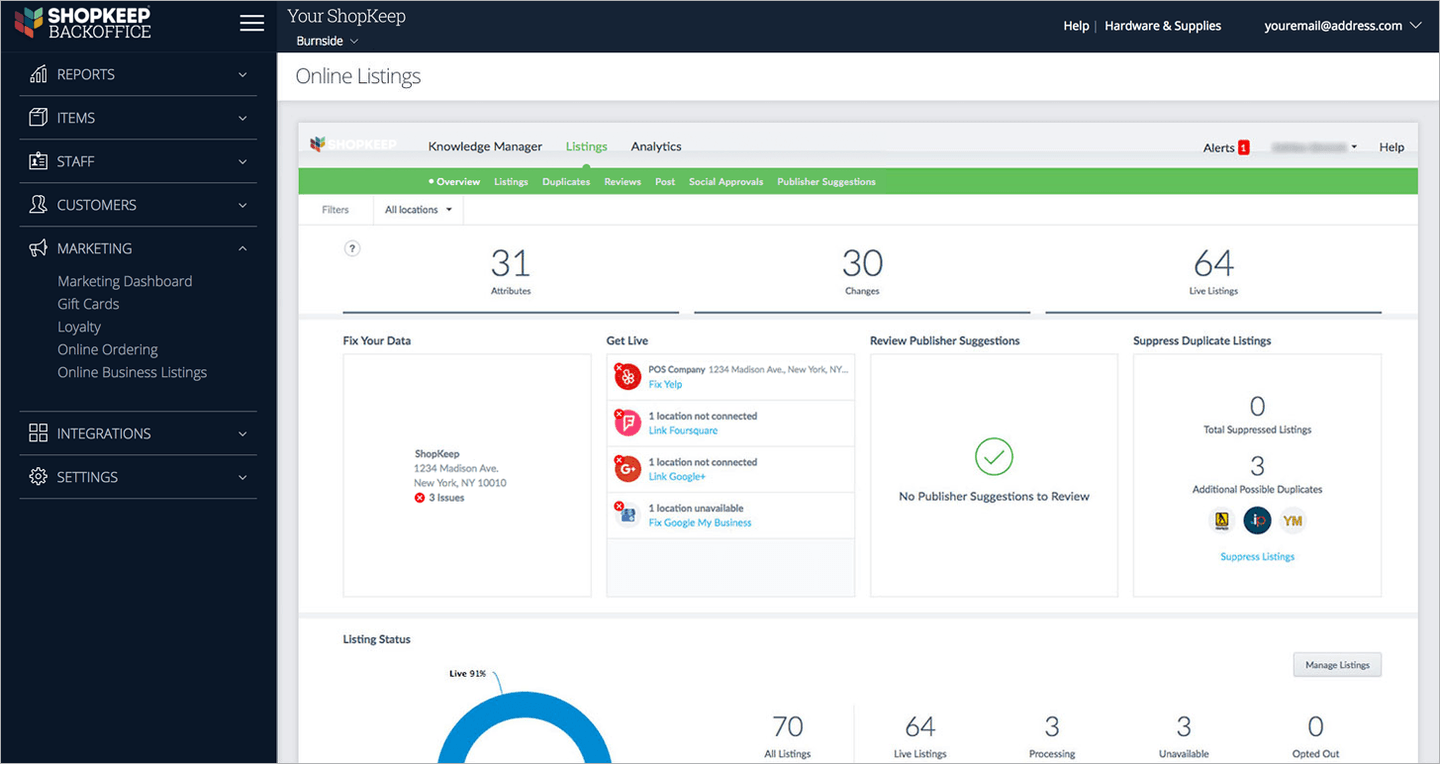
Listings Dashboard
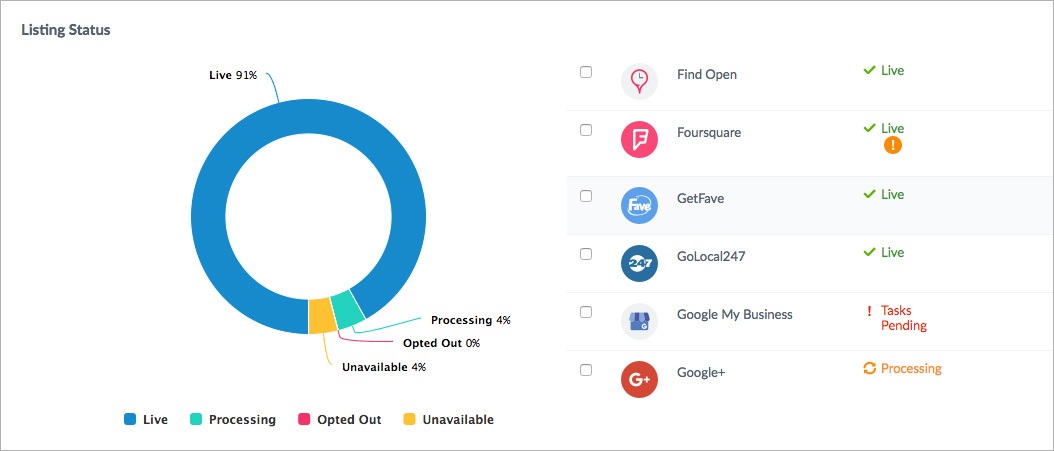
The Listings Dashboard displays listings statuses, publisher suggestions, and duplicate listing notifications, among other features. View statuses of all your listings (inaccurate, live, processing, opted out, unavailable), keep track of listing engagement (clicks, calls, profile views), search queries, user demographics, and device usage. This data helps you understand the visibility of your business online and how customers and potential customers are engaging with the platforms (i.e. Facebook, Foursquare, Google, Yelp, etc).
Listing Statuses
Listing statuses indicate whether your business information is customer-facing or not. Listings can have one of five statuses: Tasks Pending, Processing, Live, Unavailable, or Opted Out.
-
Tasks Pending | This is the immediate listing status that lasts four hours after setting up your account. This gives you the time to match your existing listings to partnered publishers.
Processing | This status displays next to a listing when information has been submitted to a publisher site and a connection is in the process of being verified and established.
Live | Once a connection has been made with a publisher platform, your listing is marked as live. Information in your Location Manager should now be reflected on the publisher site.
Unavailable | This status indicates that a connection was made with the publisher, but there was an issue preventing the listing’s information from being updated.
Opted Out | If you don’t want to manage a specific listing through your Lightspeed Spotlight Dashboard, you can opt out of that listing. This status means information from your Location Manager will no longer be sent to the publisher.
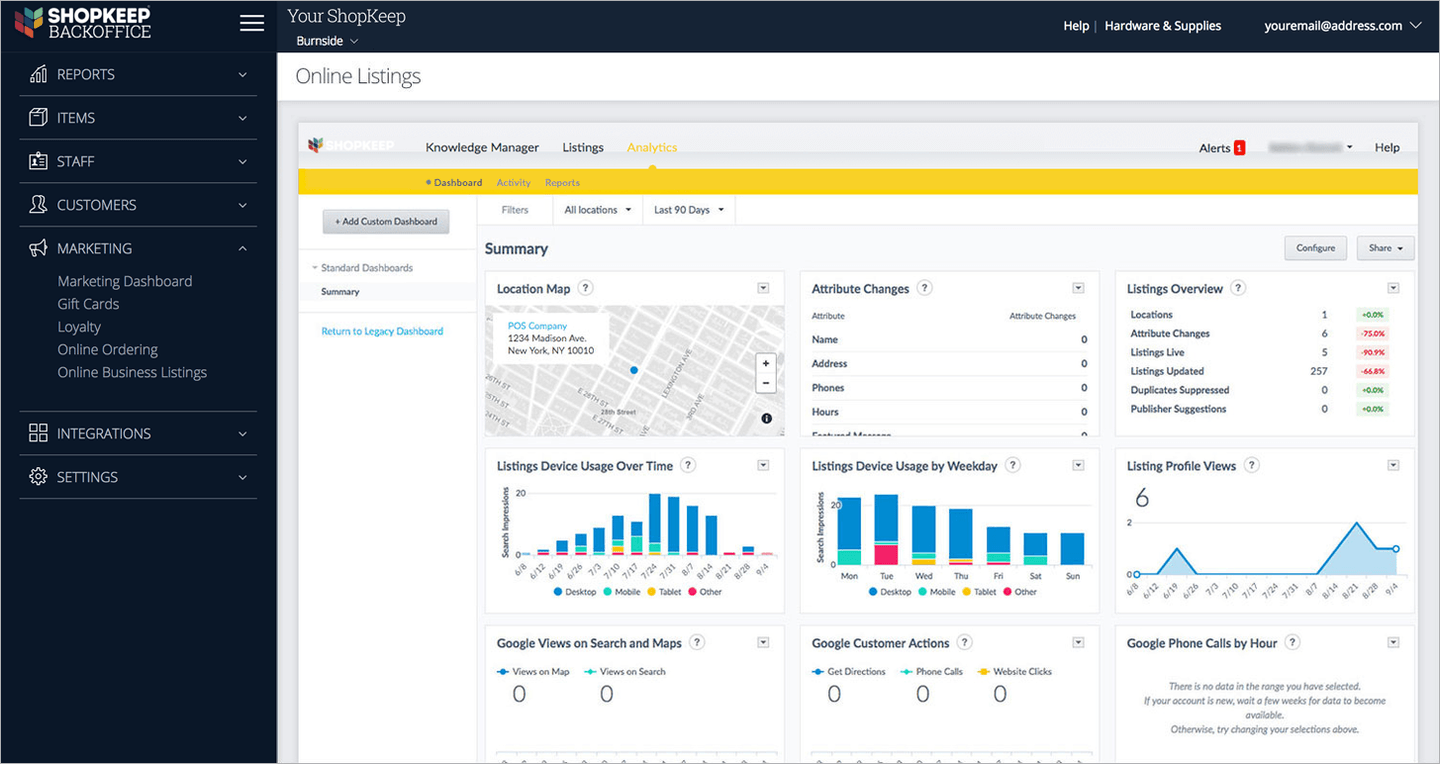
Lightspeed Spotlight Analytics Dashboard
Keep track of your location map, ratings, reviews, and location performance. Explore the various insights, content analysis, filters, and monitoring features on this page to become familiar with the reviews your business is receiving.
-
Dashboard | Access an overview of charts, reporting, and listing statistics under Analytics.
Activity | Any business profile or listing updates will be listed here with the date, location, update type, details, content, and actor (user who updated the information).
Reports | View graphs and charts to understand user engagement over time.
Additional Features
Lightspeed Spotlight offers additional key features to help you boost online presence and easily manage listings, including syncing Google My Business information, connecting to your Facebook page, monitoring customer reviews, and offering Duplicate Suppression technology.
Connect to Google My Business
Link your Google My Business (GMB) account to make sure your business information is accurate and consistent when people use Google Search.
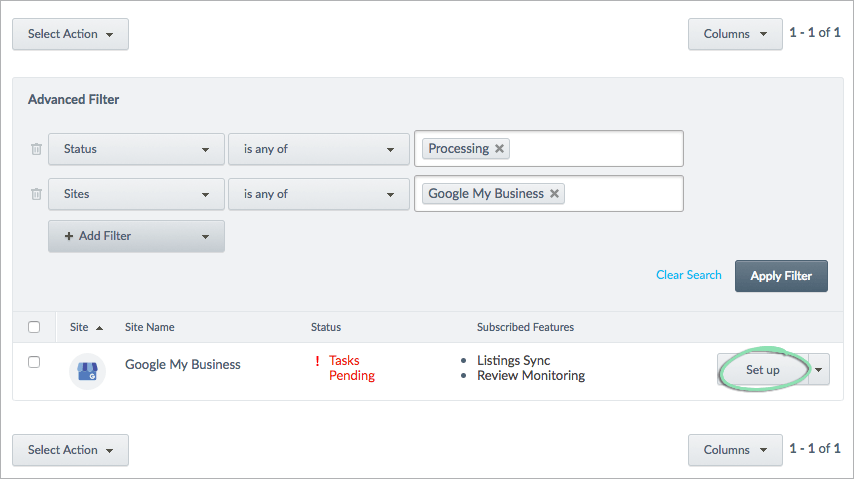
- From the Knowledge Manager Dashboard, click ‘Listings’.

- Under ‘Get Live’, click ‘Fix Google My Business’.

- Then, ‘Set up’.
- Click ‘Sign in with Google’ or ‘Create an account’ if you don’t already have one.

- Enter the email address or phone number associated with the Google account, then click ‘Next’.
- Enter the password and click ‘Next’ again.
- Review the message and click ‘Allow’.
- Select the correct business location. It’ll appear as “Not Verified”.
- Click ‘Continue’ and ‘Continue’ again to confirm.
- Add a Cover Photo and Profile Picture, if necessary and click ‘Continue’.
Connect to Facebook
Connect your Facebook account to keep your social media presence up to date and managed.
- From the Knowledge Manager Dashboard, click ‘Listings’.
- Under ‘Get Live’, click ‘Link Facebook’.

- Click ‘Set up’ and ‘Connect to Facebook’ or ‘Create an account’ if you don’t already have one.


- Enter the Facebook account’s login credentials and click ‘Log in’.
- Click ‘Continue as…’ and ‘OK’.
- Review the message and click ‘OK’ again.
Your Facebook page will be pulled up.
- Confirm by clicking ‘Yes. Link this page’ or choose ‘No. Create a new page’ if it is not your page.
- Upload a cover photo and profile picture, then click ‘Complete’.
Duplicates
Duplicate listings are additional business listings that confuse search engines and undermine a listing’s reliability. Your business’ local search ranking depends largely on the accuracy of its data across the web. Inconsistent business information or incorrect listings can harm a business’ ranking in relevant local searches. Duplicate Suppression technology automatically scans and alerts you of any potential duplicate listings in your account once a month. From the Online Business Listings dashboard in BackOffice, you can suppress or ignore them.
- From the Dashboard, click ‘Listings’.
- Click ‘Duplicates’, then click the link, ‘Click here to review them all at once,’ in the message box or click possible duplicates on individual listings to review and ignore or suppress them.
The Listing must be “Live” in order to suppress any potential duplicates of it.


- Review the Duplicate listing and click ‘Suppress’ or ‘Not a Duplicate’.

- Click ‘Submit’ to confirm.
What Now?
Now that you’re familiar with the features and settings of Lightspeed Spotlight, check out our FAQ to review some frequently asked questions about Lightspeed Spotlight and visit the Troubleshooting articles to fix any potential issues you may come across.