This feature is only available for Lightspeed Retail merchants on select pricing packages.
Getting Started with Lightspeed Spotlight
Manage your business’ online visibility across multiple platforms with Lightspeed Spotlight. With this integration you can, identify listing inconsistencies, update business information directly from BackOffice, automatically update and sync listing details to manage how your business is represented across all major search and listing platforms like Google, Facebook, and Yelp.
For the best possible experience, use Google Chrome to access Lightspeed Spotlight. Users accessing Lightspeed Spotlight from other browsers, such as Safari, may be unable to use the feature effectively.
What Is Lightspeed Spotlight?
Lightspeed Spotlight uses cloud-based business listing and review management technology to help you manage and distribute your business offerings over a multitude of listing sites like Google, Instagram, Facebook, etc., all from one place. Maintaining consistent business information across search engines, apps, platforms, increases business credibility, online visibility, customer acquisition, and search engine ranking.
Why Use Lightspeed Spotlight?
Utilize Lightspeed Spotlight to expand your online business presence and increase your search engine ranking by maintaining accurate listings. Increased online traffic equals increased business and growth. The better updated and optimized the web-based content on your listings are, the higher the customer engagement your business will experience.
Add Lightspeed Spotlight
If Lightspeed Spotlight is not part of your current pricing package, follow the steps below to upgrade to a package that includes this feature.
If your current package includes Lightspeed Spotlight, follow the steps here to get started.
- Sign into BackOffice as the Business Owner or as an employee with ’Manage Account’ and ‘Manage Online Business Listings’ permissions.
Learn more about customizing BackOffice access here.
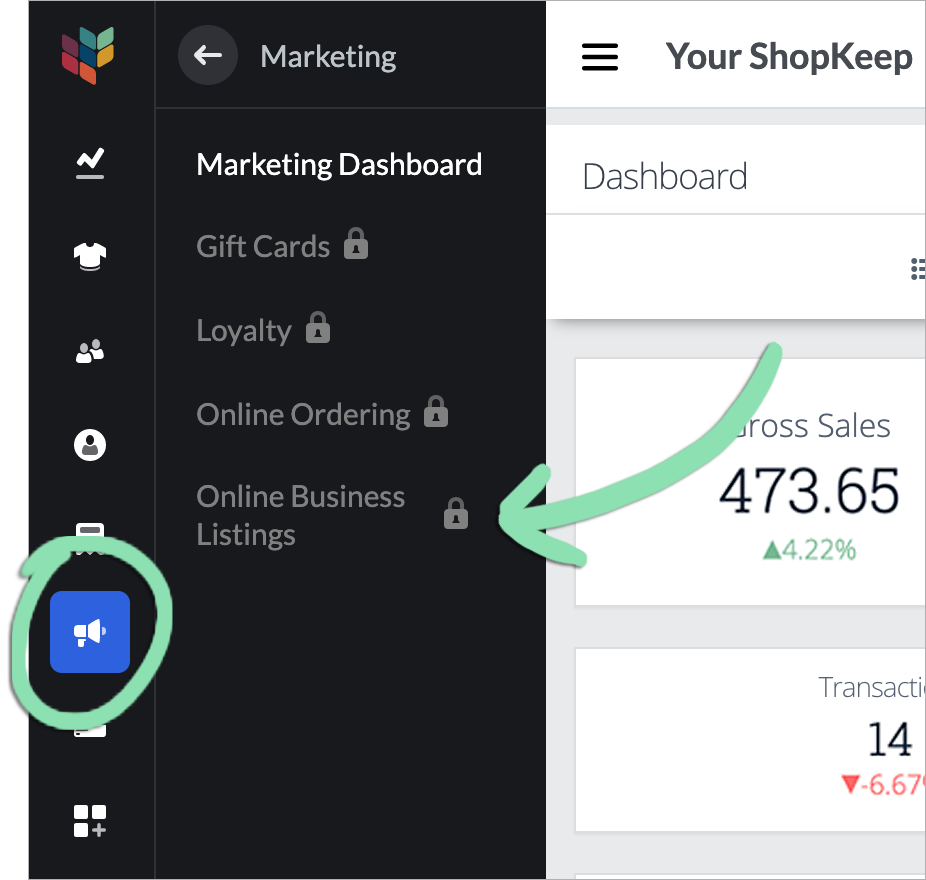
- Click ‘Marketing’ and select ‘Online Business Listings’.
Don’t see ‘Online Business Listings’? Contact us to ask about upgrading your pricing package.
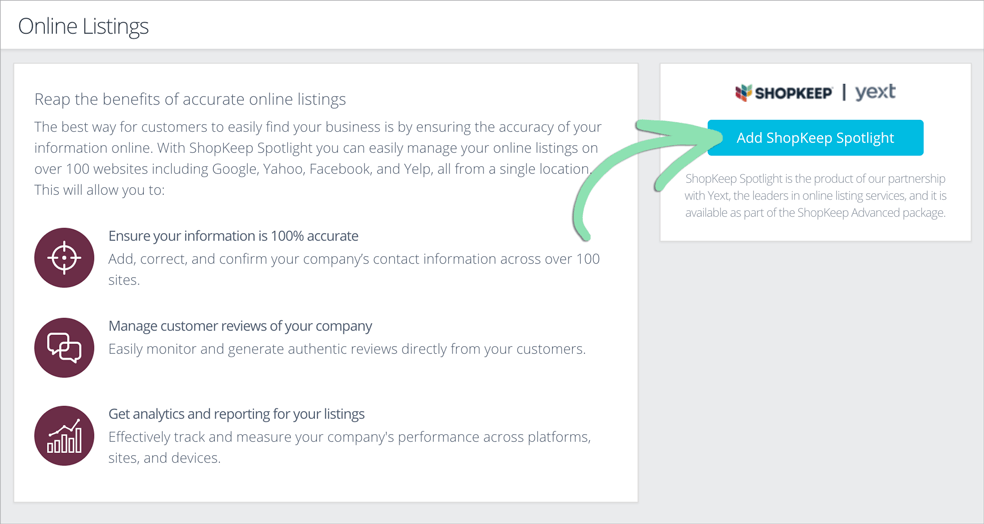
- Click ‘Add Lightspeed Spotlight’.
Don’t see this page? Contact us to ask about upgrading your pricing package.
- Follow the prompts to upgrade to a pricing package that includes Lightspeed Spotlight.
- Follow the steps here to get started with Lightspeed Spotlight.
Get Started
Scan your business’ online presence, understand scan results, and enable Lightspeed Spotlight to remedy any incorrect listings, old listings, and update your business information across all online platforms.
Online Presence Scan
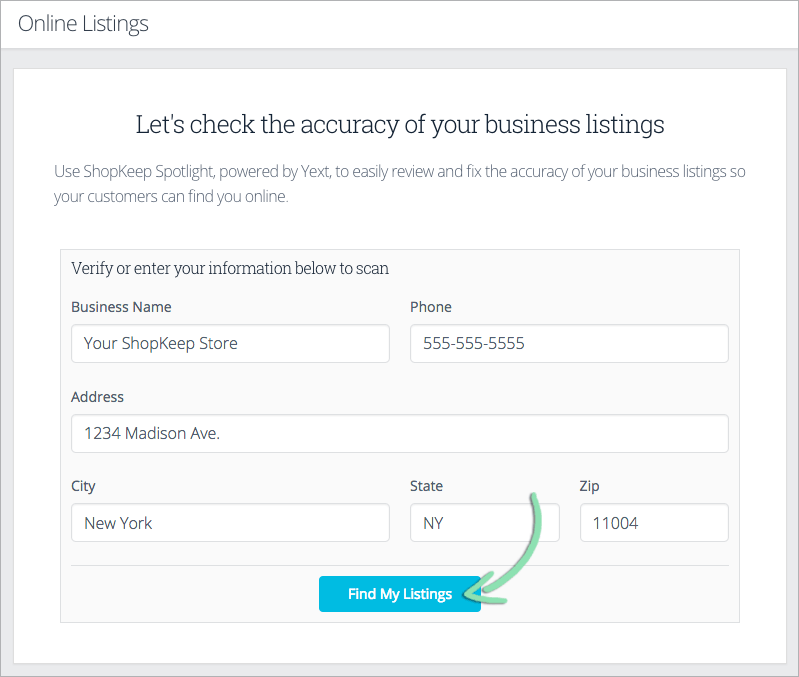
Before getting set up with Lightspeed Spotlight, scan and check the accuracy of your current business listings directly from BackOffice.
- Sign into BackOffice as the Business Owner.
- Click ‘Marketing’ and select ‘Online Business Listings’.

- Fill out the form with your business information.
The form auto-fills with any of your business information that’s been saved in the Receipt Settings. Update any incorrect auto-filled data.
- Click ‘Find My Listings’ to begin the scan.
Understanding Scan Results
After running the Online Presence Scan in BackOffice, view the results to learn how Lightspeed Spotlight can help resolve issues and inconsistencies.

The results of the scan show the platforms your business is listed on, the percent of inaccuracies, the number of public reviews, and the average ratings your business has received.
Each listing (i.e. Google, Facebook, Yelp, etc.), appears in its own box with verified listing details, an indication of inaccurate information, or an indication that the listing was not found. To get more insight into a specific listing, right-click the ‘View Listing’ button and open the listing in a new browser window.
Enable Lightspeed Spotlight
Now that you’re familiar with how your business is represented online, use Lightspeed Spotlight to easily fix inaccurate listings, update public business information, and manage listings directly from BackOffice.
- From the online presence scan, click 'Fix Now'.

- Click 'Chat with us now!' to speak to a representative and add the feature to your Lightspeed account.
Our Integrations & Add-Ons page will open in a new tab. Use the chat box to request Lightspeed Spotlight for your account. This is usually not an immediate update. We will confirm when the integration is added to your account.

- After the integration is enabled on your account, refresh your browser and click 'Confirm Subscription' in BackOffice to continue with the setup process.
Listing Optimization
The provided tasks serve as your guide to link your account and Lightspeed Spotlight. Click on a task and simply follow the setup wizard.
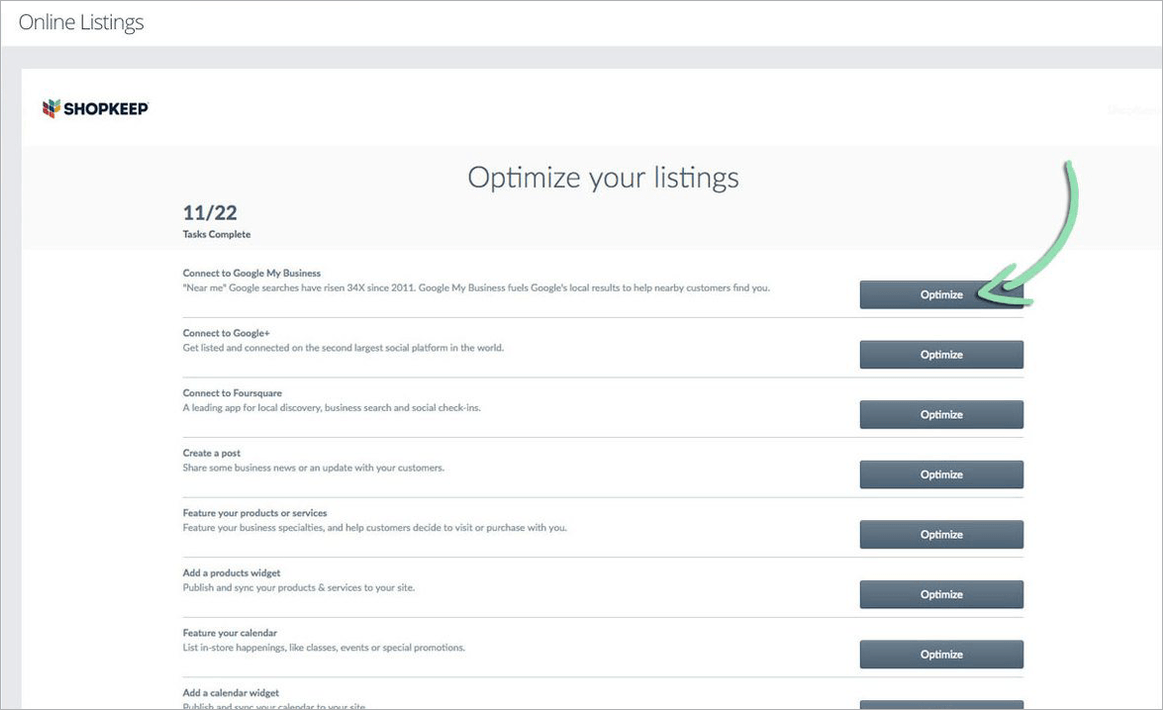
* To bypass Listing Optimization scroll to the bottom of the page and click the link ‘Take me to my account’.
Lightspeed Spotlight Dashboard
With Lightspeed Spotlight enabled, get familiar with your Online Listings Dashboard. The Dashboard is where you update, manage and track listings, manage account settings, schedule updates, and review reporting, among other things.
Knowledge Manager
The Knowledge Manager is where you manage your business location profile, upload menus or products and services, create bios, manage calendar events, and customize widgets. The sections below are the key fields you should become familiar with on the Lightspeed Spotlight Dashboard.
To learn about the Listings and Analytics Dashboards or where to get started with additional features like creating menus and events, visit our Advanced Topics article.
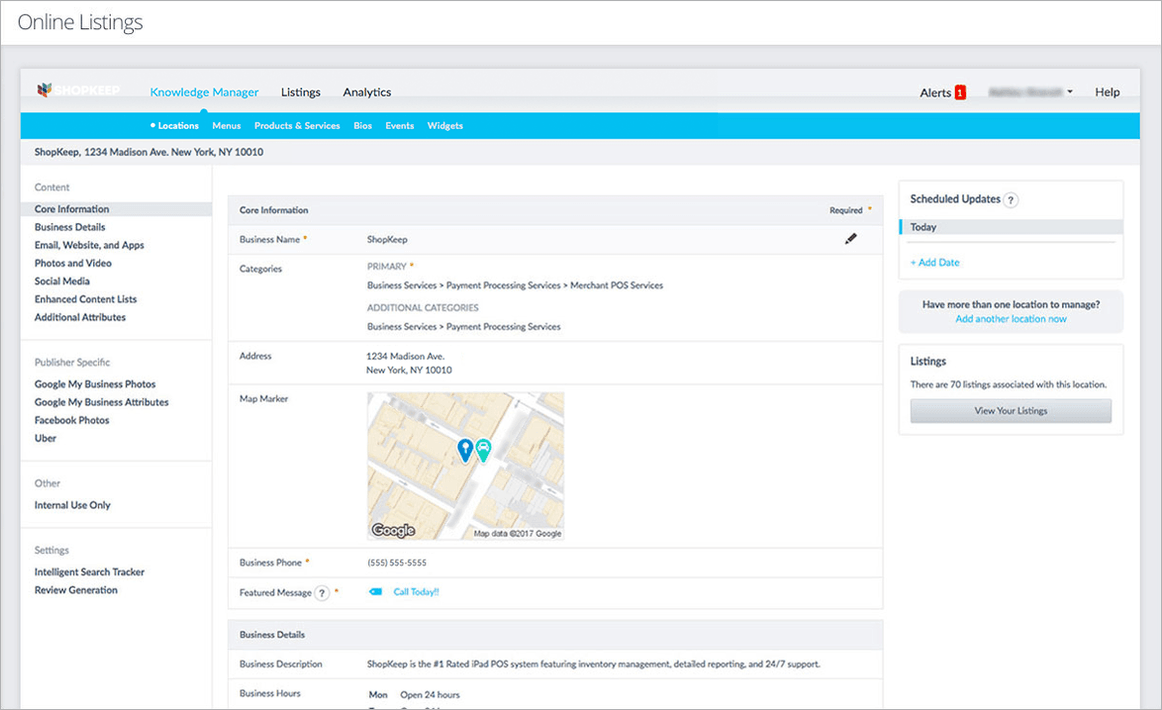
Core Information
Primary business details including your business name, categories, address, map markers, phone number, and featured message are updated here.
-
Business Name | Your business’ name entered exactly as you’d like it to appear on listings.
Categories | Categories are keywords that classify or describe your business. Search engines and online directories use category information to determine which businesses appear in user searches, so list 3 to 4 categories in order of relevance for optimal searchability.
Address | The exact location of your business. There is an option to hide your address but not all publishers accept hidden addresses.
Map Marker | Used to help distinguish entrances and unique locations for customers by using Display, Routable, Walkable, Pickup, and Dropoff markers.
Business Phone | Your local phone number. (800) or (888) numbers can’t be the only number listed.
Featured Message | Featured messages are promotional messages to engage potential customers. Making your featured message clickable drives more traffic to that link (website, Facebook page, blog, etc.). Increase engagement by adding links to coupons, contact forms, scheduling pages, buying flows, and more. This message can be updated as often as needed.
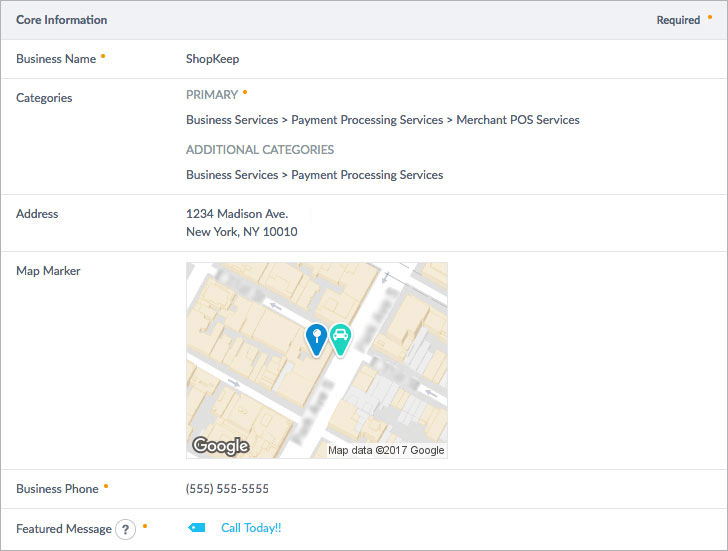
Business Details
This section includes a description of the business, regular and holiday/special hours, accepted forms of payment, and other important business details.
-
Business Description | A short paragraph describing the products and/or services offered.
Business Hours | List of the regular opening and closing times.
Additional Hours Info | Used for special hours that are not holiday hours.
Holiday Hours | Enter holiday hours even if they’re the same as your normal business hours. Otherwise, Google Maps and Search will list an ‘hours may vary’ disclaimer.
Payment Methods | Select which types of payments your business accepts to inform customers.
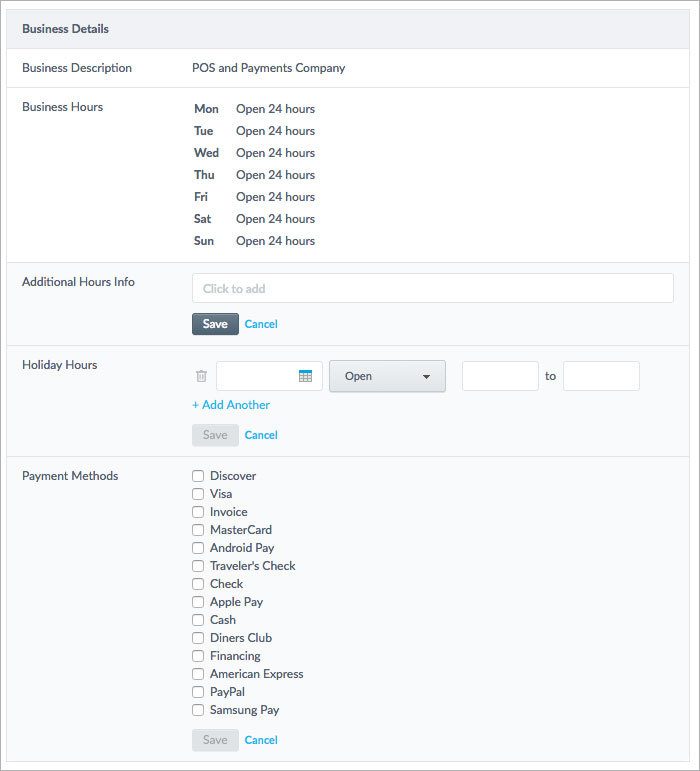
Email, Websites, and Apps
List email addresses and websites in this section.
-
Contact Email | List your main contact email first, then any additional addresses.
Websites | List any websites you’d like customers to have easy access to.
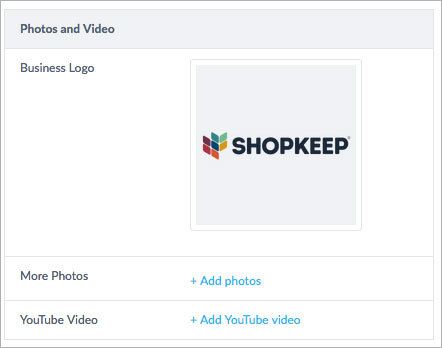
Photos and Video
Upload your business logo, photos, and YouTube videos. 10-15 images are recommended to catch a potential customer’s attention but up to 100 images can be uploaded.
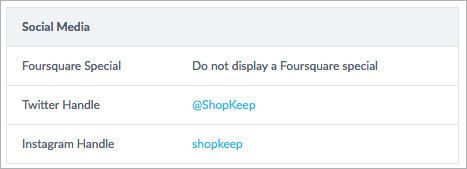
Social Media
Enter social media handles for your Foursquare Special, Twitter, and/or Instagram accounts.
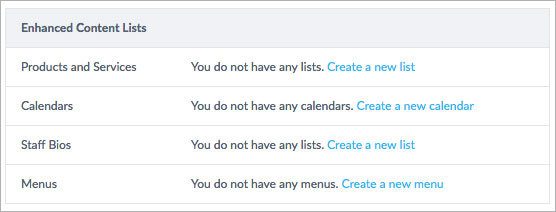
Enhance Content Lists
Expand your business profile by providing additional information about products and services offered at your business, event calendars, staff bios, and restaurant menus, if relevant.
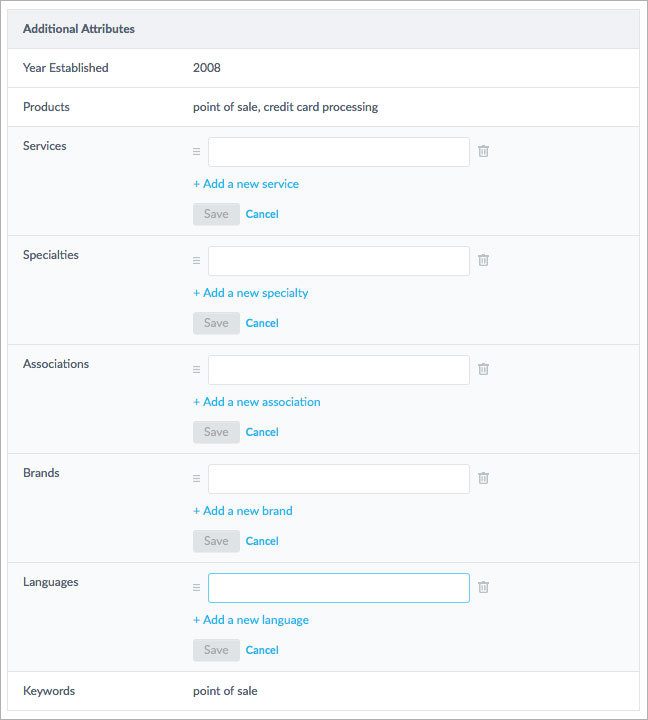
Additional Attributes
Enter any other relevant business information, including the establishment year, specialties, brands, languages, and keywords to help maximize your business’ searchability.
What’s Next?
Now that you’ve enabled Lightspeed Spotlight and entered your basic business information into the Dashboard, become familiar with additional features Lightspeed Spotlight offers by visiting our Advanced Topics article. Visit Lightspeed Spotlight FAQ for answers to frequently asked Lightspeed Spotlight questions.
If you run into issues while getting set up, visit our Troubleshooting article for help.