If you're having iPad or Retail POS (S-Series) app login issues after you've set up your iPad, follow the steps for troubleshooting.
Age verification is legally required in some regions to access Lightspeed mobile applications. You must verify your age through the App Store or Google Play Store.
iPad Login / Access Issues
This section covers issues that occur while trying to log in to and access the iPad.
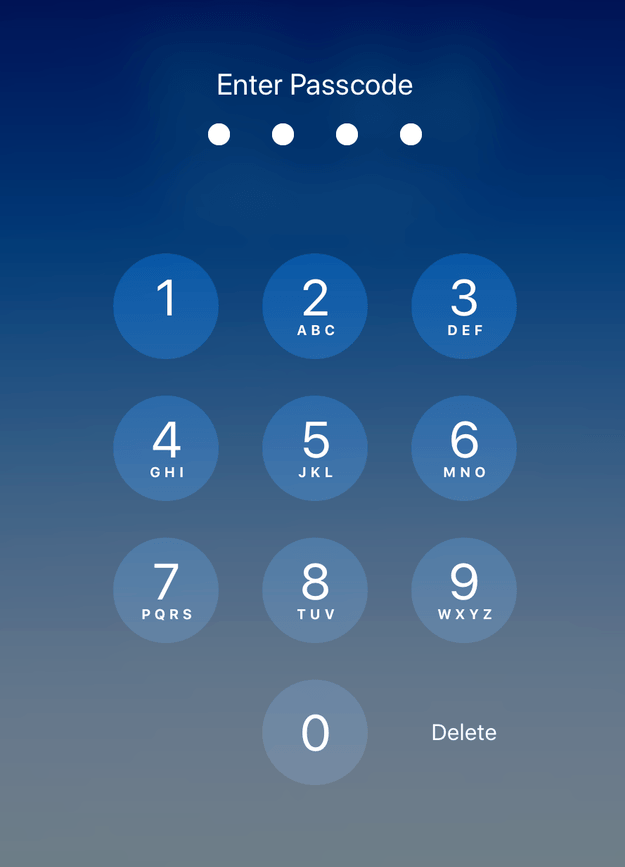
- Remember, this is the code used to unlock your iPad, not to sign in to the Retail POS (S-Series) app.
-
Verify the passcode with someone who knows it (if possible), and try again.
Be aware that after 6 failed attempts, the iPad will be temporarily disabled for 1 minute. After additional failed attempts, the iPad will be disabled for increasingly longer amounts of time.
There is no way to recover a forgotten passcode. If you cannot remember the passcode after several failed attempts, visit Apple support for help with how to proceed.
-
Retail POS (S-Series) App Login / Access Issues
This section covers issues that occur while attempting to log in to, access, and clock in and out via the Retail POS (S-Series) app.
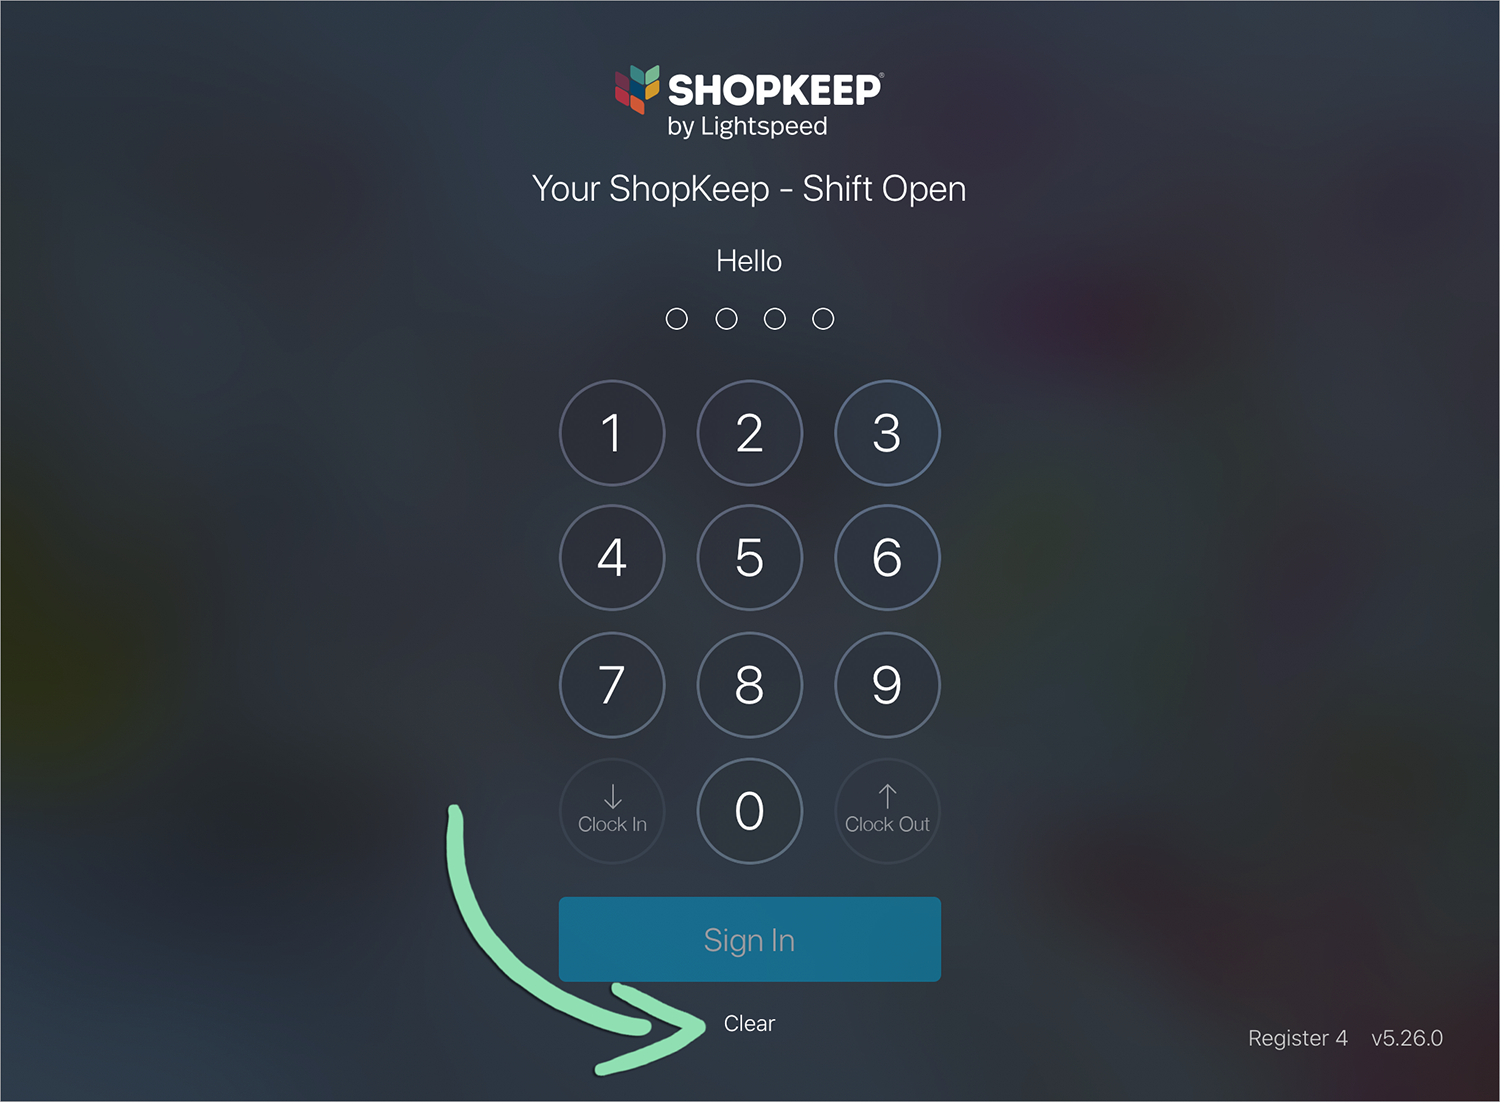
- If the screen shakes when you enter a register code, it either means the code was entered incorrectly or the register needs to sync with BackOffice.
- Re-enter the register code.
-
If the problem persists, hold Clear for 10 seconds to get updates, then re-enter the register code.
- If the problem persists, have someone with BackOffice access verify the register code from the Staff List.
- The permissions set for employees in BackOffice determine which features they can use at the register. For example, only Register Managers (not Cashiers) can open and close register shifts, perform pay ins and payouts, and open the cash drawer. In addition, employees with relevant BackOffice permissions can access certain BackOffice features from the register, such as adding and editing inventory items.
- Ask an employee with the proper permissions to sign in to the register and access the feature.
- (Optional) Edit permissions from the Staff List to change what employees can access at the register.
- In this situation, you must deactivate the register license for the deleted register in BackOffice, re-download the Retail POS (S-Series) app, and reactivate the register. This is a multi-step process requiring access to both the iPad or Android tablet and BackOffice.
- Log in to BackOffice as the Business Owner.
-
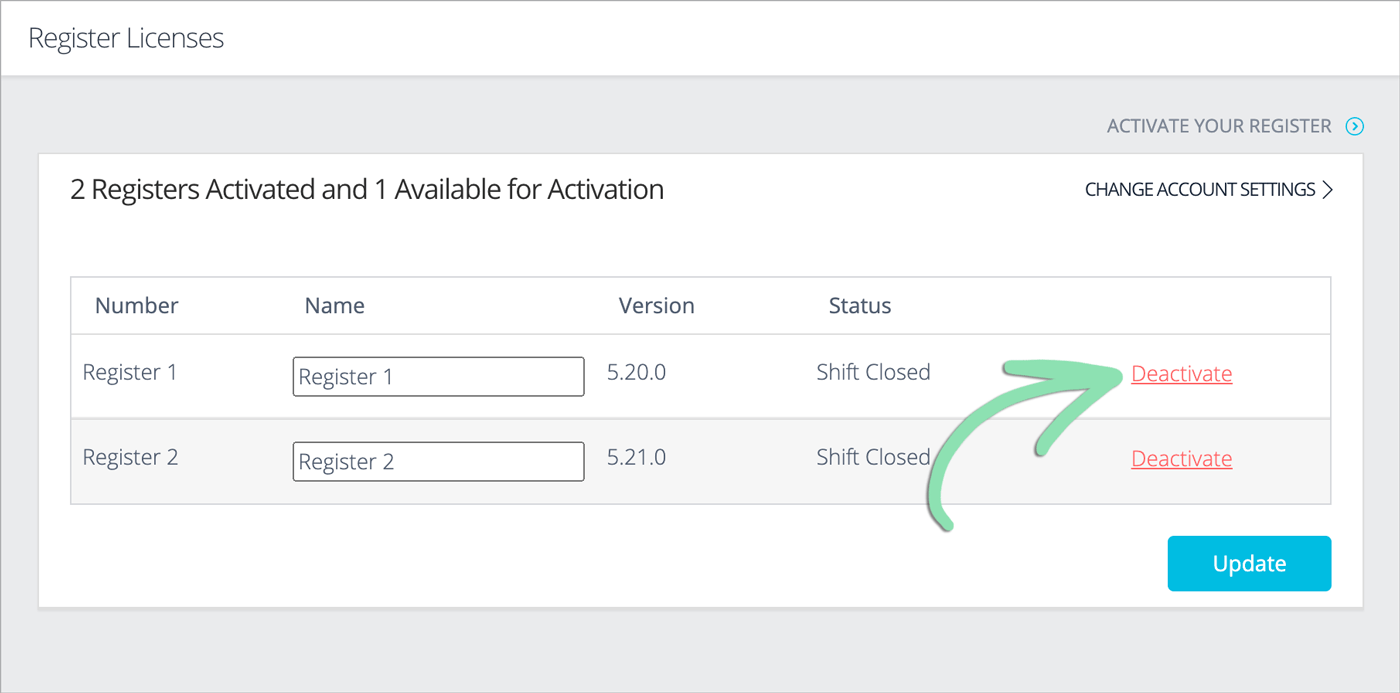
Click Settings and select Register Licenses.

-
Click Deactivate next to the register from which the Retail POS (S-Series) app was deleted.
-
Review the warning, then click Continue to deactivate the register.

-
If prompted to remove a register license, select No, keep license.

-
Download the Retail POS (S-Series) app onto the device it was deleted from.
For help downloading the Retail POS (S-Series) app:
- After the download finishes, follow the steps here to activate the register.
-
(Optional) Set up a card reader and receipt printer in the Lightspeed Retail POS.
Visit our Hardware section for links to setup guides for these devices.
-
Swapping out the iPad used as your register is a multi-step process requiring access to the existing register, the new device, and BackOffice.
To prevent potential disruption, we recommend performing the steps below during non-business hours.
- Follow the steps here to deactivate your existing register.
- If prompted during deactivation to remove a register license, select No, keep license.
-
Download the Retail POS (S-Series) app on the new device.
For help downloading the Retail POS (S-Series) app:
- After the download finishes, follow the steps here to activate the register.
-
(Optional) Set up a card reader and receipt printer in the Lightspeed Retail POS.
Visit our Hardware section for links to setup guides for these devices.
-
The Retail POS (S-Series) app may close unexpectedly or crash if it encounters an error. Follow the steps below to troubleshoot and fix this issue.
- Force quit the Retail POS (S-Series) app.
- Reopen the Retail POS (S-Series) app, and sign in.
-
Update the Retail POS (S-Series) app to the latest version.
For help updating the Retail POS (S-Series) app, see Introduction to the iPad.
If the problem persists, follow the additional steps below:
- Follow the steps here to update iOS.
- If the problem persists, contact Customer Care.
-
The Saving domain to database error can occur while activating a new Lightspeed Retail POS or after updating an existing one. Follow the specific steps below that reflect the situation in which you experience this issue.
If the error appears while activating a new register:
- Delete the Retail POS (S-Series) app.
- Re-download the Retail POS (S-Series) app.
- Activate the register.
If the error appears after updating an existing register, contact Customer Care.
The Retail POS (S-Series) app automatically signs out.
With auto signout enabled, the register will automatically sign out after every sale is tendered or saved or after a period of idle time. To disable auto signout, follow the specific step below that reflects the behavior of the register.
If the register signs out after every transaction is tendered, disable Transaction Auto Signout.
If the register signs out after being idle for a period of time, disable Timed Auto Signout.
- Employees must be clocked in to be able to clock out, and vice versa. This error appears when an attempted clock punch violates that rule.
-
Note the action stated in the error, then tap OK.
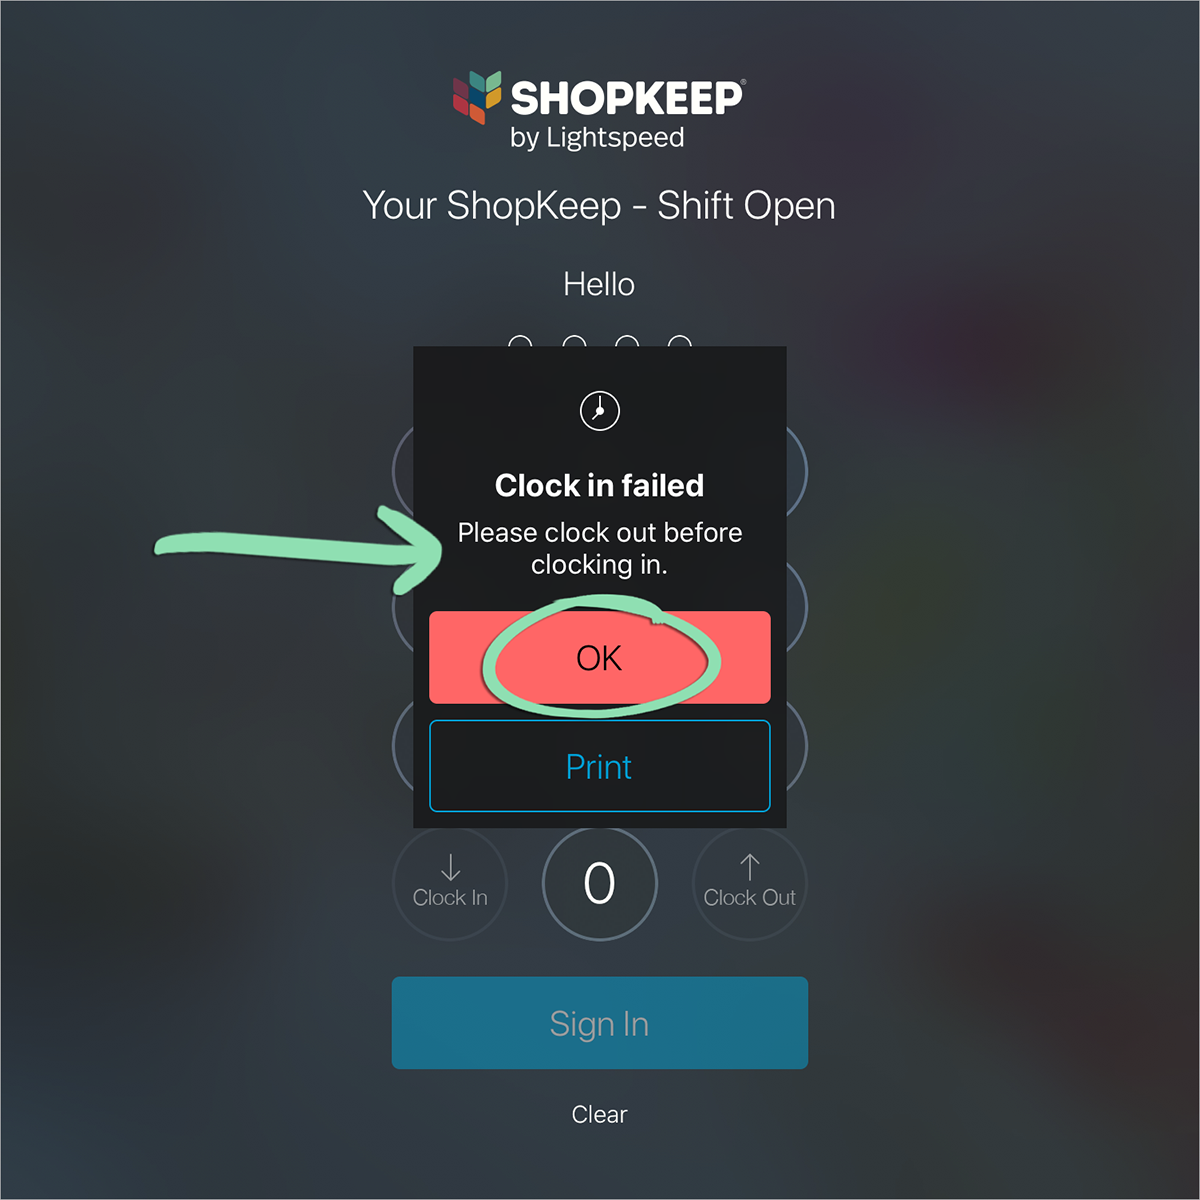
- Clock in or out as indicated by the error.
- (Optional) Repeat the original clock in or clock out attempt.
- If necessary, have the Business Owner or a BackOffice Manager follow the steps here in BackOffice to fix incorrect clock punches.
-
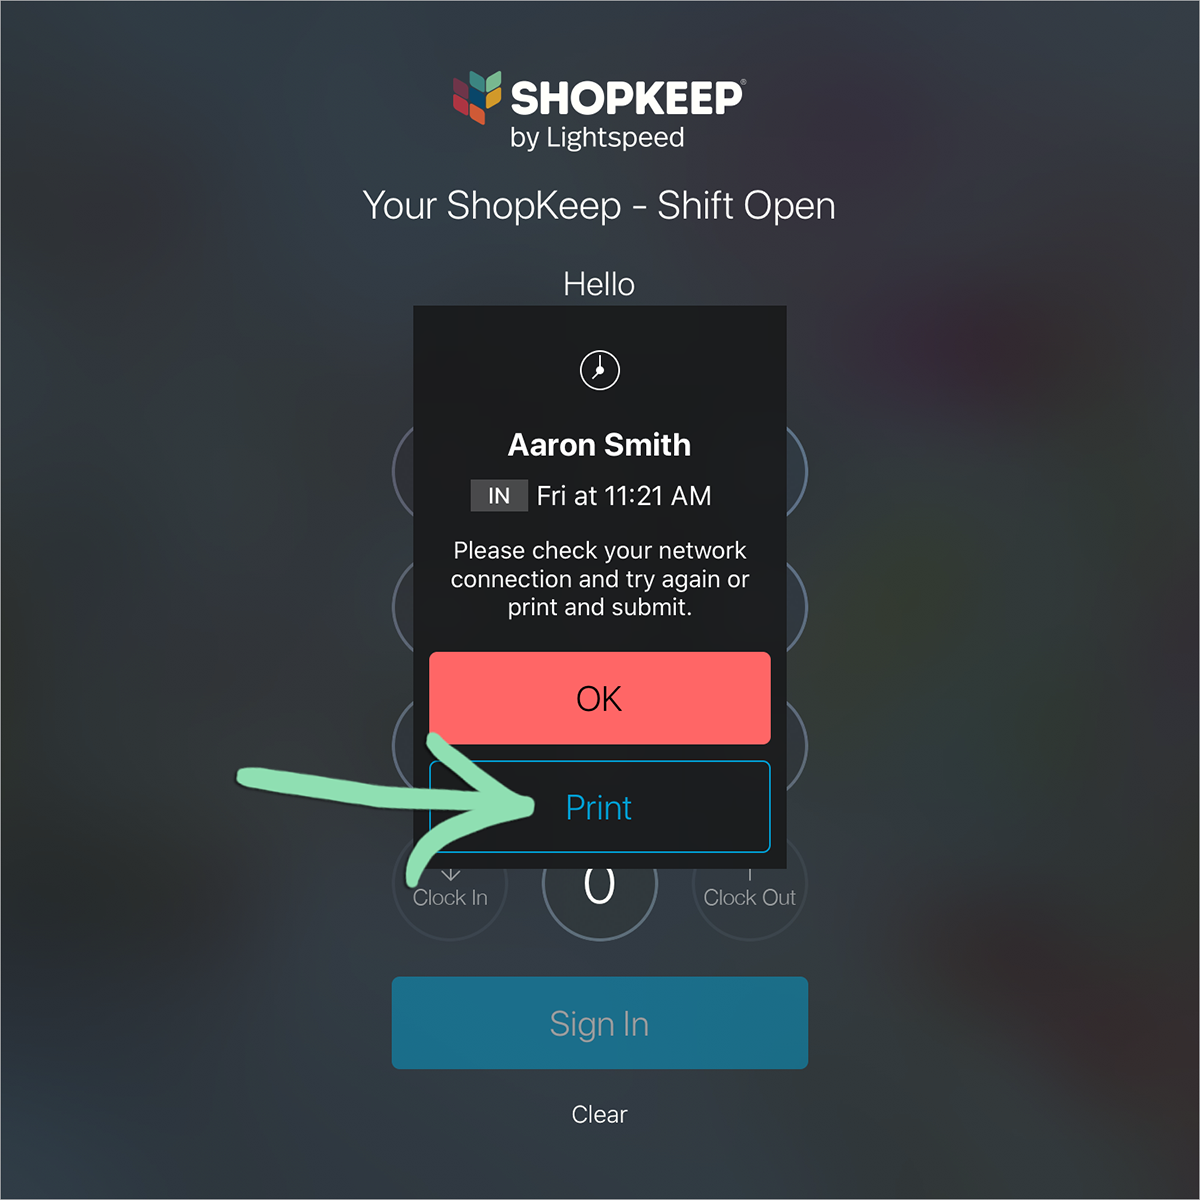
- Employees can only record a clock punch when there is an active internet connection. Print a chit to document the failed clock punch, then troubleshoot the register’s network connection to prevent the error from occurring again.
-
Tap Print to print a chit to a connected receipt printer with the clock punch time.
If a printer error occurs, take a screenshot or photo of the clock punch for your records.
For help taking screenshots, visit Apple Support.
-
Tap OK to dismiss the clock punch notification.

- Follow the steps here to troubleshoot the register’s network connection.
- Clock in or out to record a clock punch.
- If necessary, have the Business Owner or a BackOffice Manager follow these steps in BackOffice to adjust the clock punch.
-
- This error occurs when you try to print a chit for a clock punch, but there is no receipt printer connected to the register. If you have a receipt printer, follow the steps below to connect it. Otherwise, disregard this error.
-
Tap OK to dismiss the error.

-
(Optional) Take a screenshot or photo of the clock punch for your records.
For help taking screenshots, visit Apple Support.
-
Tap OK to dismiss the clock punch notification.

- Visit a printer setup guide for help setting up a receipt printer.
-
- This error occurs when you try to print a chit for a clock punch, but the register cannot communicate with the existing receipt printer. Follow the steps below to dismiss this error and reconnect the printer.
-
Tap Later to dismiss the error.

-
(Optional) Take a screenshot or photo of the clock punch for your records.
For help taking screenshots, visit Apple Support.
-
Tap OK to dismiss the clock punch notification.
- Visit a printer troubleshooting guide for help reconnecting the receipt printer.
-
- This happens when a register is set to the wrong date, time, or time zone. Fix these device settings to ensure all future clock punches have the correct information.
- On the iPad, open the Settings app.
-
Verify the date, time, and time zone are all correct.
For help with date and time settings, visit Apple Support.
- Have the Business Owner or a BackOffice Manager follow these steps in BackOffice to fix any incorrect clock punches.
- Incorrect clock punches can be easily adjusted in BackOffice by the Business Owner or a BackOffice Manager if you forget to clock in or out at the correct time.
-
If possible, perform one of the actions below to document the clock punch.
- Tap Print to print a chit to a connected receipt printer confirming the punch.
-
Take a screenshot or photo of the clock punch notification.
For help taking screenshots, visit Apple Support.

- Tell a manager about the incorrect clock punch.
- After a clock out punch is recorded, have the Business Owner or a BackOffice Manager follow these steps in BackOffice to adjust the punch.
-
- Age verification is legally required in some regions to access Lightspeed mobile applications. You must verify your age through the App Store or Google Play Store. Access is restricted for users under the legal age in their region. Refer to Introduction to the iPad for more information.