Visit the Manage Account page in BackOffice to view and update business contact and payment information to ensure uninterrupted Lightspeed Retail service. View billing plan details, pricing, and fees, see any add-ons attached to the account, add or remove register licenses, get invoices for past billings, and retry failed bill payments.
Business Owner information
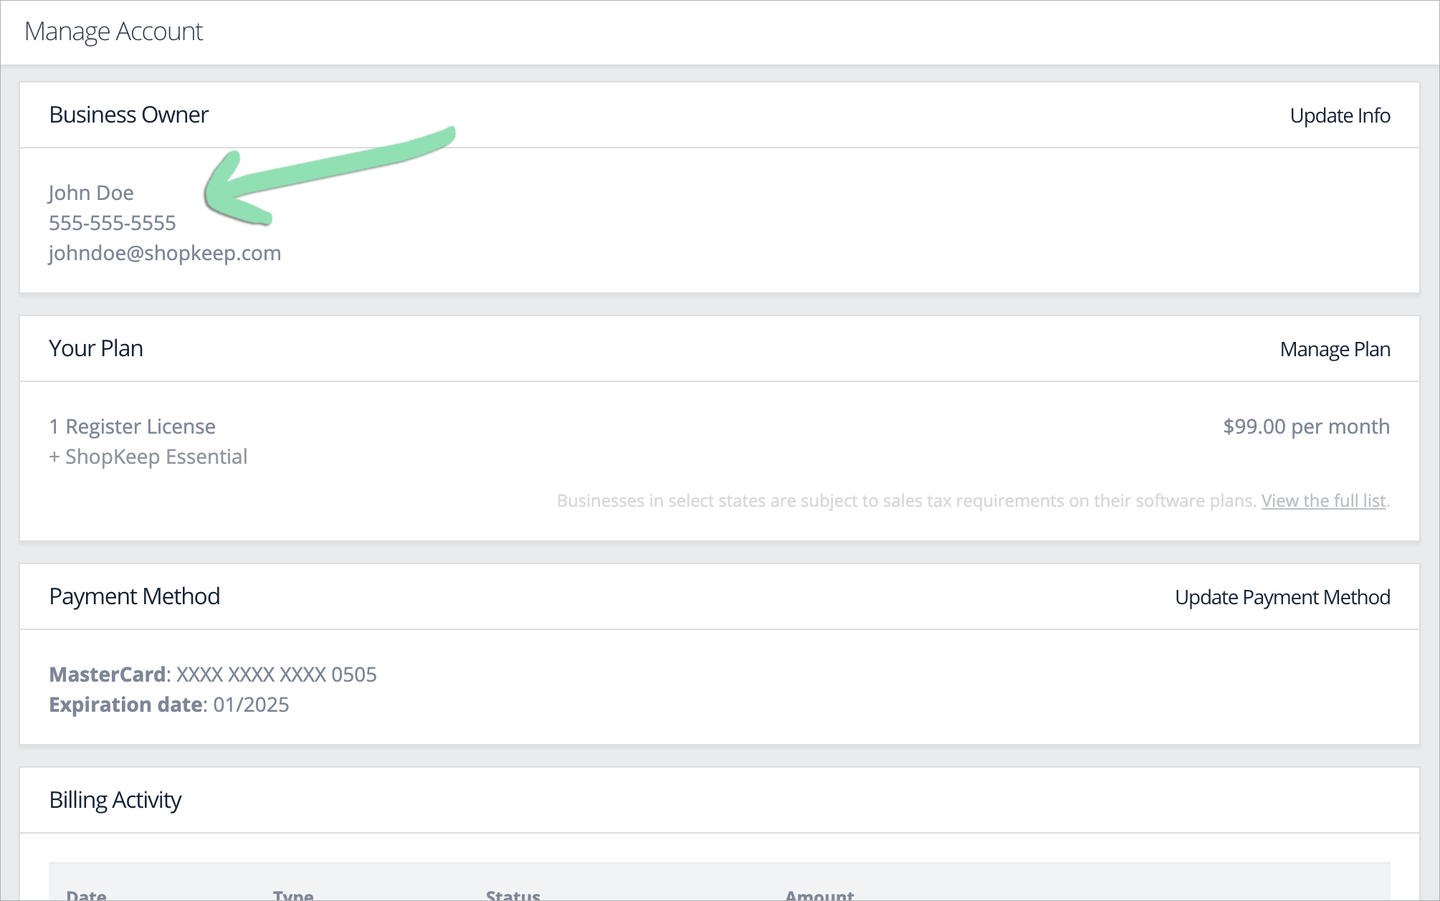
The Business Owner is the main point of contact for and administrator of a Lightspeed Retail account. Review and update the name, phone number, and email address of the Business Owner to ensure contact details are up to date.
If you have multiple linked locations, the Business Owner applies to all linked stores.
-
Sign in to BackOffice as the Business Owner or as an employee with the Manage Account permission.
Learn more about customizable BackOffice permissions here.
-
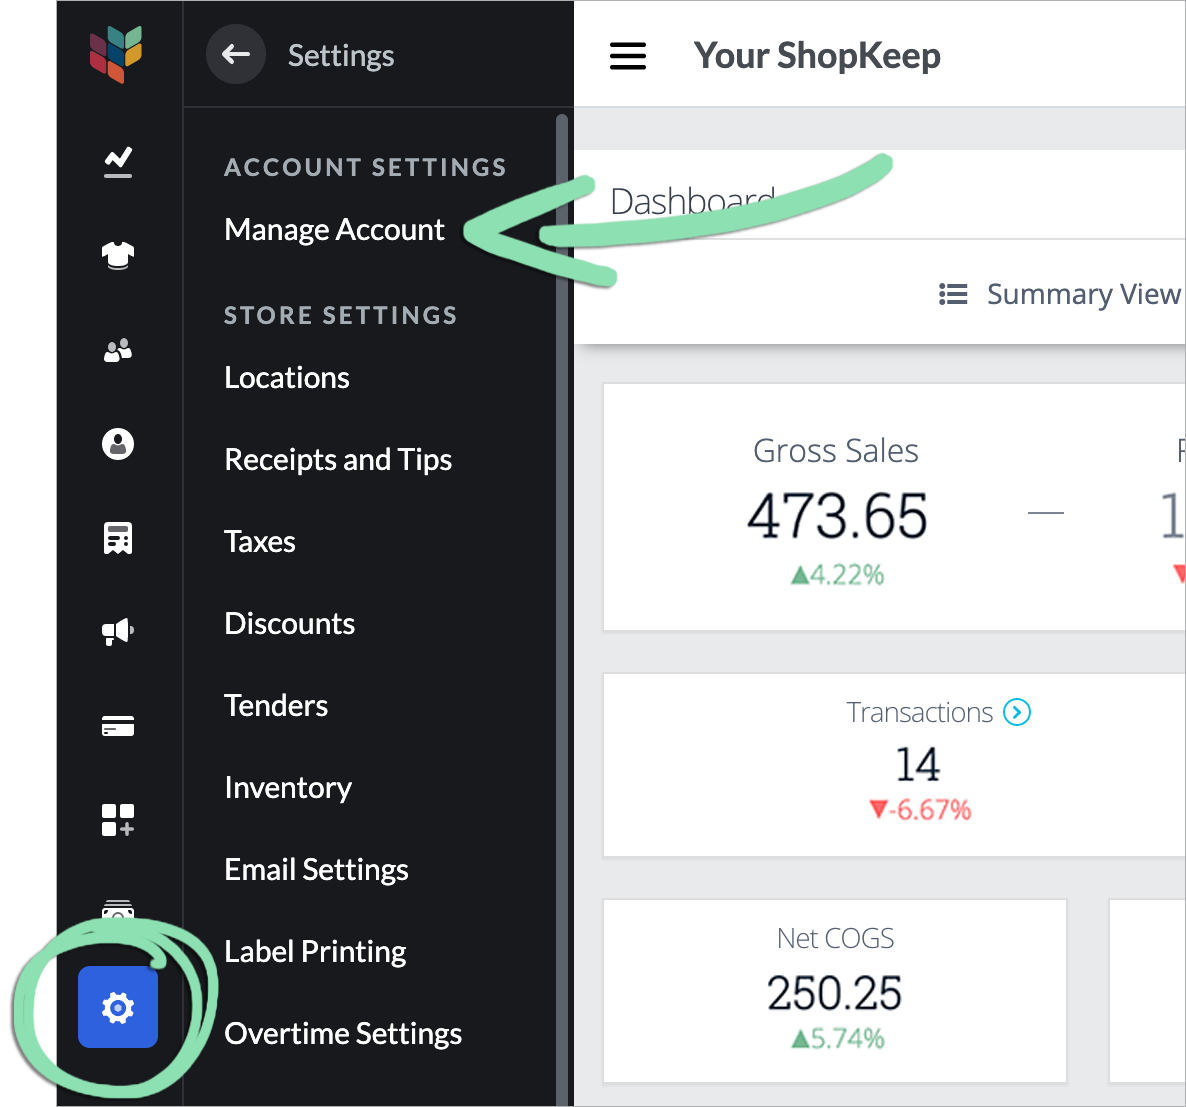
Click Settings, and select Manage Account.
If you don’t see Manage Account, visit our BackOffice Settings Troubleshooting guide.
-
In the Business Owner section, review the name, phone number, and email address listed.
-
If necessary, update the Business Owner information.
-
Select Update Info.

- Make changes as needed, then click OK to save.
Entering a new email address does not update the BackOffice login for the Business Owner. To request a change to the Business Owner’s BackOffice login, contact Customer Care.

-
Manage plan details
View subscription details and update the number of register licenses on your account to fit current business needs. Depending on your pricing package, adding or removing licenses may increase or decrease the amount you pay for Lightspeed Retail.
If you have multiple linked locations, plans must be managed separately from the BackOffice of each linked store.
-
Sign in to BackOffice as the Business Owner or as an employee with the Manage Account permission.
Learn more about customizable BackOffice permissions here.
-
Click Settings, and select Manage Account.
-
In the Your Plan section, review the number of register licenses, plan details, and billing amount.

-
If necessary, update the number of register licenses for the account.
Register licenses determine how many registers can be activated on an account and affect billing rates for merchants on select pricing packages.
-
Select Manage Plan.

- Adjust the number of register licenses, then click Update.
Merchants on select pricing packages will be charged a prorated amount immediately for each new license added. To remove a register license, you may first need to deactivate an existing register.
Visit our full Add & Remove Register Licenses article to learn more about how register licenses affect billing and when it is necessary to deactivate registers.

-
Add or update payment method
Add or update the payment method on file to control which credit card is charged when your account gets billed. If you have multiple linked locations, payment methods must be managed separately from the BackOffice of each linked store.
When a Lightspeed Retail account payment is declined or past due, you will be prompted when signing into BackOffice to update payment information or retry the payment. To learn how this process works, visit the Billing Troubleshooting guide.
If you purchased an in-app subscription, you must add or update payment information through your Apple or Google account. Visit our In-App Subscriptions article to learn more.
-
Sign in to BackOffice as the Business Owner or as an employee with the Manage Account permission.
Learn more about customizable BackOffice permissions here.
-
Click Settings, and select Manage Account.
-
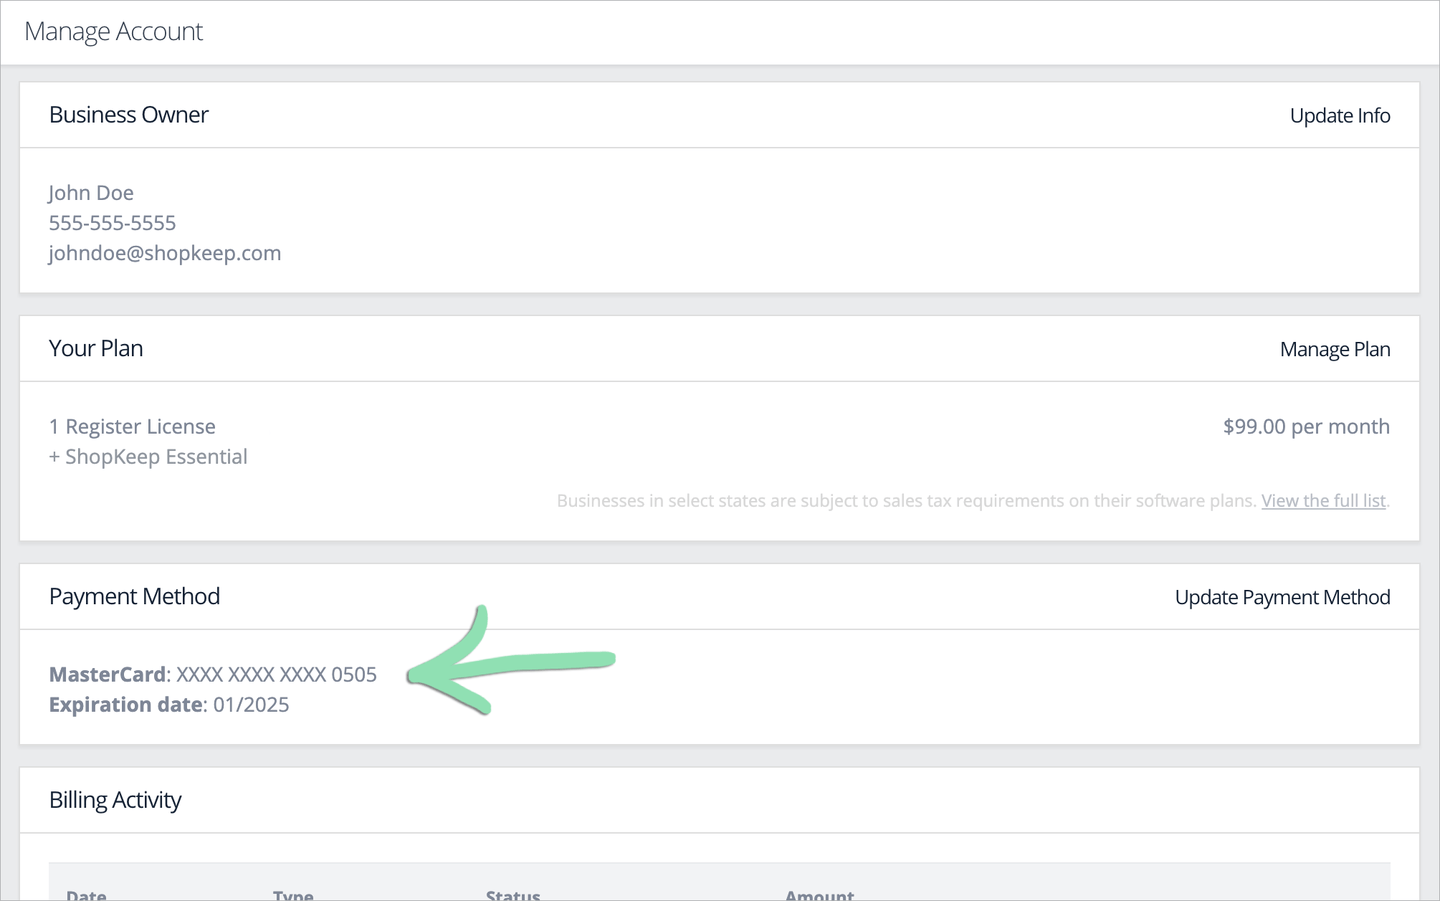
In the Payment Method section, review the details of the payment method on file.
- If necessary, update payment method information.
-
Click Add Payment Method to put a credit card on file or Update Payment Method to update existing card information.

-
Enter your billing contact information and business address, then click Next.

-
Enter your credit card details, then click Submit.

-
View billing activity
View account billing activity occurring within the last 120 days. Export copies of billing invoices to keep for your records, and retry failed payments to keep your account in good standing. If you have multiple linked locations, billing activity must be viewed separately from the BackOffice of each linked store.
When a Lightspeed Retail account payment is declined or past due, you will be prompted when signing into BackOffice to retry the payment or update payment information. To learn how this works, visit the Billing Troubleshooting guide.
-
Sign in to BackOffice as the Business Owner or as an employee with the Manage Account permission.
Learn more about customizable BackOffice permissions here.
-
Click Settings, and select Manage Account.
-
Scroll down to the Billing Activity section.

- Date: Date the billing activity occurred.
- Type: Invoice (the bill for your Lightspeed Retail service) or Payment (the charge to your credit card).
- Status: Paid, Unpaid, Processed, or Error.
- Amount: Total fee invoiced or paid for the billing period.
- Email PDF: Click to send a copy of the invoice to the Business Owner’s email. View a sample invoice here.
- Retry Payment: Click to charge the existing credit card on file again if there was a payment error. This option is not available for accounts with an in-app subscription. If the error persists after retrying, you may need to update the credit card on file to successfully complete the payment.
Have questions about account billing? Visit our FAQ for help.
What's next?
BackOffice settings and password
Change your BackOffice settings and reset your password.